


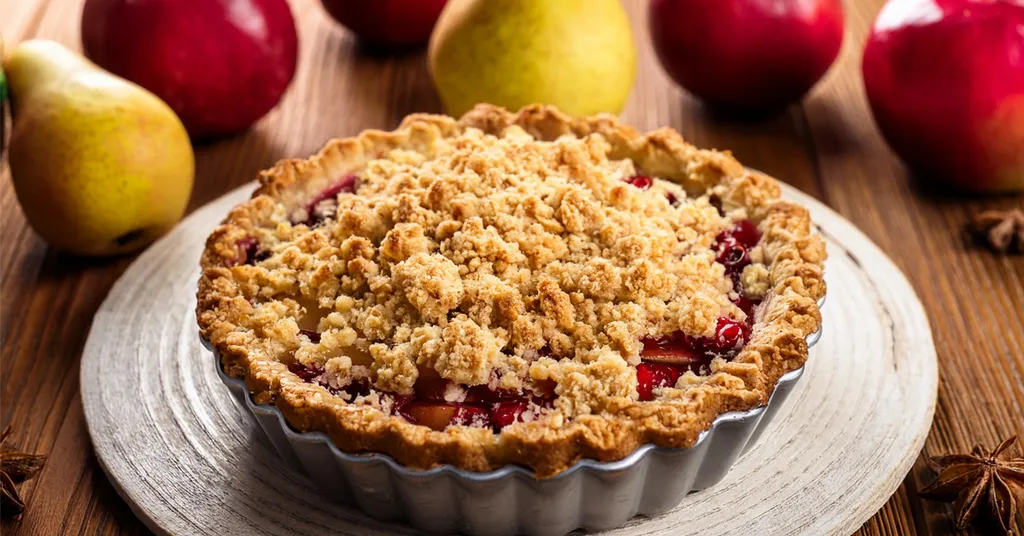
Canning your pie fillings is a wonderful way to preserve the flavors of the season and have a delicious, ready-to-use dessert component on hand. Today, we’ll guide you through the process of safely canning a luscious apple pear cranberry pie filling. This filling combines the sweet and tart flavors of apples, pears, and cranberries, with a hint of cinnamon and nutmeg—perfect for pies, tarts, or even as a topping for ice cream and pancakes.
Why Home-Canned Pie Filling?
Home-canned pie fillings are a great way to preserve fruit at the peak of its ripeness, locking in flavor and nutrition. By canning your pie filling, you have full control over the ingredients, ensuring that your family enjoys a wholesome treat without any artificial preservatives.
Apple Pear Cranberry Pie Filling Recipe
This recipe comes from The All New Ball Book of Canning and Preserving. It should yield about 3 Quart Jars of Apple Pear Cranberry Pie Filling. I typically use one Quart jar per pie or crumble.

Ingredients for Apple Pear Cranberry Pie Filling
- 4 cups Water
- 3/4 cup Bottled Lemon Juice (Divided)
- 5 cups Thinly Sliced Peeled Apples (about 2 lbs)
- 5 cups Thinly Sliced Peeled Pears (about 2 lbs)
- 2 cups Cranberries (Fresh or Frozen and Thawed)
- 2 1/2 cups Sugar
- 1 tsp Ground Cinnamon
- 1/8 tsp Nutmeg


Equipment Used for Apple Pear Cranberry Pie Filling Recipe
Here is the equipment I used when making this recipe:
- Large Bowl
- Colander
- Apple Peeler, Slicer, Corer
- Knife
- Cutting Board
- Measuring Cups
- Measuring Spoons
- Large Stainless Steel Pot
- 1/2 pint Canning Ladle
- Quart Size Canning Jars or Pint Size Canning Jars
- Water Bath Canner or Steam Canner
- Jar Lifter
- Headspace Measurer
- De-Bubbler
- Lids
- Rings/Bands
Step-By-Step Instructions
Clean Jars
Clean jars and lids with warm soapy water. Ensure the jars do not have any chips or bubbles in the glass.
Prepare Ingredients
Combine water and 1/4 cup of lemon juice in a large bowl.
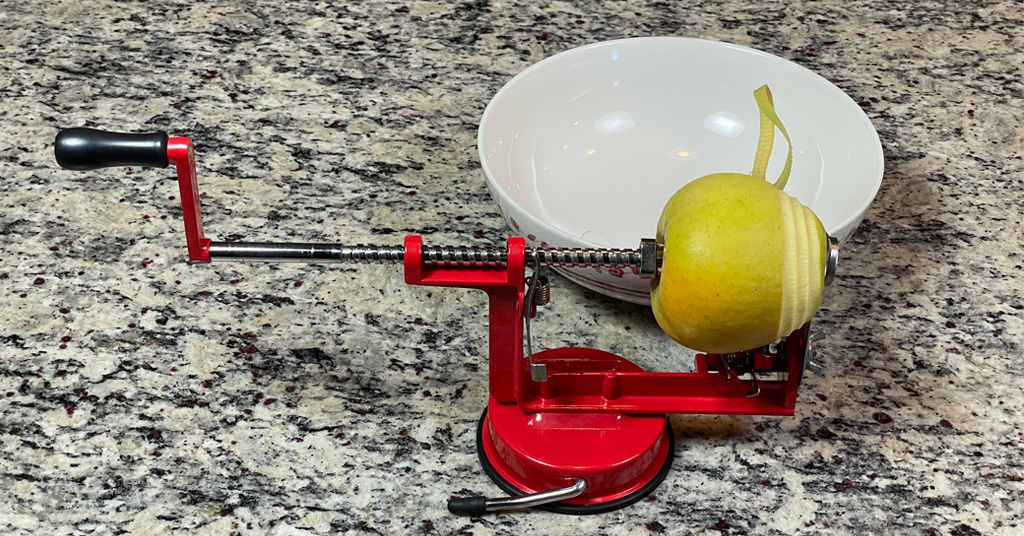
Peel and thinly slice your apples and pears. Submerge the apple and pear slices in lemon water. Drain using a colander. I like to use my Apple Peeler, Slicer, and Corer, to save time peeling and slicing.
Cook Ingredients
Combine fruit slices, cranberries, sugar, cinnamon, nutmeg, and the remaining 1/2 cup of lemon juice in a large stainless steel pot. Bring to a simmer over medium heat. Cover and cook for 10 minutes or until the fruit releases its juices. Stir the mixture occasionally.
Prepare Canner
Using Water Bath Canner:
Put your water bath canner on your stove. Add your canning rack to the water bath canner. Add your pint jars or quart jars to the water bath canner. They will warm as you heat the water. Add enough water to cover jars with at least 2-3 inches of water. Start to bring your water to a boil.
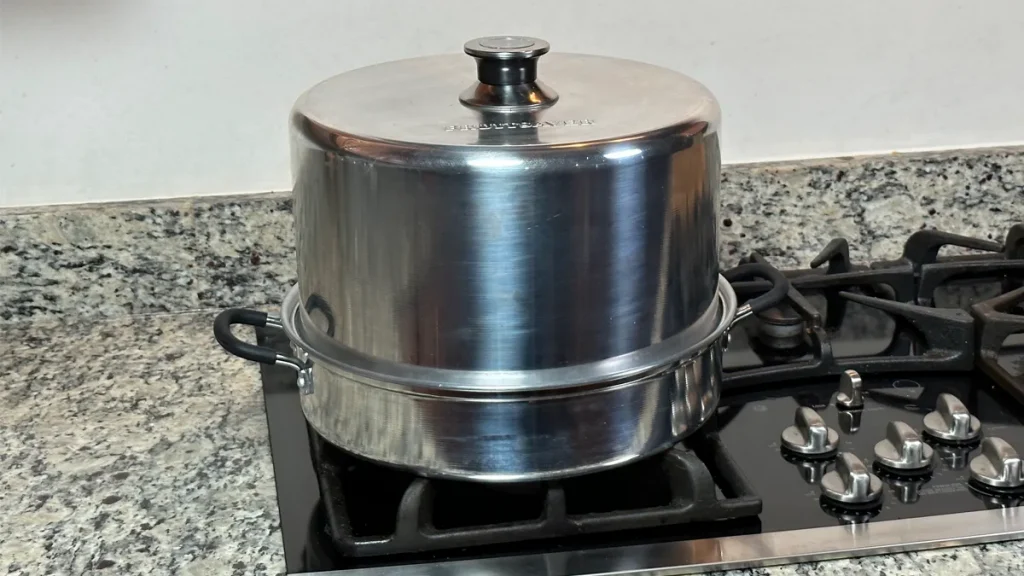
Using a Steam Canner:
Put your steam canner on your stove. Add the steam canner rack to the bottom of the steam canner. Add the recommended amount of water to the steam canner according to the manufacturer. Add your pint jars or quart jars to the steam canner. Put the lid on your steam canner and start your stove. The jars will warm as you heat your steam canner.
Fill Jars with Apple Pear Cranberry Pie Filling
Once you have hot jars and hot pie filling
Water Bath Canner:
Remove your jars from the water bath canner one at a time using your jar lifter. Dump the water out of the jar into your water bath canner to ensure there is still 2-3 inches of water above your jars.
Steam Canner:
Remove the steam canner lid and remove your jars one at a time using your jar lifter.
Using the ladle and funnel. Ladle hot fruit mixture into hot jars, leaving 1/2 inch headspace. Use your headspace measurer to verify space. Remove any air bubbles with your de-bubbler and adjust the headspace, if necessary, by adding more pie filling.
Wipe the rim to ensure a good seal is made with the lid. Center the lid on the jar and screw the band down to fingertip tight.
Place the jar in the canner using your jar lifter. Repeat until all apple pear cranberry pie filling is used.
Processing in Canner
Water Bath Canner:
Lower the water bath canner rack into the boiling water. Ensure your jars are covered by at least 2 inches of water.
If your water is not boiling start your processing time when the water is boiling. Process pint or quart jars for 30 minutes. Make sure to adjust your time for altitude.
Set a timer, it makes it much easier to make sure you process for the correct time. When your timer goes off turn off the heat and remove the canner lid.
Leave the jars in the water for 5 minutes.
Steam Canner:
Put the lid on the steam canner. Turn your stove on high until your steam canner water comes to a vigorous boil. Continue heating so the indicator is in the correct “Zone” per your altitude.
Start your processing time when the needle reaches the maximum point you have tested your steam canner to reach in your “Zone”.
Adjust the burner so that it maintains an even rolling boil throughout the entire processing time. Usually, this will be much lower than where it was set for the vigorous boil. If the top lid is lifting and/or spitting water from the edges this is an indication that you have the heat turned up too high. Slowly reduce the heat until this stops. Watch the indicator to ensure the temperature does not decrease.
The processing times for steam canning are the same as for water bath canning. Process pint or quart jars for 30 minutes.
Make sure to adjust your time for altitude. Set a timer, it makes it much easier to make sure you process for the correct time.
When your timer goes off turn off the heat and let the canner stand for 5 minutes with the lid on before removing the jars. The lid MUST remain ON the canner during this time. This cool-down period is necessary to ensure the jar contents are properly processed.
Carefully remove the lid by tilting it away from you to avoid steam burns.

Cool and Store Jars
Using your jar lifer carefully move the jars onto a wire rack or kitchen towel to allow them to cool. When moving the jars try not to tilt them to the side as this could affect the seal of the jars. Allow your jars to cool for 12-24 hours before handling.
Once cool, remove the canning rings from the jars. Wash your jars off to ensure no food residue on the outside of the jar from processing. Label your jar with the name of the recipe and date. This will help you remember what recipe you used to can and the date will allow you to use the oldest canned goods first.


Using Your Canned Apple Pear Cranberry Pie Filling
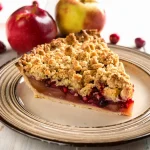
Your apple pear cranberry pie filling is now ready to use! Simply pour it into a prepared pie crust, top with another crust or streusel topping, and bake according to your pie recipe instructions. I like to make this pie crust when making pie. You can also use this versatile filling as a topping for pancakes, waffles, yogurt, or ice cream, or as a filling for hand pies and turnovers.
If you would like to thicken your pie filling before baking you can drain 1/3 cup of syrup from a jar and put it in a medium bowl. Whisk in 2 Tbsp of cornstarch until smooth. Add the remaining pie filling, gently stirring to blend into the cornstarch mixture. Bake according to your pie recipe.
Canning apple pear cranberry pie filling is a satisfying way to preserve the flavors of fall for year-round enjoyment. By following safe canning practices and using the right ingredients, you can confidently prepare a delicious and shelf-stable pie filling that your family will love.
Enjoy your home-canned pie filling and happy canning!
Other Pie-Filling Recipes
Recipe Card
Apple Pear Cranberry Pie Filling
Equipment
- Quart size canning jars or Pint Size Canning Jars
- Pint Size Canning Jars or Quart Size Canning Jars
- Water Bath Canner or Steam Canner
- Steam Canner or Water Bath Canner
Ingredients
- 4 cups water
- 3/4 cup Bottled Lemon Juice Divided
- 5 cups thinly sliced peeled apples (about 2 lbs/1 kg)
- 5 cups thinly sliced peeled pears (about 2 1/4 lbs/1 kg)
- 2 cups cranberries Fresh or frozen (thawed)
- 2 and ½ cups Granulated Sugar
- 1 tsp Ground Cinnamon
- 1/8 tsp Nutmeg
Instructions
- Clean jars and lids with warm soapy water. Ensure the jars do not have any chips or bubbles in the glass.
- Combine water and 1/4 cup of lemon juice in a large bowl.
- Peel and thinly slice your apples and pears. Submerge the apple and pear slices in lemon water. Drain using a colander. I like to use my Apple Peeler, Slicer, and Corer, to save time peeling and slicing.
- Combine fruit slices, cranberries, sugar, cinnamon, nutmeg, and the remaining 1/2 cup of lemon juice in a large stainless steel pot. Bring to a simmer over medium heat. Cover and cook for 10 minutes or until the fruit releases its juices. Stir the mixture occasionally.
- Prepare your cannerUsing Water Bath Canner: Put your water bath canner on your stove. Add your canning rack to the water bath canner. Add your pint jars or quart jars to the water bath canner. They will warm as you heat the water. Add enough water to cover jars with at least 2-3 inches of water. Start to bring your water to a boil.Using a Steam Canner: Put your steam canner on your stove. Add the steam canner rack to the bottom of the steam canner. Add the recommended amount of water to the steam canner according to the manufacturer. Add your pint jars or quart jars to the steam canner. Put the lid on your steam canner and start your stove. The jars will warm as you heat your steam canner.
- Once you have hot jars and hot pie fillingWater Bath Canner:Remove your jars from the water bath canner one at a time using your jar lifter. Dump the water out of the jar into your water bath canner to ensure there is still 2-3 inches of water above your jars.Steam Canner:Remove the steam canner lid and remove your jars one at a time using your jar lifter.
- Using the ladle and funnel. Ladle hot fruit mixture into hot jars, leaving 1/2 inch headspace. Use your headspace measurer to verify space. Remove any air bubbles with your de-bubbler and adjust the headspace, if necessary, by adding more pie filling.
- Wipe the rim to ensure a good seal is made with the lid. Center the lid on the jar and screw the band down to fingertip tight.
- Place the jar in the canner using your jar lifter. Repeat until all apple pear cranberry pie filling is used.
- ProcessingWater Bath Canner:Lower the water bath canner rack into the boiling water. Ensure your jars are covered by at least 2 inches of water.If your water is not boiling start your processing time when the water is boiling. Process pint or quart jars for 30 minutes. Make sure to adjust your time for altitude.Set a timer, it makes it much easier to make sure you process for the correct time. When your timer goes off turn off the heat and remove the canner lid.Leave the jars in the water for 5 minutes.Steam Canner:Put the lid on the steam canner. Turn your stove on high until your steam canner water comes to a vigorous boil. Continue heating so the indicator is in the correct "Zone" per your altitude. Start your processing time when the needle reaches the maximum point you have tested your steam canner to reach in your "Zone".Adjust the burner so that it maintains an even rolling boil throughout the entire processing time. Usually, this will be much lower than where it was set for the vigorous boil. If the top lid is lifting and/or spitting water from the edges this is an indication that you have the heat turned up too high. Slowly reduce the heat until this stops. Watch the indicator to ensure the temperature does not decrease.The processing times for steam canning are the same as for water bath canning. Process pint or quart jars for 30 minutes.Make sure to adjust your time for altitude. Set a timer, it makes it much easier to make sure you process for the correct time.When your timer goes off turn off the heat and let the canner stand for 5 minutes with the lid on before removing the jars. The lid MUST remain ON the canner during this time. This cool-down period is necessary to ensure the jar contents are properly processed.Carefully remove the lid by tilting it away from you to avoid steam burns.
- Using your jar lifer carefully move the jars onto a wire rack or kitchen towel to allow them to cool. When moving the jars try not to tilt them to the side as this could affect the seal of the jars. Allow your jars to cool for 12-24 hours before handling.
- Once cool, remove the canning rings from the jars. Wash your jars off to ensure no food residue on the outside of the jar from processing. Label your jar with the name of the recipe and date. This will help you remember what recipe you used to can and the date will allow you to use the oldest canned goods first.