


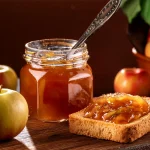
Fall is my favorite time of the year and one of my favorite times to preserve apples. The crispness of apples, the warmth of spices, and the comforting scent of a homemade apple pie are some of the best parts of autumn. With this Apple Pie Jam Canning Recipe from Ball Canning, you can capture those familiar flavors and enjoy them year-round. This delicious jam is perfect for spreading on toast, serving with cheese, or even gifting to loved ones during the holiday season.
Why Apple Pie Jam?
Apple Pie Jam is a delightful way to combine the sweet, spiced flavors of your favorite dessert with the convenience of a spreadable preserve. Unlike traditional apple jams, this recipe incorporates classic apple pie spices like cinnamon, nutmeg, and allspice, creating a warm, cozy jam that’s as versatile as it is delicious. It’s the perfect treat to add to your pantry, especially when apples are in season and you’re looking for creative ways to use them.
Canning Tips and Tricks
If you’re new to canning or just need a refresher, here are a few essential tips to keep in mind while preserving this Apple Pie Jam:
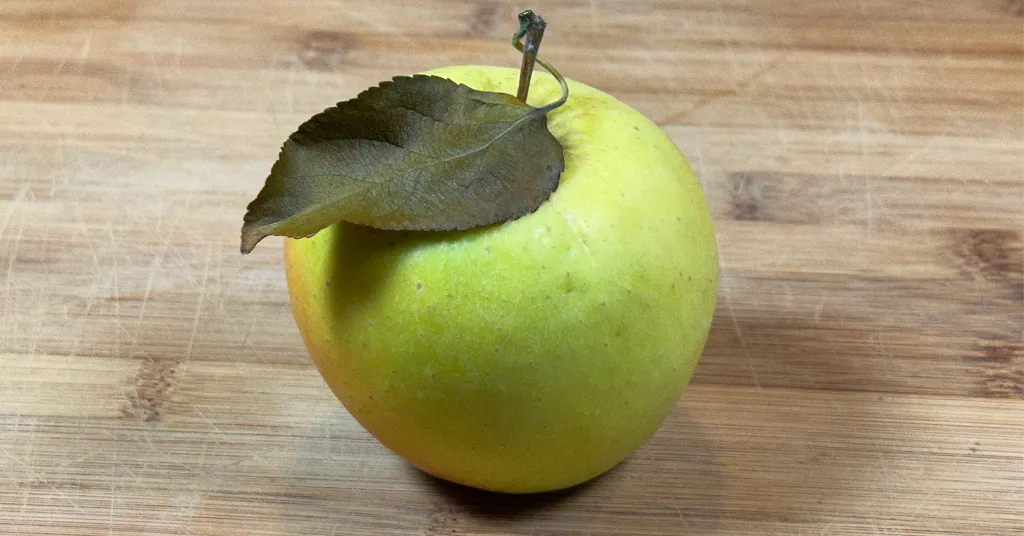
- Use Fresh, High-Quality Ingredients: The better your apples, the better your jam. Opt for apples that are crisp and flavorful, like Granny Smith, Honeycrisp, or Pink Lady. Bottled lemon juice is essential for safety.
- Pay Attention to the Pectin: Pectin is what will help your jam set to the perfect consistency. Make sure to follow the instructions for your type of pectin carefully. If your jam doesn’t set immediately after canning, give it time—sometimes jams continue to firm up as they cool.
- Processing Times Matter: Always follow the recommended processing times for canning. For high-acid foods like Apple Pie Jam, a boiling water bath canner or steam canner is ideal. The jars need to be processed for at least 10 minutes (adjusted for altitude, if necessary). This step is critical for long-term storage.

Apple Pie Jam Canning Recipe
Ingredients Required for Apple Pie Jam with Pectin
This recipe from Ball Canning for Apple Pie Jam will yield about 5 half-pint jars of apple pie jam. Here are the ingredients you will need to make this recipe.
- 6 cups diced, cored, peeled apples (Recommend Granny Smith Apples, you will need about 6 apples)
- 2 cups apple juice or apple cider
- 2 Tbsp bottled lemon juice
- 3 Tbsp Ball Classic Pectin
- 1 tsp ground cinnamon
- 1/2 tsp ground allspice
- 1/4 tsp ground nutmeg
- 2 cups sugar
Equipment Needed
Here is the equipment I used when making this recipe:
- Knife
- Cutting Board
- Apple Peeler
- Apple Corer
- Liquid Measuring Cups
- Measuring Cups
- Measuring Spoons
- Whisk
- Large Stainless Steel Pot
- 1/2 Pint Canning Ladle
- Water Bath Canner or Steam Canner
- Half Pint Size Canning Jars
- Lids
- Bands
- Jar Lifter
- Headspace Measurer
- De-bubbler


Instructions
Clean Jars
Wash your jars and lids in warm soapy water. Make sure there are no chips or bubbles in your jars.
Prepare Ingredients
Peel and core your apples. Using your knife and cutting board dice your apples to measure 6 cups.
Prepare Canner
Using Water Bath Canner:
Put your water bath canner on your stove. Add your canning rack to the water bath canner. Add enough water to cover jars with at least 2-3 inches of water. Start to bring your water to a boil.
Using a Steam Canner:
Put your steam canner on your stove. Add the steam canner rack to the bottom of the steam canner. Add the recommended amount of water to the steam canner according to the manufacturer. Put the lid on your steam canner and start your stove.
Cook Ingredients
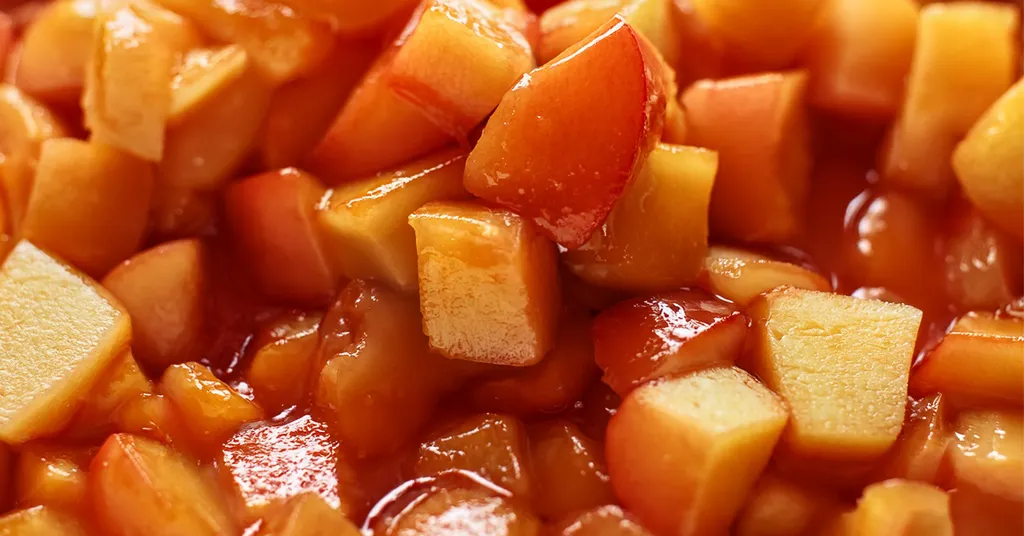
In a large, deep stainless steel pot, combine diced apples, apple juice, and lemon juice. Bring to a boil, reduce heat, and simmer uncovered, for 10 minutes or until apples are soft. Stir occasionally.
Whisk in pectin, cinnamon, allspice, and nutmeg.
Over high heat, bring the mixture to a full rolling boil that cannot be stirred down, stirring constantly.
Add sugar, stirring to dissolve. Return mixture to a full rolling boil. Boil hard for 1 minute (This step is important to ensure gel set), stirring constantly. Remove from heat and skim foam from the top of the jam if necessary.
Fill Jars
Once you have hot jars and hot jam.
Water Bath Canner:
Remove the water bath canner lid. Remove your jars from the boiling water one at a time using your jar lifter. Dump the water out of the jar into your water bath canner to ensure there is still 2-3 inches of water above your jars.
Steam Canner:
Remove the steam canner lid. Remove your jars from the steam canner one at a time using your jar lifter.
Ladle hot jam into hot jars, leaving 1/4 inch (.5 cm) headspace (Check with headspace measurer). Remove air bubbles with a de-bubbler and adjust the headspace by adding more hot jam if necessary.
Wipe the rim to ensure a good seal is made with the lid. Center the lid on the jar and screw the band down to fingertip tight. Repeat until all jam is used.
Place jars back in the canner with your jar lifter.
Process Jars
Water Bath Canner:
Lower the water bath canner rack into the boiling water. Ensure your jars are covered by at least 2 inches of water.
If your water is not boiling start your processing time when the water is boiling. Process 1/2 pint jars for 10 minutes. Make sure to adjust your time for altitude.
Set a timer, it makes it much easier to make sure you process for the correct time. When your timer goes off turn off the heat and remove the canner lid.
Leave the jars in the water for 5 minutes.
Steam Canner:
Put the lid on the steam canner. Turn your stove on high until your steam canner water comes to a vigorous boil. Continue heating so the indicator is in the correct “Zone” per your altitude.
Start your processing time when the needle reaches the maximum point you have tested your steam canner to reach in your “Zone”.
Adjust the burner so that it maintains an even rolling boil throughout the entire processing time. Usually, this will be much lower than where it was set for the vigorous boil. If the top lid is lifting and/or spitting water from the edges this is an indication that you have the heat turned up too high. Slowly reduce the heat until this stops. Watch the indicator to ensure the temperature does not decrease.
The processing times for steam canning are the same as for water bath canning. Process 1/2 pint jars for 10 minutes.
Make sure to adjust your time for altitude. Set a timer, it makes it much easier to make sure you process for the correct time.
When your timer goes off turn off the heat and let the canner stand for 5 minutes with the lid on before removing the jars. The lid MUST remain ON the canner during this time. This cool-down period is necessary to ensure the jar contents are properly processed.
Carefully remove the lid by tilting it away from you to avoid steam burns.
Store and Cool Jars
Using your jar lifer carefully move the jars onto a wire rack or kitchen towel to allow them to cool. When moving the jars try not to tilt them to the side as this could affect the seal of the jars. Allow your jars to cool for 12-24 hours before handling.
Once cool, remove the canning rings from the jars. Wash your jars off to ensure no food residue on the outside of the jar from processing. Label your jar with the name of the recipe and date. This will help you remember what recipe you used to can and the date will allow you to use the oldest canned goods first.


Creative Ways to Use Your Apple Pie Jam
The beauty of this Apple Pie Jam is in its versatility. Here are a few delicious ways to incorporate it into your everyday meals:
- On Toast or Biscuits: Start your morning right with a spoonful of jam spread over warm toast, English muffins, or fresh biscuits.
- Swirled Into Yogurt or Oatmeal: Add a dollop of this spiced jam to your yogurt or oatmeal for an autumnal twist.
- Cheese Pairings: Apple Pie Jam pairs wonderfully with sharp cheeses like cheddar or creamy options like brie. Serve it alongside a cheese board for an elevated snack or appetizer.
- Fill Pastries and Tarts: Use your jam as a quick and easy filling for hand pies, tarts, or even thumbprint cookies. It adds a flavorful kick without needing to bake a full pie.
- As a Glaze for Meats: This may surprise you, but the sweet and spiced notes of the jam make an excellent glaze for roasted pork or chicken. Just brush it on during the last few minutes of cooking for a unique twist.
Perfect for Gifting
Home-canned Apple Pie Jam also makes a fantastic homemade gift. Whether for holidays, housewarming presents, or just a simple gesture of appreciation, a jar of this golden, spiced jam wrapped in a ribbon is sure to be appreciated. Pair it with a small loaf of fresh bread or a handwritten recipe card for a personal touch.
Additional Jam Recipes
Recipe Card

Apple Pie Jam Canning Recipe with Pectin
Equipment
- Water Bath Canner or Steam Canner
- Steam Canner or Water Bath Canner
Ingredients
- 6 cups diced, cored, peeled Granny Smith Apples About 6 apples
- 2 cups Apple Juice or Apple Cider
- 2 Tbsp Bottled Lemon Juice
- 3 Tbsp Ball Classic Pectin
- 1 tsp Ground Cinnamon
- 1/2 tsp Ground Allspice
- 1/4 tsp Nutmeg
- 2 cups sugar
Instructions
- Wash your jars and lids in warm soapy water. Make sure there are no chips or bubbles in your jars.
- Peel and core your apples. Using your knife and cutting board dice your apples to measure 6 cups.
- In a large, deep stainless steel pot, combine diced apples, apple juice, and lemon juice. Bring to a boil, reduce heat, and simmer uncovered, for 10 minutes or until apples are soft. Stir occasionally.
- Prepare your cannerUsing Water Bath Canner: Put your water bath canner on your stove. Add your canning rack to the water bath canner. Add enough water to cover jars with at least 2-3 inches of water. Start to bring your water to a boil. Using a Steam Canner: Put your steam canner on your stove. Add the steam canner rack to the bottom of the steam canner. Add the recommended amount of water to the steam canner according to the manufacturer. Put the lid on your steam canner and start your stove.
- Whisk in pectin, cinnamon, allspice, and nutmeg.
- Over high heat, bring the mixture to a full rolling boil that cannot be stirred down, stirring constantly.
- Add sugar, stirring to dissolve. Return mixture to a full rolling boil. Boil hard for 1 minute (This step is important to ensure gel set), stirring constantly. Remove from heat and skim foam from the top of the jam if necessary.
- Once you have hot jars and hot jam.Water Bath Canner:Remove the water bath canner lid. Remove your jars from the boiling water one at a time using your jar lifter. Dump the water out of the jar into your water bath canner to ensure there is still 2-3 inches of water above your jars.Steam Canner:Remove the steam canner lid. Remove your jars from the steam canner one at a time using your jar lifter.
- Ladle hot jam into hot jars, leaving 1/4 inch (.5 cm) headspace (Check with headspace measurer). Remove air bubbles with a de-bubbler and adjust the headspace by adding more hot jam if necessary.
- Wipe the rim to ensure a good seal is made with the lid. Center the lid on the jar and screw the band down to fingertip tight. Repeat until all jam is used.
- Place jars back in the canner with your jar lifter.
- Water Bath Canner:Lower the water bath canner rack into the boiling water. Ensure your jars are covered by at least 2 inches of water.If your water is not boiling start your processing time when the water is boiling. Process 1/2 pint jars for 10 minutes. Make sure to adjust your time for altitude.Set a timer, it makes it much easier to make sure you process for the correct time. When your timer goes off turn off the heat and remove the canner lid.Leave the jars in the water for 5 minutes.Steam Canner:Put the lid on the steam canner. Turn your stove on high until your steam canner water comes to a vigorous boil. Continue heating so the indicator is in the correct "Zone" per your altitude. Start your processing time when the needle reaches the maximum point you have tested your steam canner to reach in your "Zone".Adjust the burner so that it maintains an even rolling boil throughout the entire processing time. Usually, this will be much lower than where it was set for the vigorous boil. If the top lid is lifting and/or spitting water from the edges this is an indication that you have the heat turned up too high. Slowly reduce the heat until this stops. Watch the indicator to ensure the temperature does not decrease.The processing times for steam canning are the same as for water bath canning. Process 1/2 pint jars for 10 minutes.Make sure to adjust your time for altitude. Set a timer, it makes it much easier to make sure you process for the correct time.When your timer goes off turn off the heat and let the canner stand for 5 minutes with the lid on before removing the jars. The lid MUST remain ON the canner during this time. This cool-down period is necessary to ensure the jar contents are properly processed.Carefully remove the lid by tilting it away from you to avoid steam burns.
- Using your jar lifer carefully move the jars onto a wire rack or kitchen towel to allow them to cool. When moving the jars try not to tilt them to the side as this could affect the seal of the jars. Allow your jars to cool for 12-24 hours before handling.
- Once cool, remove the canning rings from the jars. Wash your jars off to ensure no food residue on the outside of the jar from processing. Label your jar with the name of the recipe and date. This will help you remember what recipe you used to can and the date will allow you to use the oldest canned goods first.