


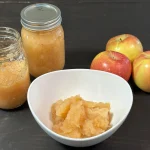
Water Bath Canning Applesauce Recipe
Use four simple ingredients and Ball Canning's easy water bath canning recipe from the All New Ball Book of Canning and Preserving to make delicious applesauce.
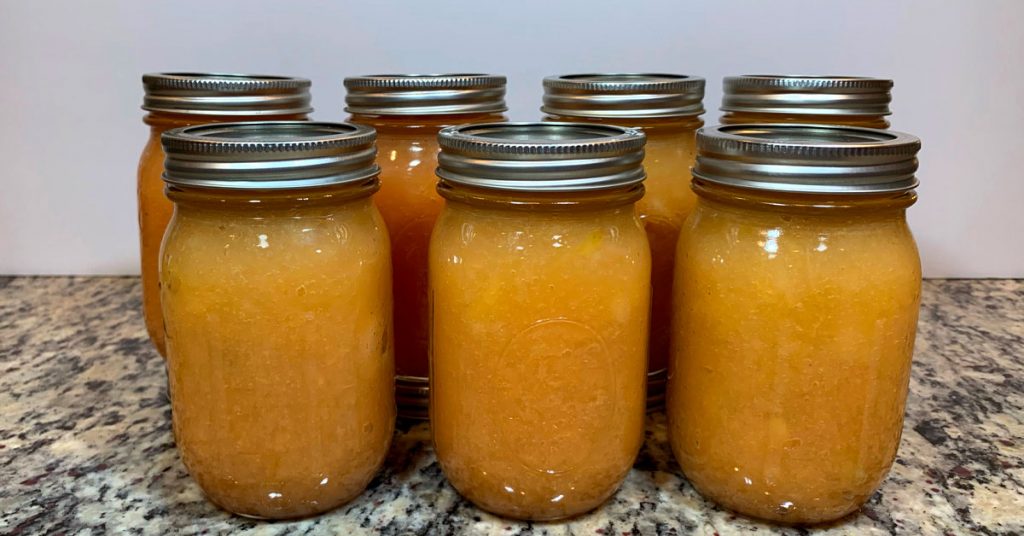
Servings 5 pints
Equipment
- Large Stainless Steel Pot or Enameled Dutch Oven
- Large Stainless Steel Pot or Enameled Dutch Oven
- Potato Masher or Food Processor
Ingredients
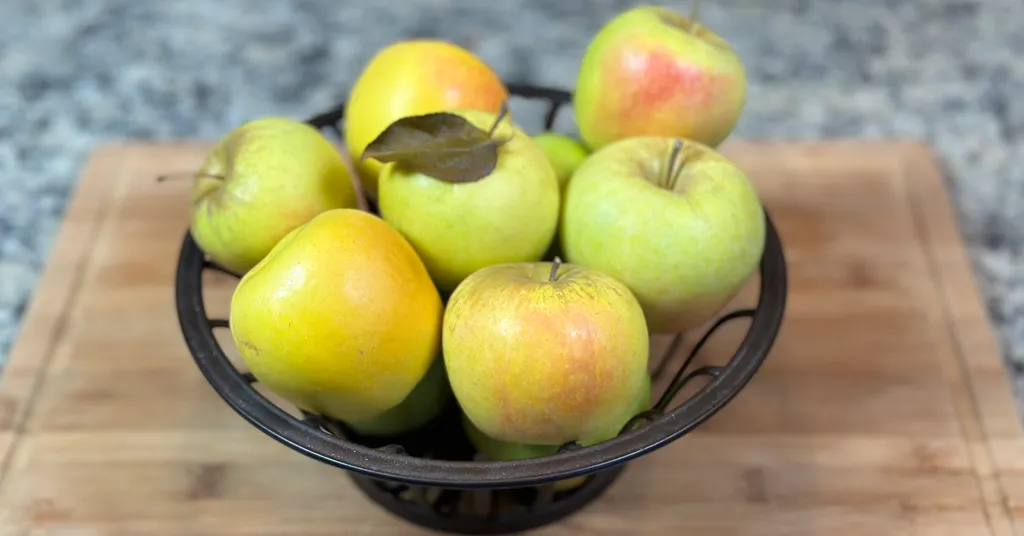
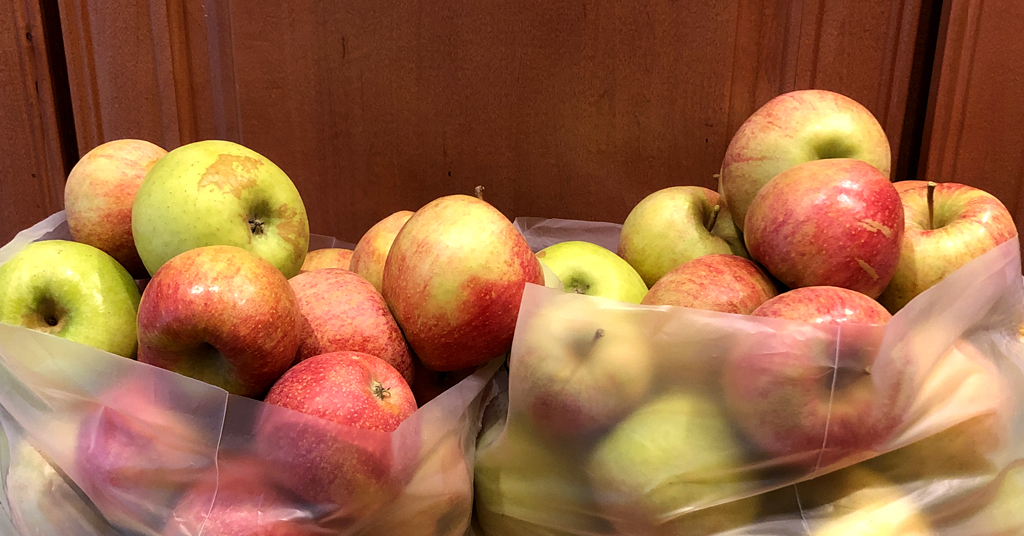
- 6 lbs Apples Peeled, cored, and quartered
- 2/3 cup Sugar
- 1/2 cup Water
- 1/2 cup Bottled Lemon Juice
Instructions
- Clean jars and lids with warm soapy water. Ensure the jars do not have any chips or bubbles in the glass.
- Wash your apples under cold water. Then peel, core, and quarter your apples. For this part, I used my handy Apple Peeler, Slicer, and Corer which makes the entire process of peeling, coring, and slicing your apples quick and efficient. You can also use a regular vegetable peeler an apple corer and a knife and cutting board if that is what you have on hand.
- Put your water bath canner on your stove. Add your canning rack to your water bath canner. Add your pint jars to the water bath canner. They will warm as you heat the water. Add enough water to cover jars with at least 2-3 inches of water. Bring to a boil and allow the jars to boil for 10 minutes.
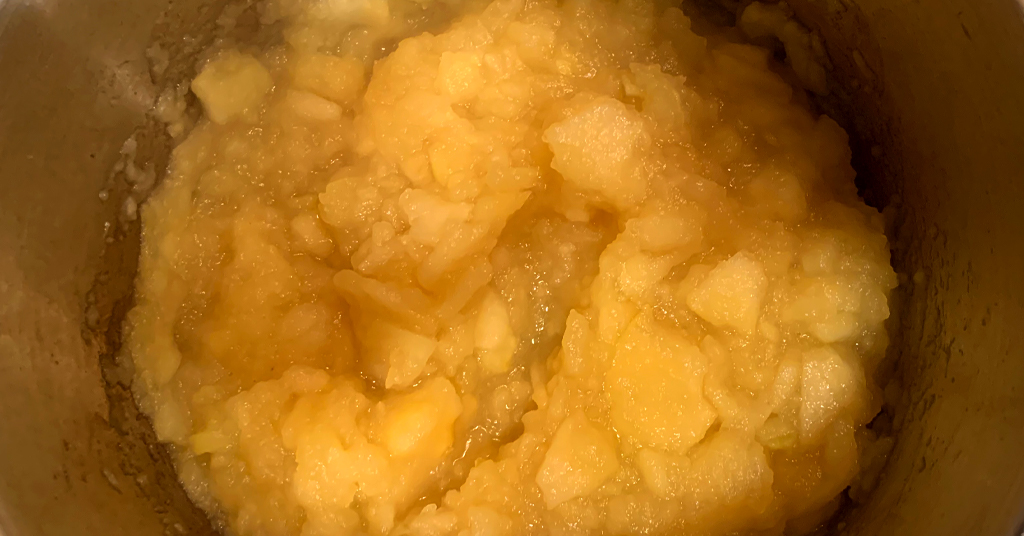
- Combine your apples, sugar, water, and lemon juice in your stainless steel pot or enameled Dutch oven. Cook for 25 minutes over low-medium heat, stirring occasionally, until apples are very tender.
- Decide if you would like chunky applesauce or smooth applesauce. If you would like chunky applesauce mash apples with a potato masher to desired consistency. If you would like a smooth applesauce cool your apples slightly and process in batches in your food processor until smooth. Return smooth applesauce to your pot or Dutch oven and bring applesauce to a boil before filling jars.
- Remove your jars from the water bath canner one at a time using your jar lifter. Dump water out of the jar into your water bath canner. Ladle hot applesauce into hot jars, leaving 1/2 inch headspace (use your headspace measurer to verify the correct amount).
- Using your de-bubbler make sure to remove all air bubbles. Applesauce has a thinker consistency so air bubbles may be hiding so ensure you do this a few times to remove as many air bubbles as possible. Adjust headspace, if necessary, by adding additional hot applesauce.
- Wipe the rim of the jar to ensure a good seal is made with the lid. Center the lid on the jar and add the band to fingertip tight. Put the jar back into the water bath canner using your jar lifter.
- Repeat steps 6-8 for the remaining applesauce, until the jars are filled.
- Lower the water bath canner rack into the boiling water. Ensure your jars are covered by at least 2 inches of water. If your water is not boiling start your processing time when the water is boiling. Process pint jars for 20 minutes. Make sure to adjust your time for altitude. Set a timer, it makes it much easier to make sure you process for the correct time. When your timer goes off turn off the heat and remove the canner lid. Leave the jars in the water for 5 minutes.
- Lift your canning rack out of the water. Using your jar lifer carefully move your jars onto a wire rack or kitchen towel to allow them to cool. When moving your jars try not to tilt them to the side as this could affect the seal of your jars. Allow your jars to cool for 12-24 hours before handling.
- Once cool, remove the canning rings from the jars. Wash your jars off to ensure there is no food residue on the outside of the jar from processing. Label your jar with the name of the recipe and date. This will help you remember what recipe you used to can and the date will allow you to use the oldest canned goods first.
Notes
This recipe comes from The All New Ball Book of Canning and Preserving. The recipe is found on page 139 called Applesauce.