


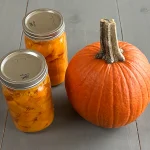
Canning Pumpkin
This is a pressure canning recipe only. Pumpkin can NOT safely be water bath canned. This recipe comes from Ball's Complete Book of Home Preserving pg 393. You will need about 2 and ¼ lbs of pumpkin for each quart jar. This can be canned in quart-size jars or smaller but I prefer quart size for canning pumpkin cubes.
Servings 1 Quart Jars
Calories 155.97kcal
Equipment
- Large stainless steel pot or Enameled Dutch Oven
- Enameled Dutch Oven or Large Stainless Steel Pot
- Water kettle or large pot of boiling water
- Knife or vegetable peeler
Ingredients
- Pumpkin 2 and 1/3 lbs per 1 quart jar
- Salt (Optional)
- Boiling Water
Instructions
- Prepare your Pressure Canner according to Manufacturer instructions.
- Clean jars and lids with warm soapy water. Ensure the jars do not have any chips or bubbles in the glass. Heat jars in hot water.
- Wash pumpkin
- Cut in half and remove the seeds
- Remove the rind of the pumpkin
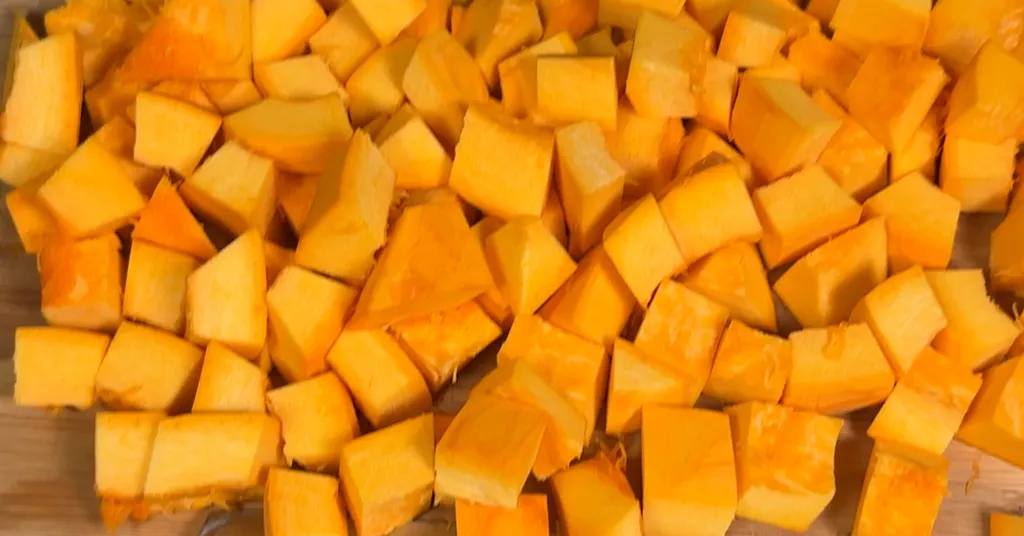
- Cut Pumpkin into 1-inch cubes (Do not mash or puree)
- In the stainless steel pot or enameled Dutch oven bring enough water to boil to cover the pumpkin cubes.
- Add Pumpkin cubes to boiling water. Bring water back to a boil over medium-high heat. Boil Pumpkin cubes for 2 minutes (until heated through but not soft)
- Drain pumpkin cubes and discard the cooking liquid.
- Heat more boiling water in a water kettle or another large pot.
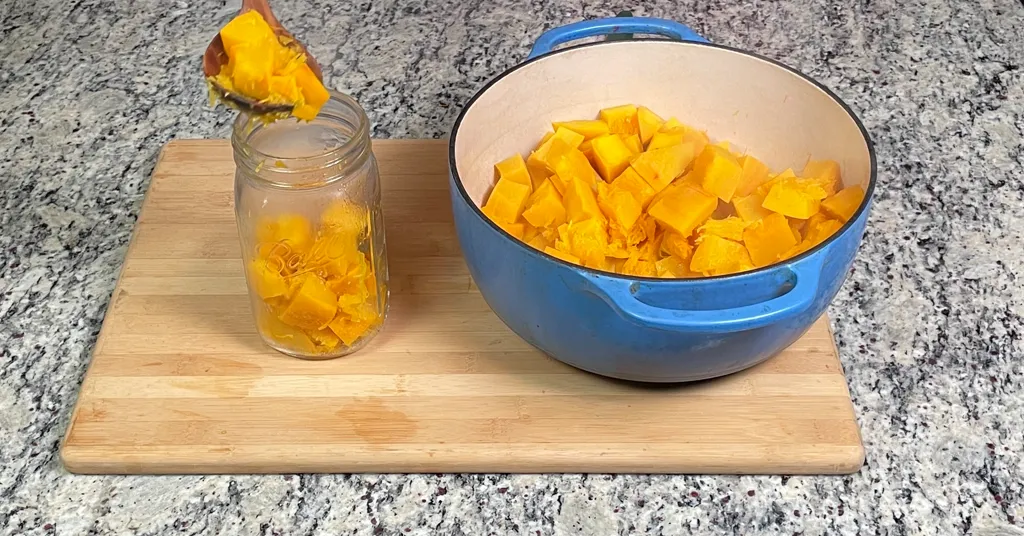
- Pack hot pumpkin cubes into hot jars with a generous 1-inch headspace.
- Add salt if using. ½ tsp per pint jar or 1 tsp per quart jar.
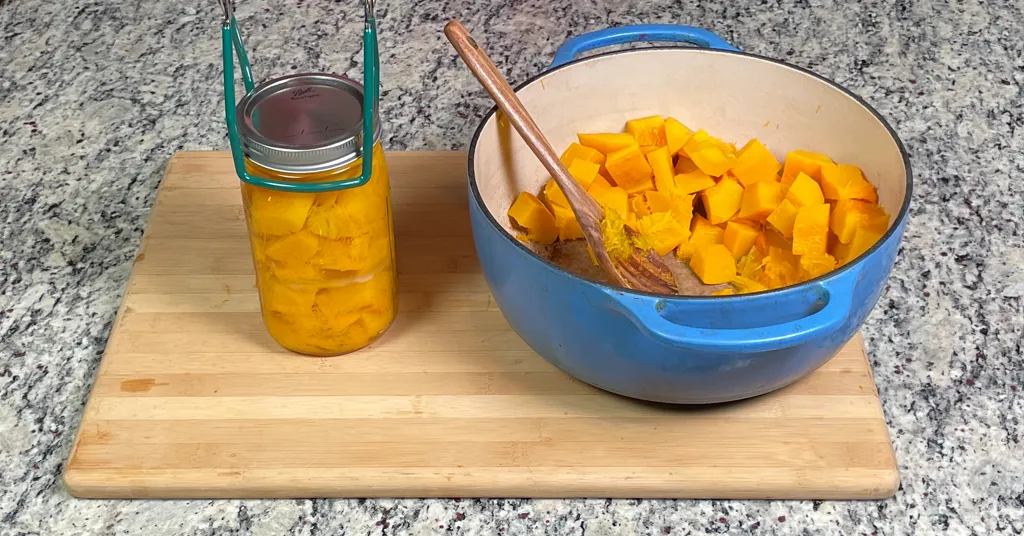
- Ladle fresh boiling water into the jar (I use a hot water kettle and just pour the boiling water into the jar) to cover the pumpkin leaving 1-inch headspace.
- Remove air bubbles with a de-bubbler and adjust the headspace as needed by adding more boiling water. Wipe the rim to ensure a good seal is made with the lid. Center the lid on the jar and screw the band down to fingertip tight.
- Place jars into the pressure canner using your jar lifter. Repeat steps 11-13 until all pumpkin has been used.
- Adjust the water level if needed, lock the pressure canner lid, and bring to a boil over medium-high heat. Vent steam for 10 minutes, then close the vent. Continue heating your pressure canner to achieve 10 lbs of pressure (Make sure to adjust for your altitude) and maintain that pressure for the entire cooking time.
- Process Pint jars for 55 minutes and quart jars for 90 minutes. Set a timer so it is much easier to remember how long you need to pressure can for.
- Turn off the heat when the timer is complete. Let pressure return to zero naturally. Wait 2 minutes after the pressure gauge reads 0, then open your vent. Remove your canner lid (making sure to lift it away from you so you don't get burned by the steam).
- Leave jars in the pressure canner for 10 minutes after you remove the lid. Using your jar lifer carefully move the jars onto a wire rack or kitchen towel to allow them to cool. When moving the jars try not to tilt them to the side as this could affect the seal of the jars. Allow your jars to cool for 12-24 hours before handling.
- Once cool, remove the canning rings from the jars. Wash your jars off to ensure no food residue on the outside of the jar from processing. Label your jar with the name of the recipe and date. This will help you remember what recipe you used to can and the date will allow you to use the oldest canned goods first.
Notes
This is a pressure canning recipe only. Pumpkin can NOT safely be water bath canned. This recipe comes from Ball's Complete Book of Home Preserving pg 393.
Nutrition
Serving: 1Quart Size Jar | Calories: 155.97kcal | Carbohydrates: 38.92g | Protein: 5.99g | Fat: 0.6g | Saturated Fat: 0.3g | Monounsaturated Fat: 0.06g | Sodium: 5.99mg | Potassium: 2035.71mg | Fiber: 2.99g | Sugar: 16.52g | Vitamin C: 53.89mg | Calcium: 125.73mg | Iron: 4.79mg