


Water Bath Canning Zesty Salsa
Water Bath Canning Zesty Salsa. Use Ball Canning's recipe from Ball's Complete Book of Home Preserving to water bath tomatoes, peppers, onions, and garlic to make a delicious Zesty Salsa.
Servings 6 pint jars
Equipment
- Ice Bath
Ingredients
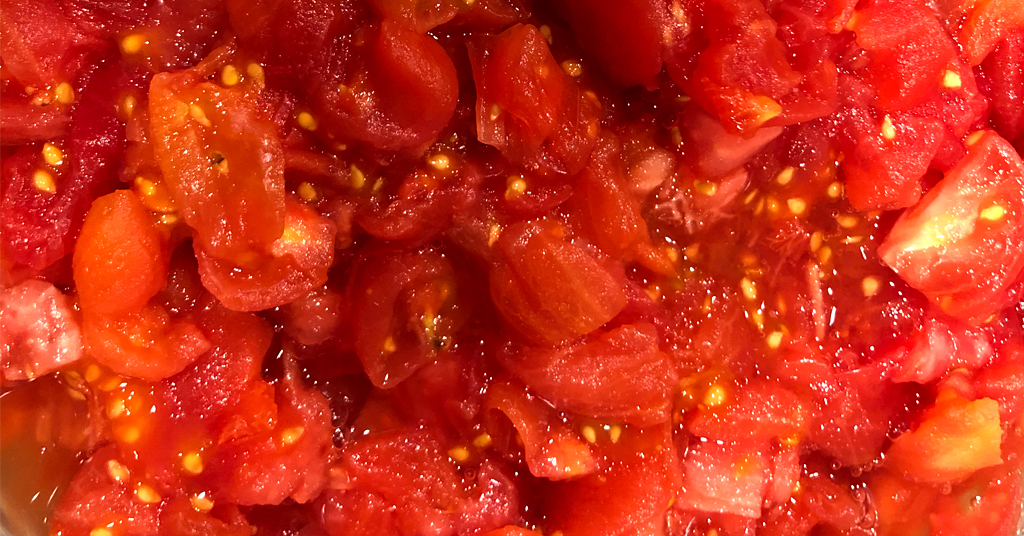
- 10 cups Cored, Peeled, Chopped Tomatoes
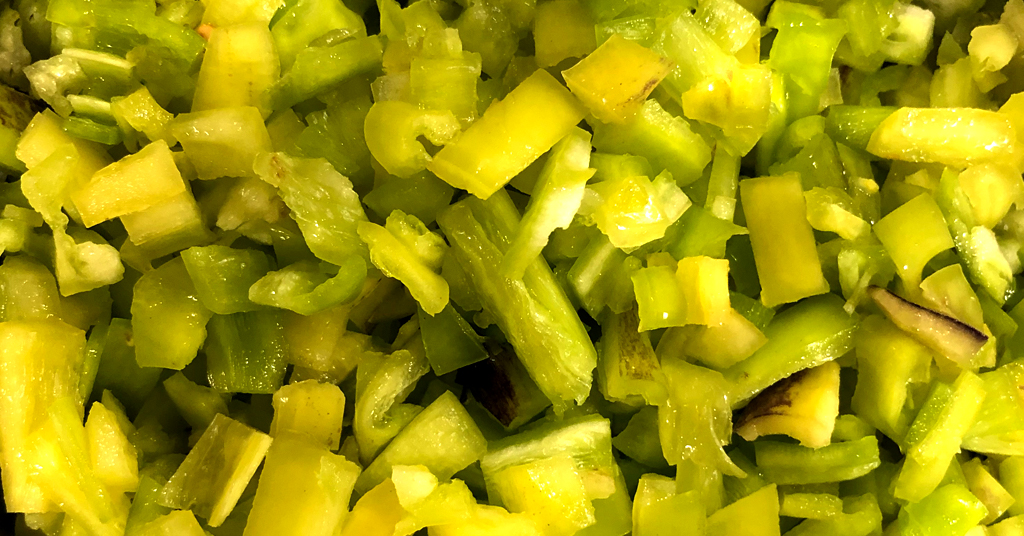
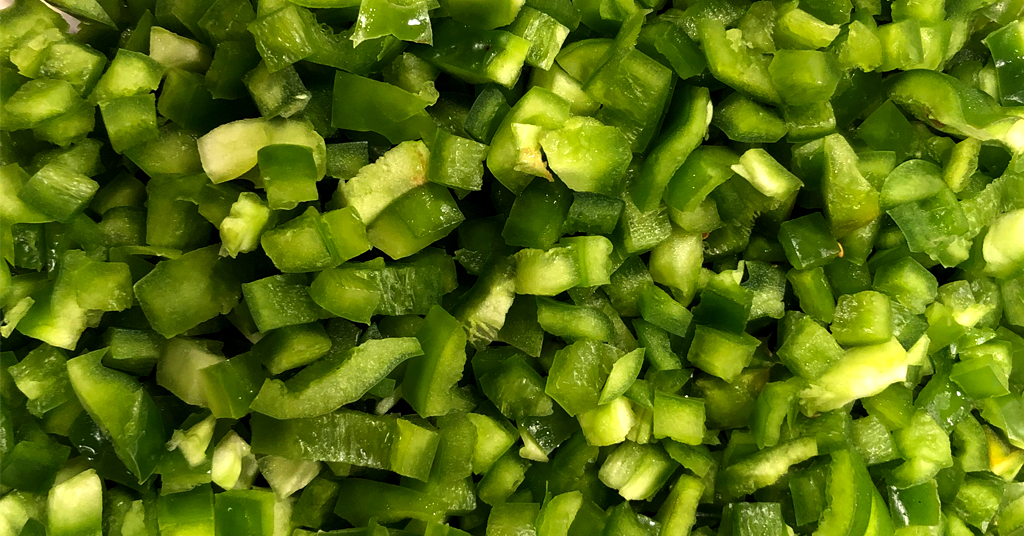
- 5 cups Green bell peppers Seeded, Chopped
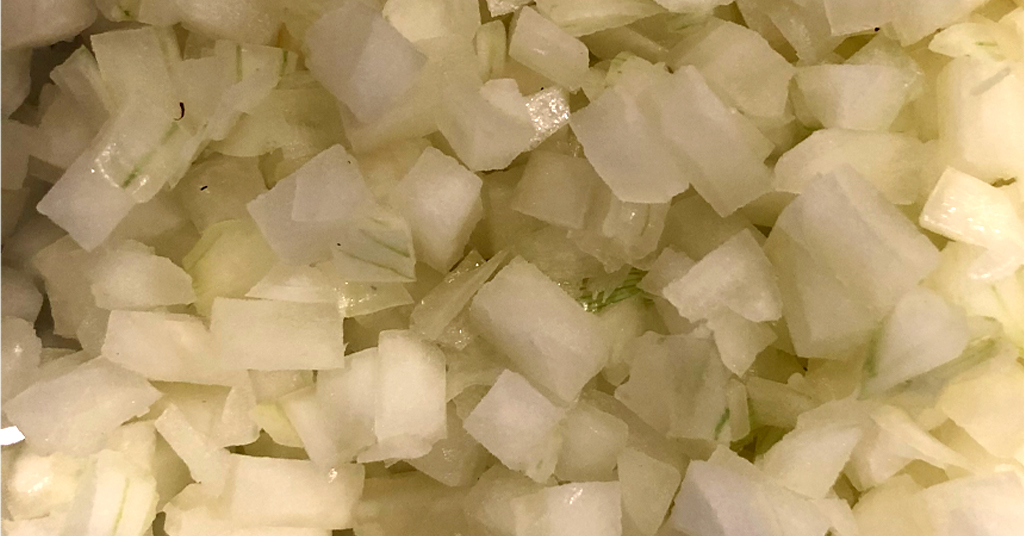
- 5 cups Onions Chopped
- 2 1/2 cups Chili Peppers, such as hot banana peppers (yellow wax), Hungarian wax, serrano, or jalapeno Seeded, Chopped
- 1 1/4 cups Cider Vinegar
- 3 cloves Garlic Finely Chopped
- 2 tbsp Cilantro Finely Chopped
- 1 tbsp Salt
- 1 tsp Hot Pepper Sauce (Optional)
Instructions
- Clean jars and lids with warm soapy water. Ensure the jars do not have any chips or bubbles in the glass.
- Core, peel, and chop your tomatoes: Start by coring your tomatoes using a knife then cut an X in the bottom of the tomatoes to help with peeling.To peel the tomatoes we are going to blanch them. Boil a large pot of water. Once the water is boiling get a large bowl of ice and fill it with water (Ice Bath) place next to your stove. Working in batches drop the tomatoes into the boiling water, this will cause their skin to split. Using the slotted spoon remove the tomatoes from the boiling water and immediately put them in the ice bath. This will cause the tomatoes to stop cooking. Once you have completed this process with all your tomatoes their skin should easily be removed. Using your knife and cutting board chop your tomatoes, measure out 10 cups, and place them in a bowl.
- Seed and chop peppers: Using your knife and cutting board remove the stems from your green peppers and your chili peppers. I use gloves when cutting peppers to avoid getting pepper burns from the capsaicin. This chemical is found in all spicy peppers, and it is the ingredient responsible for their fiery flavor. Remove the seeds from your peppers (If you don't mind the heat, you can leave the seeds and veins in the chili peppers). Using your knife and cutting board or your Meuller Austria Onion Chopper Pro chop the peppers into small pieces and place them into a bowl.
- Chop onions, garlic, and cilantro: Using your knife and cutting board or your Meuller Austria Onion Chopper Pro chop the onions into small pieces and place them into a bowl. Using your knife and cutting board finely chop your garlic cloves and your cilantro and place them into a bowl.
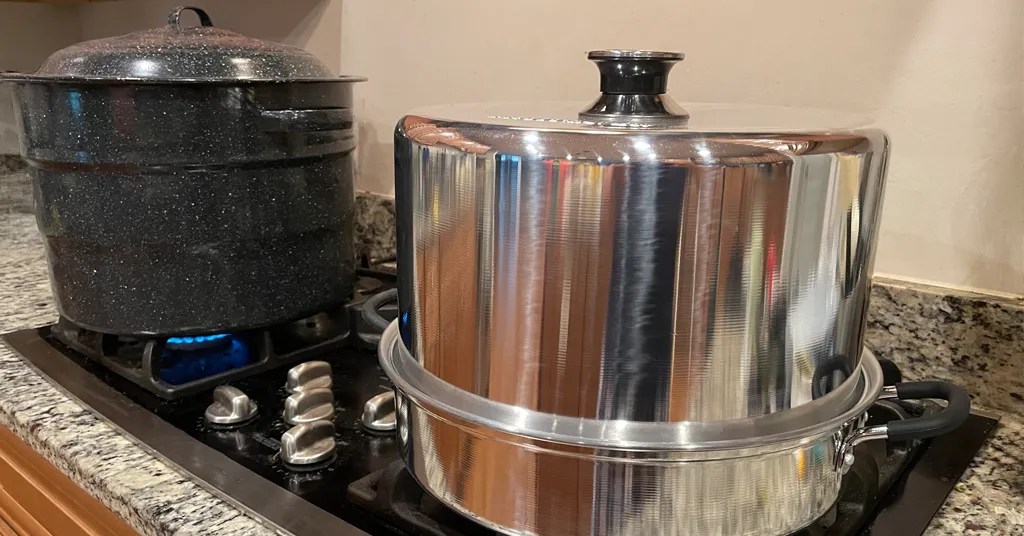
- Prepare Water Bath Canner: Put your water bath canner on your stove. Add your canning rack to your water bath canner. Add your pint jars or half-pint jars to the water bath canner. They will warm as you heat the water. Add enough water to cover jars with at least 2-3 inches of water. Start heating your water and jars over medium-high heat.Prepare Steam Canner: Put your steam canner on your stove. Add the steam canner rack to the bottom of the steam canner. Add the recommended amount of water to the steam canner according to the manufacturer. Add your pint or half-pint jars to the steam canner. Put the lid on your steam canner and start your stove. The jars will warm as you heat your steam canner.
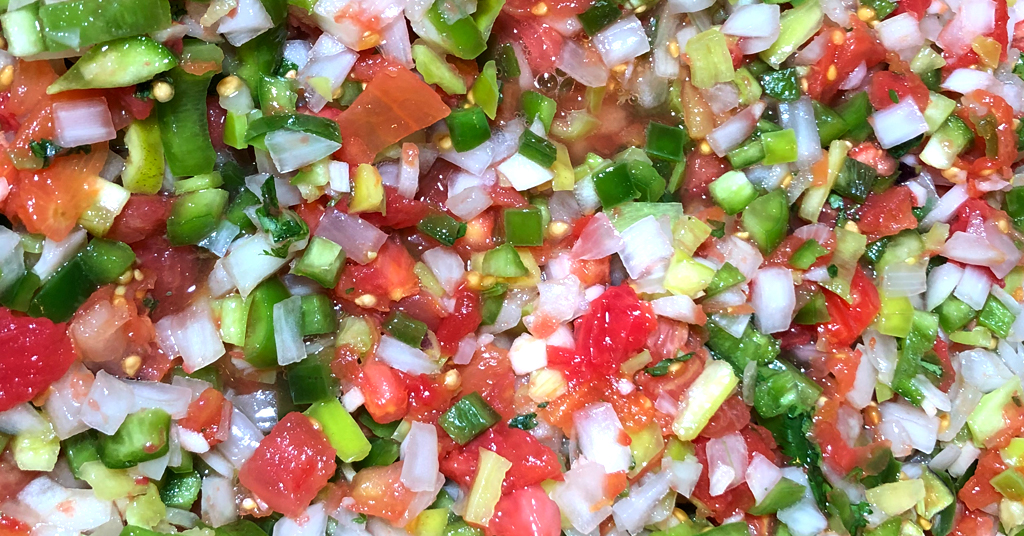
- Combine ingredients and cook: In the large stainless steel pot, combine all ingredients (tomatoes, green peppers, onions, chili peppers, vinegar, garlic, cilantro, salt, and hot pepper sauce (optional)). Bring ingredients to a boil over medium-high heat, stirring constantly. Reduce heat and boil gently, stirring frequently, until slightly thickened (about 10 minutes)
- Packing Salsa into jars: Remove your jars from the water bath canner one at a time using your jar lifter. Dump water out of the jar into your water bath canner. Ladle hot salsa into hot jars, leaving 1/2 inch headspace (use your headspace measurer to verify the correct amount)
- De-bubble Your Zesty Salsa: Using your de-bubbler make sure to remove all air bubbles. Adjust headspace, if necessary, by adding additional hot salsa.
- Sealing Jar: Wipe the rim of the jar to ensure a good seal is made with the lid. Center the lid on the jar and add the band to fingertip-tight. Put the jar back into the water bath canner.
- Repeat steps for Remaining Jars: Repeat steps 7-9 for the remaining salsa, until the jars are filled.
- Process Jars in Water Bath Canner: Lower the water bath canner rack into the boiling water. Ensure your jars are covered by at least 2 inches of water. If your water is not boiling start your processing time when the water is boiling. Process both pint jars or half-pint jars for 15 minutes. Make sure to adjust your time for altitude. Set a timer, it makes it much easier to make sure you process for the correct time. When your timer goes off turn off the heat and remove the canner lid. Leave the jars in the water for 5 minutes. Process Jars in a Steam Canner:Put the lid on the steam canner. Turn your stove on high until your steam canner water comes to a vigorous boil. Continue heating so the indicator is in the correct "Zone" per your altitude.Start your processing time when the needle reaches the maximum point you have tested your steam canner to reach in your "Zone".Adjust the burner so that it maintains an even rolling boil throughout the entire processing time. Usually, this will be much lower than where it was set for the vigorous boil. If the top lid is lifting and/or spitting water from the edges this is an indication that you have the heat turned up too high. Slowly reduce the heat until this stops. Watch the indicator to ensure the temperature does not decrease.The processing times for steam canning are the same as for water bath canning. Process pint and half-pint jars for 15 minutes. Make sure to adjust your time for altitude. Set a timer, it makes it much easier to make sure you process for the correct time. When your timer goes off turn off the heat and let the canner stand for 5 minutes with the lid on before removing the jars. The lid MUST remain ON the canner during this time. This cool-down period is necessary to ensure the jar contents are properly processed.Carefully remove the lid by tilting it away from you to avoid steam burns.
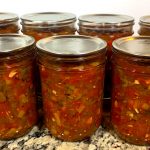
- Remove Jars and Cool: Using your jar lifer carefully move your jars onto a wire rack or kitchen towel to allow them to cool. When moving your jars try not to tilt them to the side as this could affect the seal of your jars. Allow your jars to cool for 12-24 hours before handling.
- Once cool, remove the canning rings from the jars. Wash your jars off to ensure no food residue on the outside of the jar from processing. Label your jar with the name of the recipe and date. This will help you remember what recipe you used to can and the date will allow you to use the oldest canned goods first.
Notes
The recipe comes from Ball Complete Book of Home Preserving on page 207.
Ball also has this recipe on their website called Zesty Salsa