


Dehydrated Apples
Easy dehydrator recipe and instructions for Dehydrating Apples
Equipment
Ingredients
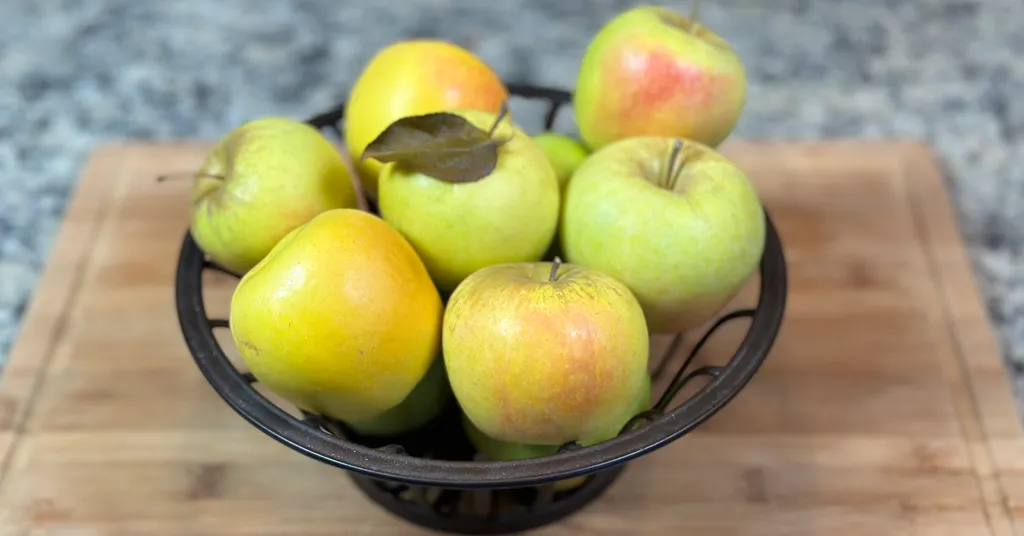
- Apples Fuji, Honeycrisp, Granny Smith, McIntosh, Crispin, Cortland or Northern Spy work well
- Salt (Optional)
- Cinnamon (Optional)
Instructions
- Wash apples thoroughly
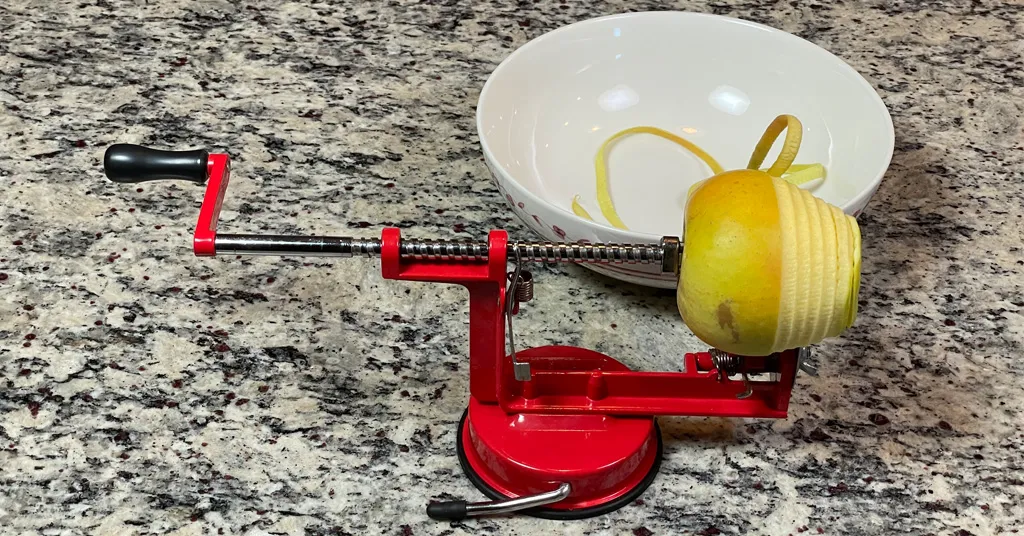
- Peel if desired. (I like to use my apple corer, peeler, and slicer to peel, core, and cut the apples all at once). Apple skin does toughen slightly when dried. If you are planning to rehydrate and cook the apples, you may want to peel them before drying. If using the apples for a snack, leave the skin on for extra fiber.
- Core apples with an apple corer
- Slice apple uniformly with a knife and cutting board to ensure consistent drying. Aim for slices around 1/4 inch thick. You can also use a mandoline for even slices.
- Prevent your apple slices from turning brown: The best way to keep apples from browning is to submerge the sliced apples in a large bowl of salted water. Use a ratio of 1/2 teaspoon of kosher salt for every cup of room-temperature water. Soak the apples in the solution for about five minutes, then rinse them in a colander under running water.
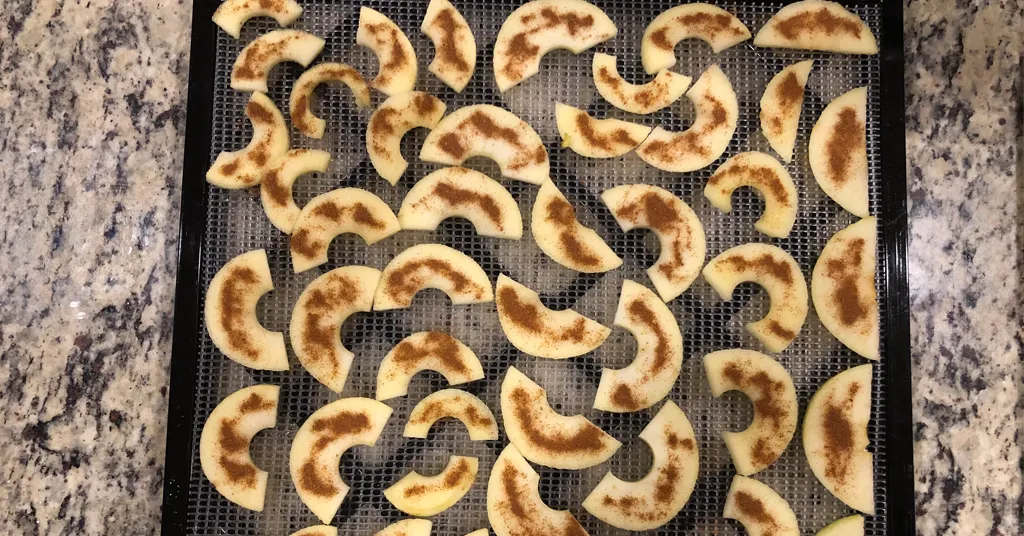
- Add apple slices to mesh dehydrator trays making sure they do not overlap.
- If desired, sprinkle apple slices with cinnamon or other seasoning.
- Set your dehydrator to around 130°F (54°C).
- Expect apples to take anywhere from 4 to 8 hours to dehydrate, depending on thickness and humidity. Test doneness around the 4-hour mark and continue to check apple slices if they need more time.
- When done apple slices should feel dry and leathery and be spongy and still flexible.
- Place your apple slices in airtight containers or vacuum-sealed bags to shield them from moisture and air.
- Store in a cool, dark place to maintain flavor and texture over an extended period.