There are some water bath canning supplies you need to start your canning journey. I love to can the fresh produce that I pick from my garden. It gives me great satisfaction that I can provide delicious foods for my family and that I know all the ingredients that have been added.
I have been slowly replacing certain items we always buy at the grocery store with home-canned versions and my family thinks they are delicious. Let’s discuss the items you need to start water bath canning below.
Mason Jars and Accessories
Jars
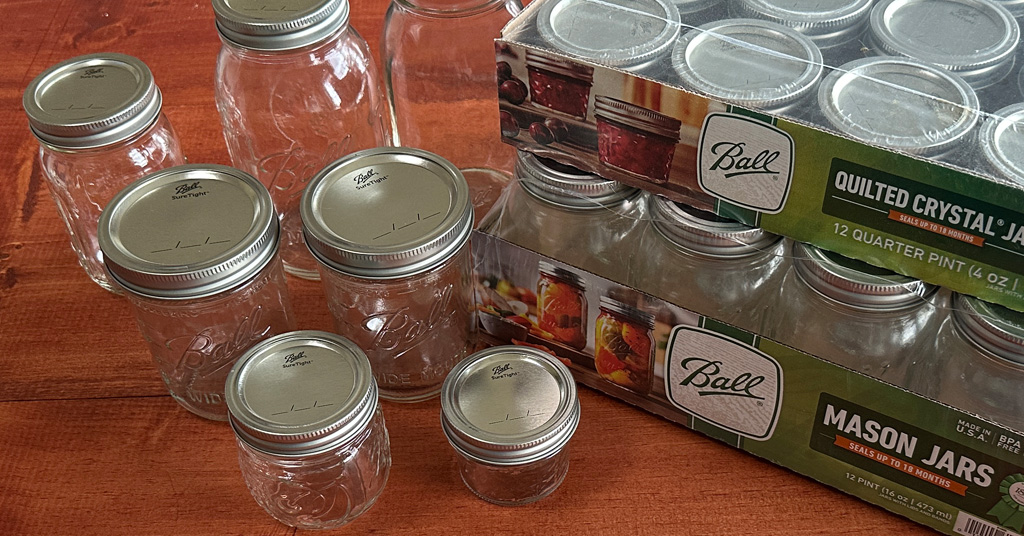
Mason Jars are one of the essential canning supplies. I typically use Ball canning jars because they are easy for me to find at my local grocery store or Walmart. I buy them in 1/4 pints (4 oz), 1/2 pints (8 oz), pints (16 oz), and quarts (32 oz). They also have 1/2 gallon size as well but I don’t use those currently. The quarts and pints come in both regular-mouth jars and wide-mouth jars. The wide-mouth jars are great for pickles because you can easily pack the cucumbers in and get the pickles out of the jar. I typically use regular mouth jars for things that can be poured out easily like sauce or salsa.
Kerr also makes canning jars and lids but those are not as easy to find by me so I have not used them as much. Kerr and Ball are now owned by the same company Jarden so you can use them in the same way without worry.
Different Sized Ball Mason Jars
Lids and Bands
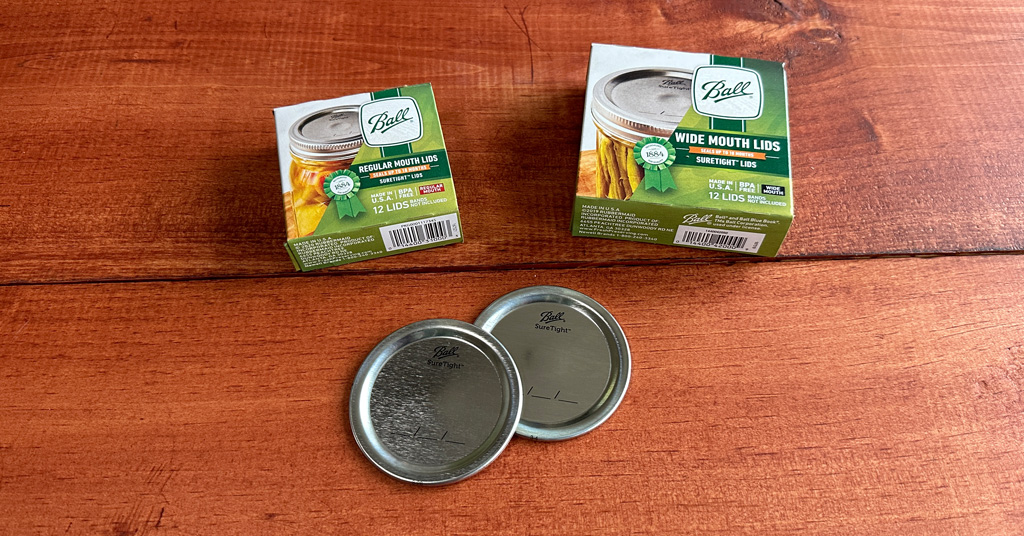
Lids and bands/rings are also essential canning supplies. When you buy your first mason jars they will come with the lid and band attached. Lids can not be reused after you can with them. Their seals will be no good anymore if you try to can with them again. Find out more information in Is it safe to reuse canning lids? Eventually, you will need to buy replacement Lids. You can buy Ball and Kerr lids (regular mouth and wide mouth) in boxes of 12 lids.
Ball Mason Jar Lids
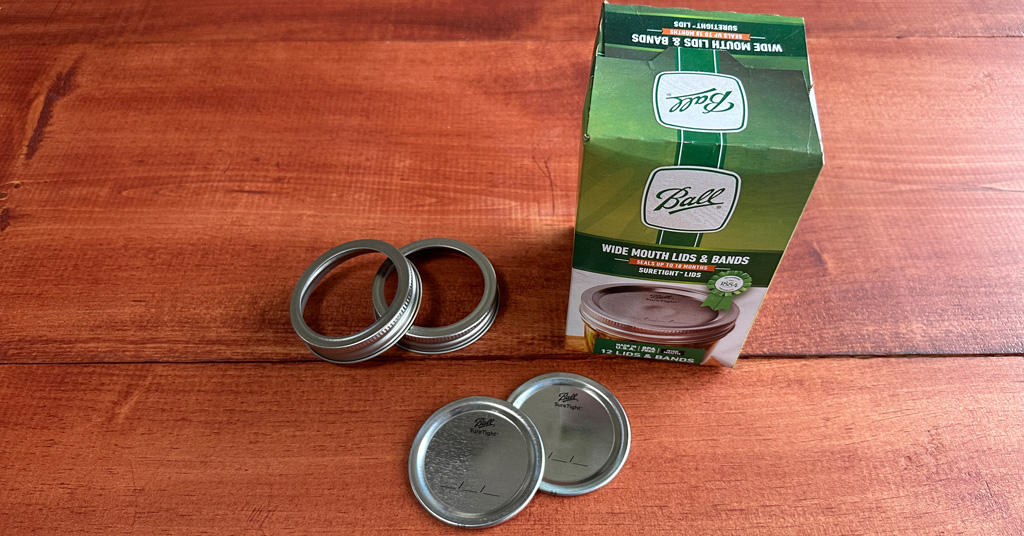
You can reuse the bands on the canning jars over and over. Sometimes your will need to replace them if they are too rusty or have been bent out of shape to screw correctly onto the mason jar. If you need to replace some bands you can find them in boxes of 12 and they come with new lids as well (These also come in regular mouth and wide mouth sizes).
Ball Mason Jar Bands and Lids
Water Bath Canning Made Easy
Preserve the flavors of your favorite fruits and vegetables with my FREE comprehensive and beginner-friendly Water Bath canning eBook.
Water Bath Canner and Rack
Canner/Pot
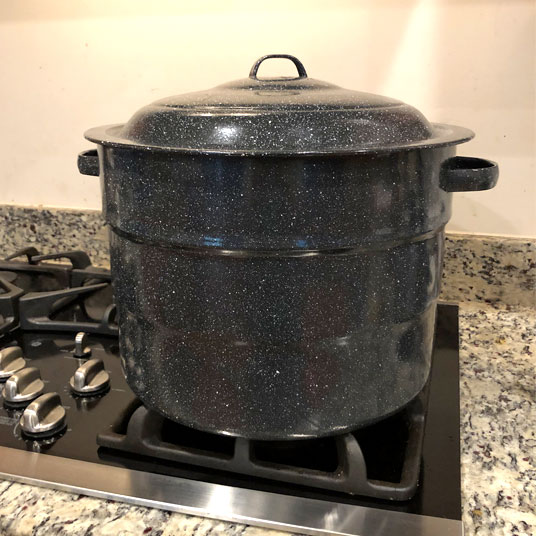
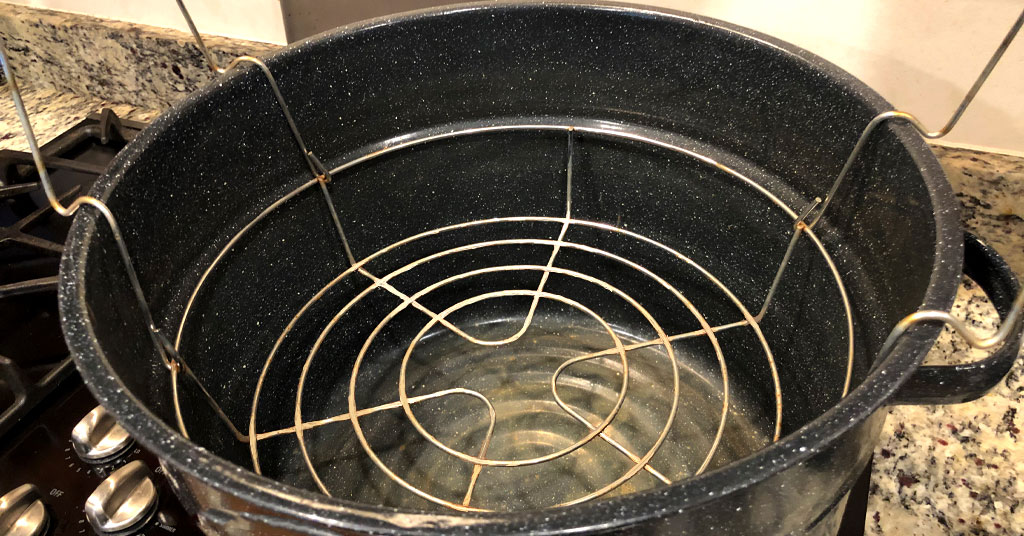
You do not need to break your budget here and you might even be able to use a pot you already have in your kitchen. You need to find a large pot with a lid that can be used on your stove. The pot needs to be large enough to cover the jars with at least 1-2 inches of water while you are processing them in the water bath canner. I have a Granite Ware canner that I use for canning. It came with a canning rack and lid. There are many different options of pots you can use but starting out with a Granite Ware canner is an easy and inexpensive way to get started.
Water Bath Canner Pot
Canning Rack
You need some kind of canning rack to keep the jars off the bottom of your pot. If the jars are resting directly on the bottom of the pot they can be too close to the heating element under the pot causing them can break, which is very sad after you have worked so hard to process your food. The second reason you need to use a canning rack is it allows the boiling water to circulate all around the mason jar, which aids in heat penetration and proper, safe water bath canning. Here is the rack that fits within the Granite Ware pot. You could also tie some of your extra canning rings together to make a DIY rack for the inside of your pot.
Water Bath Canning Rack
Basic Water Bath Canning Tools
Jar Lifter
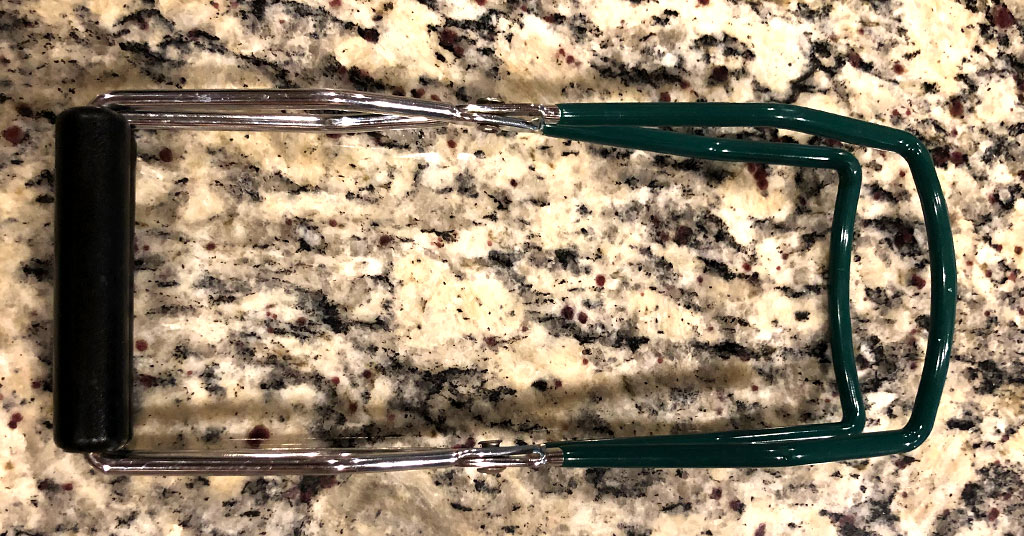
This is a very important canning tool. You will use this to lift your jars out of the canner and put them back into the canner while the water is very hot. I used my jar lifter upside down for several canning sessions before I realized I was using it wrong. The black handles on mine are the part you hold and you grab the neck of the jar with the other side. I would have never figured that out before watching a video with someone canning with it. I had a good laugh at myself. They are much easier to use when you are doing it correctly.
Jar Lifter
Headspace Measurer and De-Bubbling Tool
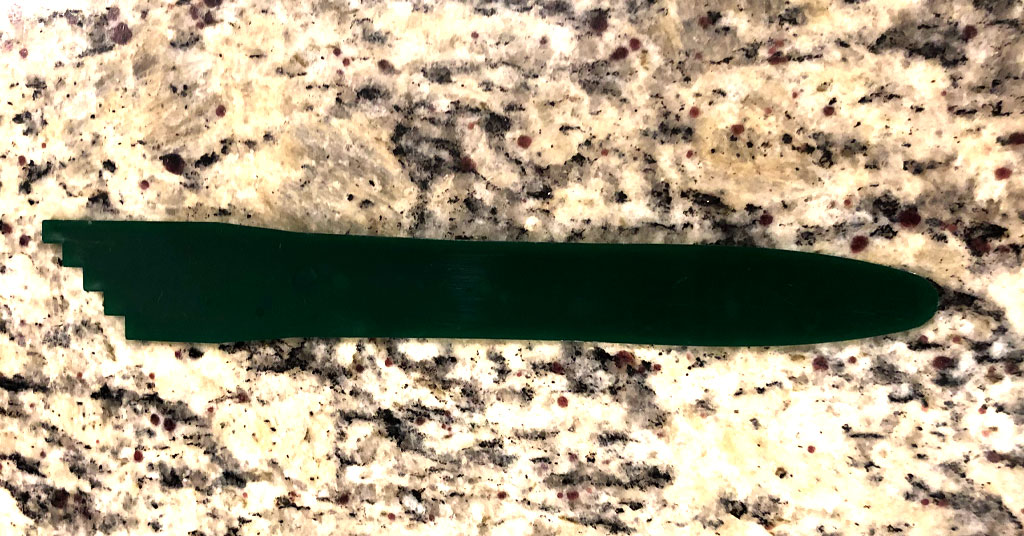
This cool headspace measurer and de-bubbling tool does a lot for you in the canning process. It has a stepped end that helps you to measure your headspace in the jar while processing. All recipes include the proper and safe headspace to leave in your jar while processing. Use this tool by resting it on your jar lip at the correct headspace number (1/8 inch, 1/4 inch, 1/2 inch, 1 inch). Fill your jar up to this spot to ensure proper headspace is left in your jar. The other end of this tool can be used to de-bubble your jars. This is very important to do before applying the lid and band. It ensures that the excess air is removed from your jar before processing. If you leave the excess air in the jar it can lead to improper headspace in your jar causing seal failures.
Headspace Measurer and De-Bubbling Tool
Canning Funnel
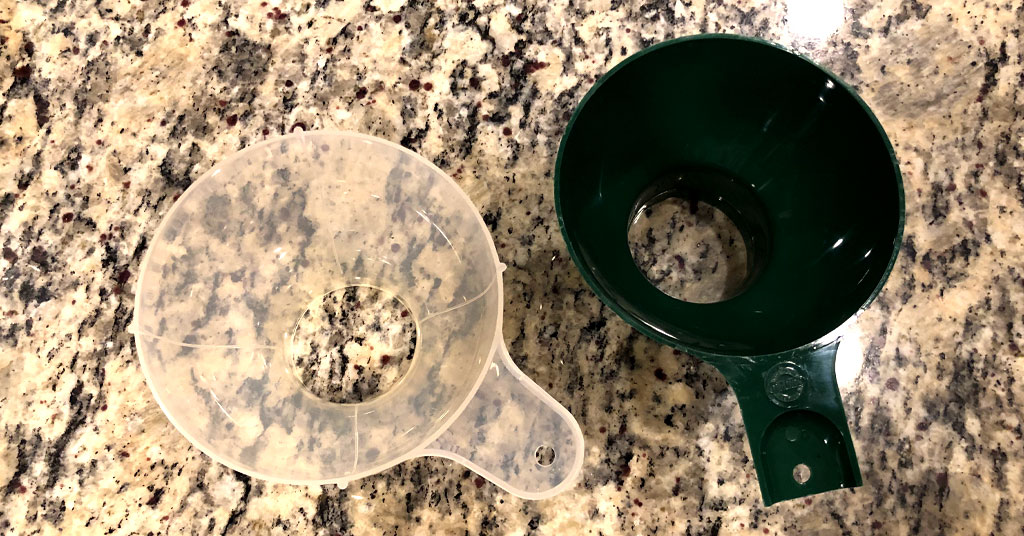
This is an important canning supply when doing water bath canning. It ensures you don’t spill your food all over the place and that your food ends up in your mason jar. I have both plastic canning funnels and metal canning funnels.
Canning Funnels
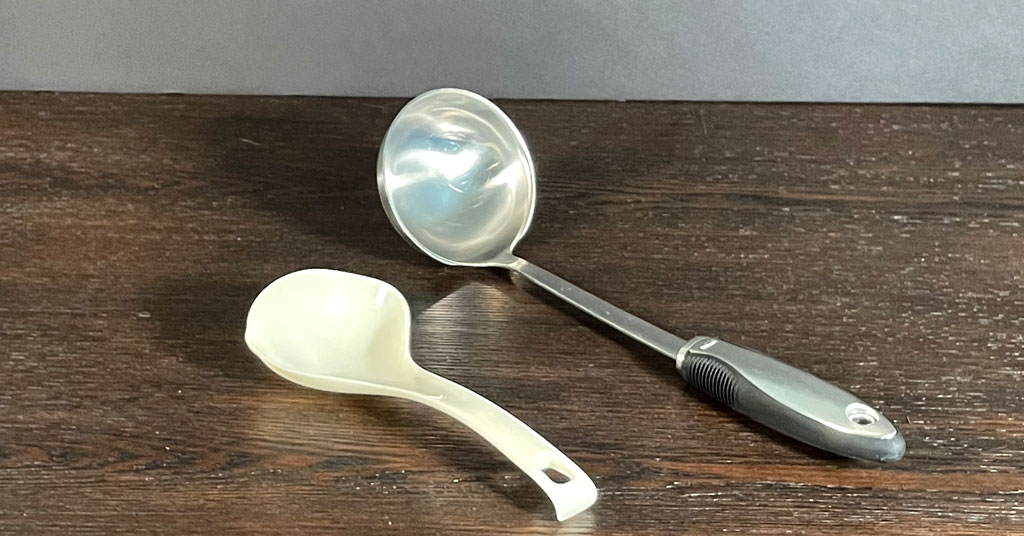
Ladle
You need a ladle to put your food into the funnel into your mason jar. Any ladle will work. I have both plastic ladles and metal ladles that hold different amounts of food.
Ladle
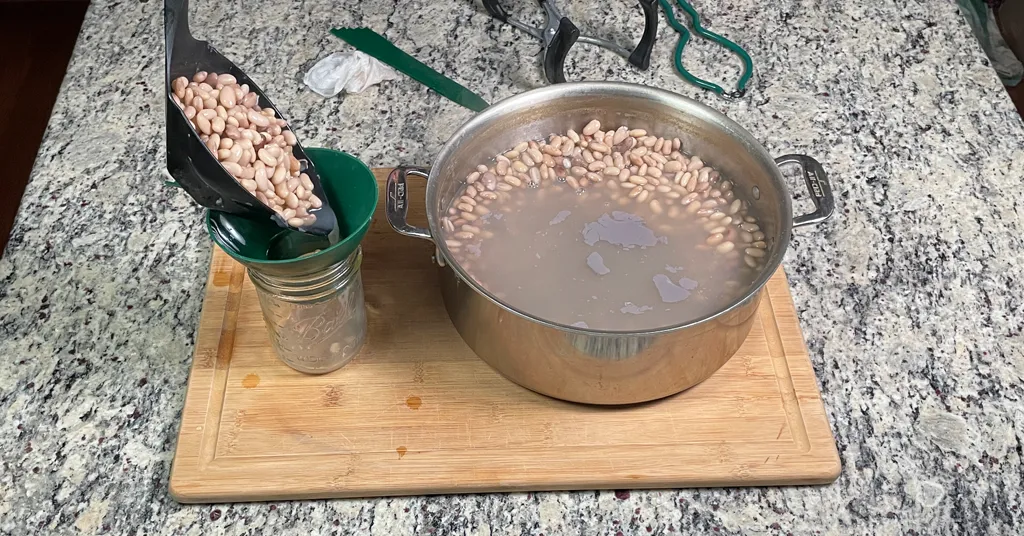
I have also discovered this cool 1/2-pint canning ladle. It makes ladling your food into your jars quick. You can see it in use in the picture below from when I was canning Pinto Beans.
Using 1/2-Pint Ladle to can Pinto Beans.
Magnetic Lid Lifter
This one is not essential because there are new rules about boiling lids before applying them to the jars. If you do want to sterilize your lids and rings before putting them on your jars you should have a magnetic jar lifter. That way you can remove the lids and rings from the hot water without burning yourself. Also allows you to have limited skin contact with the lid to keep them as clean as possible.
Magnetic Lid Lifter
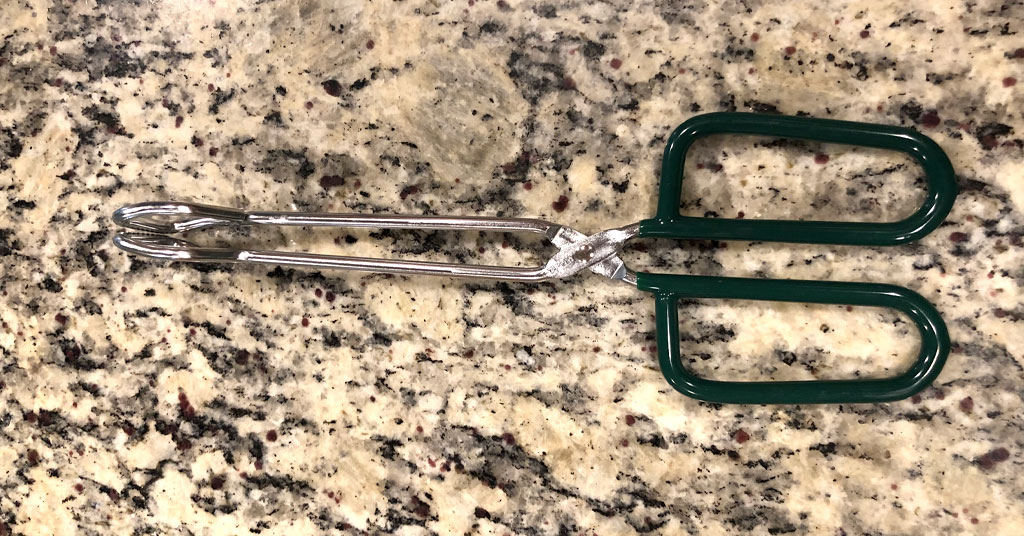
Tongs
Tongs can assist you with keeping sterilized canning components sanitary while you are canning. They can also assist in lifting hot canning jars or adding hot foods to the canning jars.
Tongs
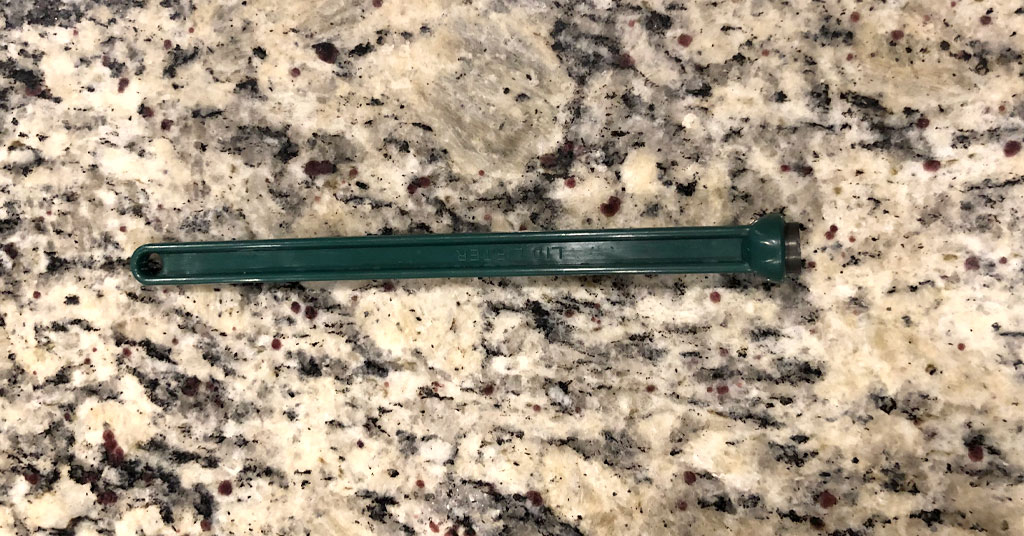
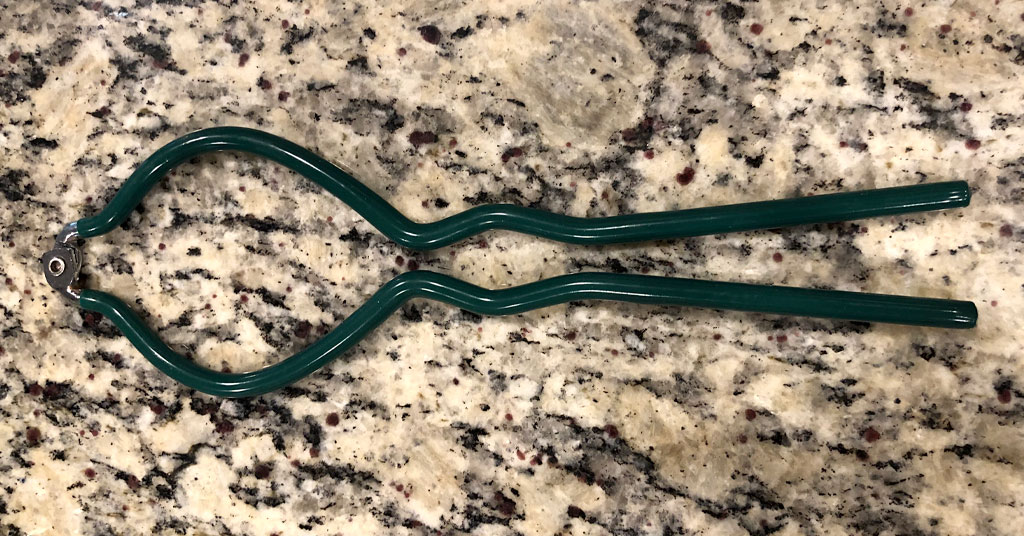
Jar Wrench
Securely hold hot jars with the jar wrench, while adding the lid and band to ensure jar stability and reduce burns from hot jars.
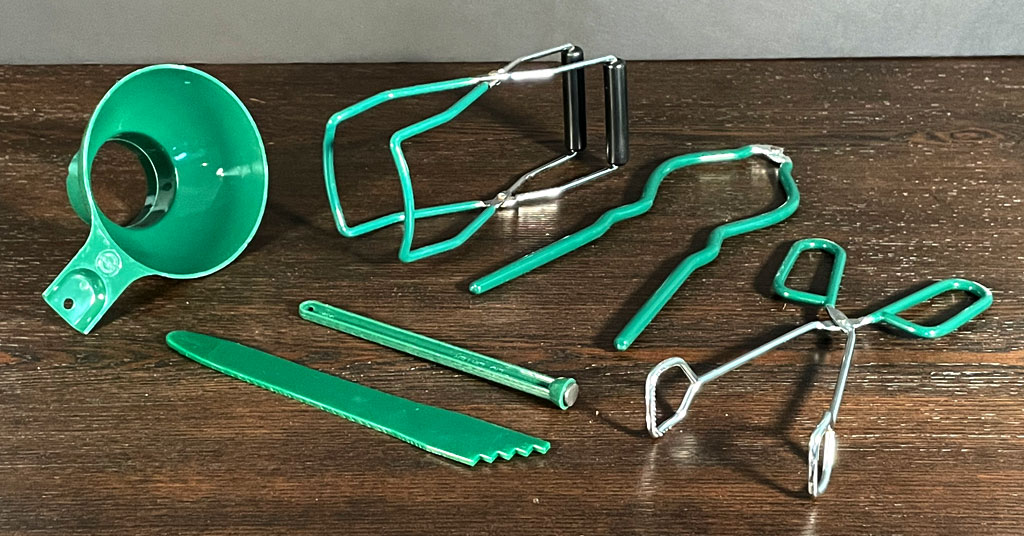
You can buy all the Canning Tools together as a set.
Let's Start Canning!
Now that you know all about the different canning supplies that are used when water bath canning, you should get yourself set up to start canning. It is such an enjoyable process and there are lots of easy and safe recipes you can make for your family.
Here are some of the recipes I love to make when water bath canning:
I hope you enjoy water bath canning as much as I do and share with me your new experiences with the process. Send me an email and let me know if there are any water bath canning recipes you are looking for. I will find you a safe and tested recipe to try.
Join My Preserving Guide Facebook Group
Expert tips, tested recipes, and vibrant discussions on canning, dehydrating, freezing, and all things food preservation!
Interested in learning more about the difference between water bath canning and pressure canning? This article breaks down the different processes for you and what they are each used for.
We use technologies like cookies to store and/or access device information. We do this to improve browsing experience and to show (non-) personalized ads. Consenting to these technologies will allow us to process data such as browsing behavior or unique IDs on this site. Not consenting or withdrawing consent, may adversely affect certain features and functions.