


This watermelon jelly recipe is a delightful and refreshing spread. Made from the juice of ripe watermelons, this jelly is bursting with sweet, fruity flavor and is perfect for spreading on toast, biscuits, or using as a glaze for meats. This recipe will give you step-by-step instructions for making and water bath or steam canning watermelon jelly. This recipe comes from Ball Canning’s Complete Book of Home Preserving on page 117.
What is Watermelon Jelly?
Watermelon jelly is a type of fruit preserves made from the juice of watermelons. To make this watermelon jelly recipe, you will need fresh watermelon juice, vinegar, lemon juice, sugar, lemongrass, and liquid pectin. The pectin acts as a thickening agent, giving the jelly its characteristic gel-like consistency.
Health Benefits of Watermelon Jelly
Watermelon jelly is not only delicious but also nutritious. Watermelons are low in calories but high in vitamins A and C, as well as antioxidants like lycopene, which may help protect against certain types of cancer and heart disease.
Choosing the Right Watermelon
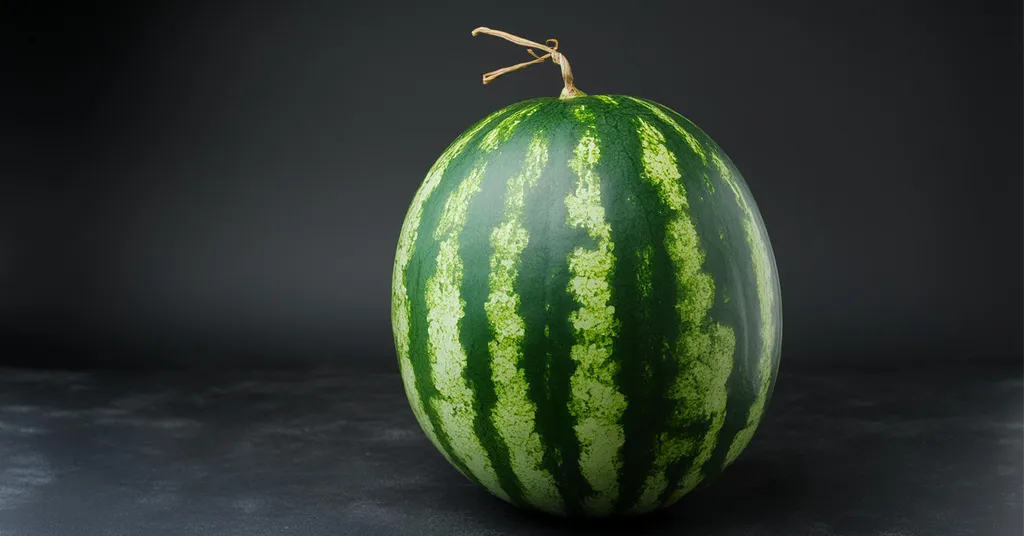
The first step in making watermelon jelly is selecting the right watermelon. Look for a ripe, firm watermelon that feels heavy for its size. A yellow spot on the bottom indicates ripeness, as does a dull rather than shiny rind.

Watermelon Jelly Recipe Ingredients
- 6 cups (1.5 L) chopped watermelon, rind removed
- 1/2 cup (125 mL) white balsamic vinegar, white wine vinegar, or apple cider vinegar
- 4 tbsp (60 mL) bottled lemon juice
- 5 cups (1.25 L) granulated sugar
- 1 stem lemongrass, chopped
- 2 pouches (each 3 oz/85 mL) liquid pectin
Equipment Needed for Watermelon Jelly Recipe
Here is the list of equipment I used when making this watermelon jelly recipe.
- Knife
- Cutting Board
- Cheesecloth
- Mesh Strainer
- Large Bowl
- Measuring Cups
- Large Stainless Steel Pot or Enameled Dutch Oven
- Potato Masher
- 1/2 pint Canning Ladle
- Water Bath Canner or Steam Canner
- Half-Pint Sized Canning Jars
- Canning Lids
- Canning Rings
- Jar Lifter
- Debubbler/Headspace Measurer


Watermelon Jelly Recipe Instructions
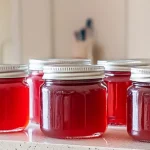
This zesty watermelon jelly recipe will make about 5 half-pint jars of jelly.
Prepare Ingredients for the Watermelon Jelly Recipe
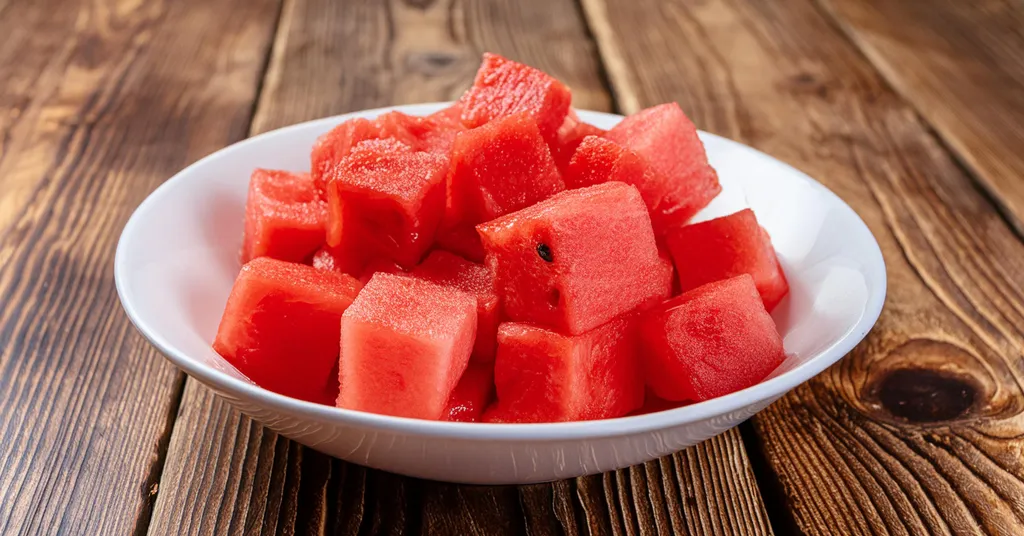
Prepare the watermelon: Using your cutting board and knife remove the watermelon rind and chop the watermelon into chunks.
Chop one stem of lemongrass.
Cook Ingredients
Add the chopped watermelon into a large stainless steel pot or enameled Dutch oven.
Crush the watermelon with a potato masher.
Cover and heat gently over medium-low heat for 5 minutes. Remove from heat and crush thoroughly.
Strain Watermelon Juice
Line a mesh strainer with 3 layers of dampened cheesecloth (or use a dampened jelly bag) and put over a large bowl. Pour the contents of the pot into the strainer. I had to do this in stages because I didn’t have a large enough strainer to take everything out of the pot at once. Let the mixture drain its juice over the bowl for 2 hours or until the juice measures 2 cups. Note: If you do not have the required amount of watermelon juice, crush more watermelon or add up to 1/4 cup (50 mL) of unsweetened white grape juice.
Prepare Canner and Jars
Wash your jars and lids in warm soapy water. Make sure there are no chips or bubbles in your jars.
Prepare your canner
Using Water Bath Canner:
Put your water bath canner on your stove. Add your canning rack to the water bath canner. Add your 1/2 pint jars to the water bath canner. They will warm as you heat the water. Add enough water to cover jars with at least 2-3 inches of water. Start to bring your water to a boil.
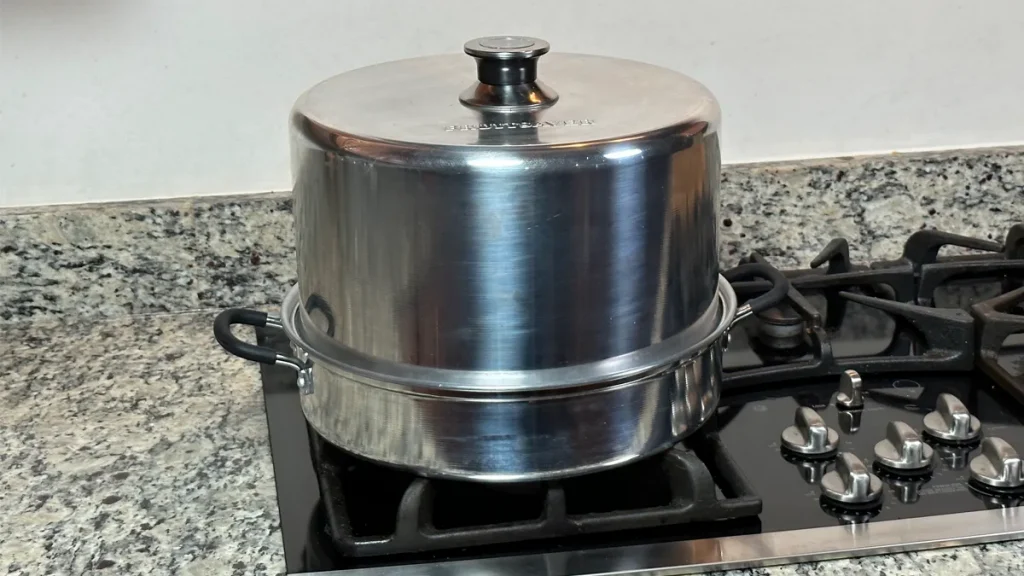
Using a Steam Canner:
Put your steam canner on your stove. Add the steam canner rack to the bottom of the steam canner. Add the recommended amount of water to the steam canner according to the manufacturer. Add your 1/2 pint jars to the steam canner. Put the lid on your steam canner and start your stove. The jars will warm as you heat your steam canner.

Make Jelly
Transfer the watermelon juice to a clean large, deep stainless steel pot. Stir in vinegar, lemon juice, sugar and lemongrass.
Over high heat, stirring constantly, bring to a full rolling boil that cannot be stirred down.
Stir in pectin. Boil hard, stirring constantly for 1 minute. Remove from heat and quickly skim off the foam.
Fill Jars
Once you have hot jars and hot jelly.
Water Bath Canner:
Remove your jars from the water bath canner one at a time using your jar lifter. Dump the water out of the jar into your water bath canner to ensure there is still 2-3 inches of water above your jars.
Steam Canner:
Remove the steam canner lid and remove your jars one at a time using your jar lifter.
Ladle hot jelly into hot jars, leaving 1/4 inch (.5 cm) headspace (Check with headspace measurer). Remove air bubbles with a de-bubbler and adjust the headspace by adding more hot jelly if necessary.
Wipe the rim to ensure a good seal is made with the lid. Center the lid on the jar and screw the band down to fingertip tight. Repeat until all jelly is used.
Place jars in the canner with your jar lifter.
Process Jars of Watermelon Jelly
Water Bath Canner:
Lower the water bath canner rack into the boiling water. Ensure your jars are covered by at least 2 inches of water.
If your water is not boiling start your processing time when the water is boiling. Process 1/2 pint jars for 10 minutes. Make sure to adjust your time for altitude.
Set a timer, it makes it much easier to make sure you process for the correct time. When your timer goes off turn off the heat and remove the canner lid.
Leave the jars in the water for 5 minutes.
Steam Canner:
Put the lid on the steam canner. Turn your stove on high until your steam canner water comes to a vigorous boil. Continue heating so the indicator is in the correct “Zone” per your altitude.
Start your processing time when the needle reaches the maximum point you have tested your steam canner to reach in your “Zone”.
Adjust the burner so that it maintains an even rolling boil throughout the entire processing time. Usually, this will be much lower than where it was set for the vigorous boil. If the top lid is lifting and/or spitting water from the edges this is an indication that you have the heat turned up too high. Slowly reduce the heat until this stops. Watch the indicator to ensure the temperature does not decrease.
The processing times for steam canning are the same as for water bath canning. Process 1/2 pint jars for 10 minutes.
Make sure to adjust your time for altitude. Set a timer, it makes it much easier to make sure you process for the correct time.
When your timer goes off turn off the heat and let the canner stand for 5 minutes with the lid on before removing the jars. The lid MUST remain ON the canner during this time. This cool-down period is necessary to ensure the jar contents are properly processed.
Carefully remove the lid by tilting it away from you to avoid steam burns.
Cool and Store Jars
Using your jar lifer carefully move the jars onto a wire rack or kitchen towel to allow them to cool. When moving the jars try not to tilt them to the side as this could affect the seal of the jars. Allow your jars to cool for 12-24 hours before handling.
Once cool, remove the canning rings from the jars. Wash your jars off to ensure no food residue on the outside of the jar from processing. Label your jar with the name of the recipe and date. This will help you remember what recipe you used to can and the date will allow you to use the oldest canned goods first.


How to Use Watermelon Jelly
Watermelon jelly can be used in a variety of ways. Spread it on toast or biscuits for a sweet treat, or use it as a glaze for grilled meats like chicken or pork. You can also swirl it into yogurt or oatmeal for added flavor.
Tips for Making this Watermelon Jelly Recipe
- Use ripe watermelons for the best flavor.
- Be sure to strain the juice to remove any pulp or seeds.
- Use a candy thermometer to ensure the jelly reaches the proper temperature for setting.
Watermelon jelly is a delicious and versatile spread that is easy to make at home. Whether you enjoy it on toast, as a glaze for meats, or swirled into yogurt, watermelon jelly is sure to be a hit with your family and friends.
FAQs
- Can I use frozen watermelon juice to make jelly?
- Yes, frozen watermelon juice can be used to make jelly, but be sure to thaw it completely before using it.
- How long does watermelon jelly last once opened?
- Once opened, watermelon jelly should be stored in the refrigerator and used within a few weeks.
- Can I use watermelon jelly as a filling for cakes or pastries?
- Yes, watermelon jelly can be used as a filling for cakes, pastries, or other baked goods.
Other Jelly Recipes You Might Enjoy
Recipe Card

Zesty Watermelon Jelly for Canning
Equipment
- Large stainless steel pot or Enameled Dutch Oven
- Enameled Dutch Oven or Large Stainless Steel Pot
- Water Bath Canner or Steam Canner
- Steam Canner or Water Bath Canner
Ingredients
- 6 cups Chopped Watermelon Rind Removed
- 1/2 cup White Balsamic Vinegar or White Wine Vinegar or Apple Cider Vinegar
- 4 tbsp Bottled Lemon Juice
- 5 cups Granulated Sugar
- 1 stem lemongrass chopped
- 2 pouches Liquid Pectin each 3 oz/85 ml
Instructions
- Prepare the watermelon: Using your cutting board and knife remove the watermelon rind and chop the watermelon into chunks.
- Chop one stem of lemongrass.
- Add the chopped watermelon into a large stainless steel pot or enameled Dutch oven.
- Crush the watermelon with a potato masher.
- Cover and heat gently over medium-low heat for 5 minutes. Remove from heat and crush thoroughly.
- Line a mesh strainer with 3 layers of dampened cheesecloth (or use a dampened jelly bag) and put over a large bowl. Pour the contents of the pot into the strainer. I had to do this in stages because I didn't have a large enough strainer to take everything out of the pot at once. Let the mixture drain its juice over the bowl for 2 hours or until the juice measures 2 cups. If you do not have the required amount of watermelon juice, crush more watermelon or add up to 1/4 cup (50 mL) of unsweetened white grape juice.
- Wash your jars and lids in warm soapy water. Make sure there are no chips or bubbles in your jars.
- Prepare your cannerUsing Water Bath Canner: Put your water bath canner on your stove. Add your canning rack to the water bath canner. Add your 1/2 pint jars to the water bath canner. They will warm as you heat the water. Add enough water to cover jars with at least 2-3 inches of water. Start to bring your water to a boil.Using a Steam Canner: Put your steam canner on your stove. Add the steam canner rack to the bottom of the steam canner. Add the recommended amount of water to the steam canner according to the manufacturer. Add your 1/2 pint jars to the steam canner. Put the lid on your steam canner and start your stove. The jars will warm as you heat your steam canner.
- Transfer the watermelon juice to a clean large, deep stainless steel pot. Stir in vinegar, lemon juice, sugar and lemongrass.
- Over high heat, stirring constantly, bring to a full rolling boil that cannot be stirred down.
- Stir in pectin. Boil hard, stirring constantly for 1 minute. Remove from heat and quickly skim off the foam.
- Once you have hot jars and hot jelly.Water Bath Canner:Remove your jars from the water bath canner one at a time using your jar lifter. Dump the water out of the jar into your water bath canner to ensure there is still 2-3 inches of water above your jars.Steam Canner:Remove the steam canner lid and remove your jars one at a time using your jar lifter.
- Ladle hot jelly into hot jars, leaving 1/4 inch (.5 cm) headspace (Check with headspace measurer). Remove air bubbles with a de-bubbler and adjust the headspace by adding more hot jelly if necessary.
- Wipe the rim to ensure a good seal is made with the lid. Center the lid on the jar and screw the band down to fingertip tight. Repeat until all jelly is used.
- Place jars in the canner with your jar lifter.
- Water Bath Canner:Lower the water bath canner rack into the boiling water. Ensure your jars are covered by at least 2 inches of water.If your water is not boiling start your processing time when the water is boiling. Process 1/2 pint jars for 10 minutes. Make sure to adjust your time for altitude.Set a timer, it makes it much easier to make sure you process for the correct time. When your timer goes off turn off the heat and remove the canner lid.Leave the jars in the water for 5 minutes.Steam Canner:Put the lid on the steam canner. Turn your stove on high until your steam canner water comes to a vigorous boil. Continue heating so the indicator is in the correct "Zone" per your altitude. Start your processing time when the needle reaches the maximum point you have tested your steam canner to reach in your "Zone".Adjust the burner so that it maintains an even rolling boil throughout the entire processing time. Usually, this will be much lower than where it was set for the vigorous boil. If the top lid is lifting and/or spitting water from the edges this is an indication that you have the heat turned up too high. Slowly reduce the heat until this stops. Watch the indicator to ensure the temperature does not decrease.The processing times for steam canning are the same as for water bath canning. Process 1/2 pint jars for 10 minutes.Make sure to adjust your time for altitude. Set a timer, it makes it much easier to make sure you process for the correct time.When your timer goes off turn off the heat and let the canner stand for 5 minutes with the lid on before removing the jars. The lid MUST remain ON the canner during this time. This cool-down period is necessary to ensure the jar contents are properly processed.Carefully remove the lid by tilting it away from you to avoid steam burns.
- Using your jar lifer carefully move the jars onto a wire rack or kitchen towel to allow them to cool. When moving the jars try not to tilt them to the side as this could affect the seal of the jars. Allow your jars to cool for 12-24 hours before handling.
- Once cool, remove the canning rings from the jars. Wash your jars off to ensure no food residue on the outside of the jar from processing. Label your jar with the name of the recipe and date. This will help you remember what recipe you used to can and the date will allow you to use the oldest canned goods first.