


Water Bath Canning Zucchini Relish
A step-by-step guide and recipe to make and water bath can summer bounty zucchini relish. This is a delicious relish, loaded with zucchini, peppers, and pickling spices. This is a great way to utilize the extra zucchini coming out of the garden. This recipe can be found in The All New Ball Book of Canning and Preserving on page 160.
Servings 4 1/2 pint Jars
Equipment
- Food Processor with grater attachment or grater
- Large stainless steel bowl or large glass bowl
- Large stainless steel pot or enameled Dutch oven
Ingredients
- 3 cups Grated Zucchini About 4 small zucchini's
- 1 and 1/2 cups 1/4 inch diced red, orange, and yellow bell peppers
- 1/2 cup Grated Onion
- 2 tbsp Pickling Salt
- 1 and 1/2 cups Sugar
- 1 cup White Vinegar 5% Acidity
- 2 tsp celery seeds
- 1 tsp mustard seeds
- Ball pickle crisp Optional
Instructions
- Clean jars and lids with warm soapy water. Ensure the jars do not have any chips or bubbles in the glass.
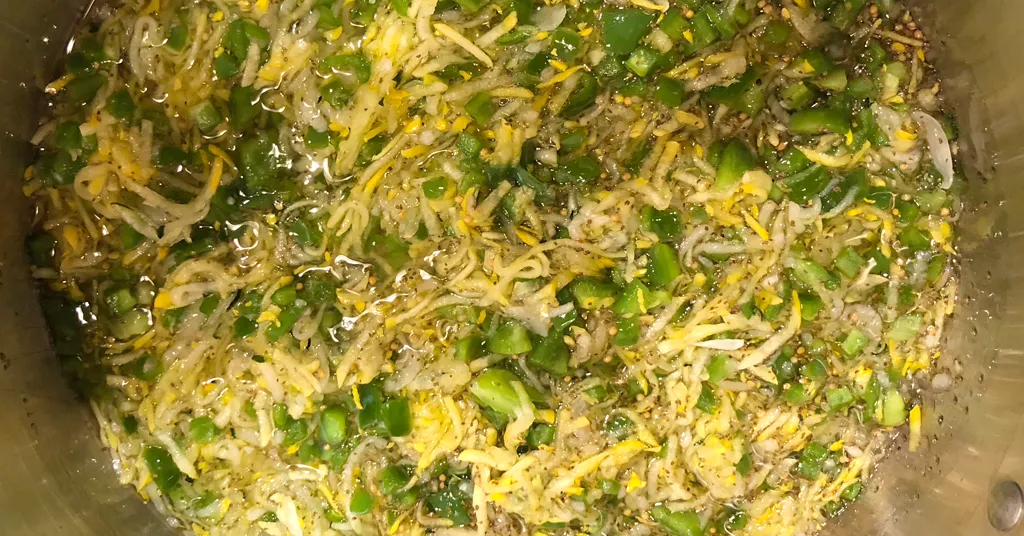
- Combine the grated zucchini, diced peppers, and grated onion in a large stainless steel or glass bowl. Sprinkle with pickling salt. Cover vegetables with cold water. Let stand for 2 hours. Drain, Rinse, and drain again pressing slightly to remove excess water.3 cups Grated Zucchini, 1 and 1/2 cups 1/4 inch diced red, orange, and yellow bell peppers, 1/2 cup Grated Onion, 2 tbsp Pickling Salt
- Bring sugar, vinegar, celery seeds, and mustard seeds to a boil in a large stainless steel pot or enameled Dutch Oven. Add drained vegetables, and return to a boil. Reduce heat, and simmer, uncovered for 10 minutes.1 and 1/2 cups Sugar, 1 cup White Vinegar, 2 tsp celery seeds, 1 tsp mustard seeds
- Put your water bath canner on your stove. Add your canning rack to your water bath canner. Add your 1/2 pint jars to the water bath canner. They will warm as you heat up the water. Add enough water to cover jars with at least 2-3 inches of water. Bring to a low boil to heat the jars.
- Remove your jars from the water bath canner one at a time using your jar lifter. Dump the water out of the jar into your water bath canner to ensure there is still 2-3 inches of water above your jars.
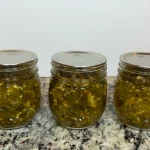
- Use a funnel and a ladle to add hot relish into a hot prepared jar. Leave 1/2 inch headspace at the top of the jar. Remove air bubbles with a de-bubbler and adjust the headspace as needed by adding more relish. Wipe the jar rim to ensure a good seal is made with the lid. Add 1/16 tsp pickle crisp to jar. Center the lid on the jar and screw the band down to fingertip tight.Ball pickle crisp
- Place jar in canner using your jar lifter. Repeat steps 5-6 until all relish is used or all jars that fit in your canner are filled.
- Lower the water bath canner rack into the boiling water. Ensure the jars are covered completely by 2-3 inches of water.
- If your water is not boiling start your processing time when the water is boiling. Process 1/2 pint jars for 10 minutes. (Make sure to adjust the time for your altitude) Set a timer, it makes it much easier to make sure you process for the correct time. When your timer goes off turn off the heat and remove the canner lid. Leave the jars in the water for 5 minutes.
- Lift your canning rack out of the water. Using your jar lifer carefully move the jars onto a wire rack or kitchen towel to allow them to cool. When moving the jars try not to tilt them to the side as this could affect the seal of the jars. Allow your jars to cool for 12-24 hours before handling.
- Once cool, remove the canning rings from the jars. Wash your jars off to ensure there is no food residue on the outside of the jar from processing. Label your jar with the name of the recipe and date. This will help you remember what recipe you used to can and the date will allow you to use the oldest canned goods first.
Notes
This recipe can be found in The All New Ball Book of Canning and Preserving on page 160.