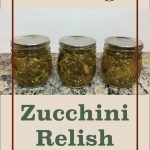
As summer reaches its peak, gardens and farmers’ markets are overflowing with fresh zucchinis. If you’re wondering how to make the most of this bountiful vegetable, consider water bath canning zucchini relish. Not only is it a fantastic way to preserve summer flavors, but it also makes for a delightful condiment that can elevate your meals year-round.
Canning Zucchini Relish - A Nutrutious Choice
Zucchini relish is a fantastic choice for canning, not only because of its delicious taste but also because of its nutritional benefits. Zucchinis are packed with vitamins, minerals, and fiber. By canning your own zucchini relish, you can enjoy these nutrients long after the growing season has ended. Plus, you’ll know exactly what goes into your relish, allowing you to control the quality of ingredients and avoid unnecessary additives.
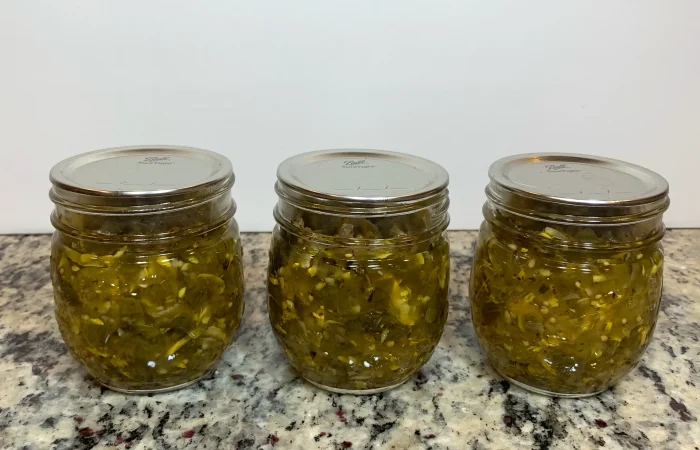
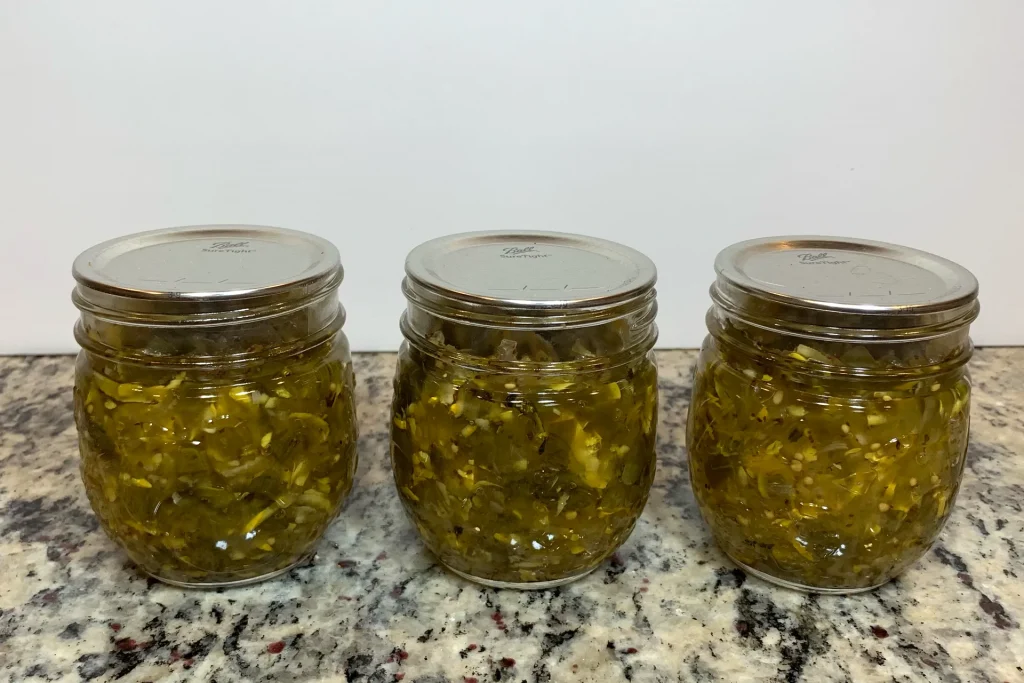
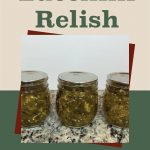
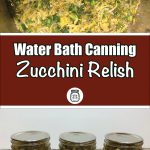
This is a delicious relish, loaded with zucchini, peppers, and pickling spices. This is a great way to utilize the extra zucchini coming out of the garden. This recipe can be found in The All New Ball Book of Canning and Preserving on page 160. This recipe makes 4 1/2 pint jars of Zucchini Relish.
Canning Supplies you will need
These are the supplies I used for this recipe:
-
- Food Processor with Grater attachment
- Stainless Steel Bowl
- Colander
- Water Bath Canner
- Canning Funnel
- 1/2 pint Canning Ladle
- Jar Lifter
- Knife
- Large stainless steel pot
- Water Bath Canner
- Water Bath Canning Rack
- De-bubbler
- 1/2 Pint Sized Canning Jars
- Regular or wide mouth canning lids (depending on what jars you are using)
- Regular or wide mouth canning rings (depending on what jars you are using)
Water Bath Canning Made Easy
Preserve the flavors of your favorite fruits and vegetables with my FREE comprehensive and beginner-friendly Water Bath canning eBook.
Ingredients for Zucchini Relish
- 3 cups Grated Zucchini (About 4 small zucchini’s)
- 1 and 1/2 cups 1/4 inch diced red, orange, and yellow bell peppers
- 1/2 cup Grated Onion
- 2 tbsp Pickling Salt
- 1 and 1/2 cups Sugar
- 1 cup White Vinegar (5% Acidity)
- 2 tsp celery seeds
- 1 tsp mustard seeds
- Ball pickle crisp (Optional)
Recipe Instructions
- Clean jars and lids with warm soapy water. Ensure the jars do not have any chips or bubbles in the glass.
- Combine the grated zucchini, diced peppers, and grated onion in a large stainless steel or glass bowl. Sprinkle with pickling salt. Cover vegetables with cold water. Let stand for 2 hours. Drain, Rinse, and drain again pressing slightly to remove excess water.
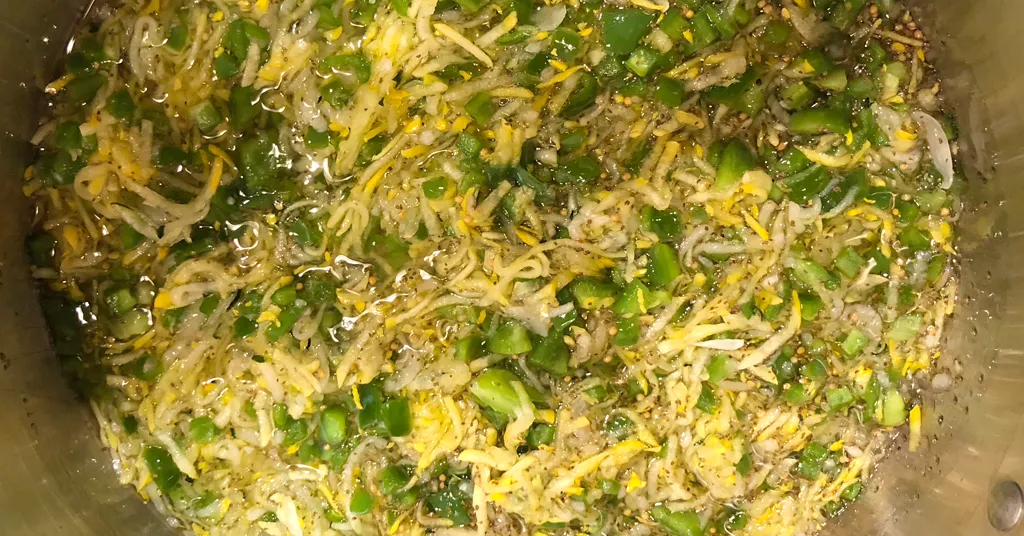
- Bring sugar, vinegar, celery seeds, and mustard seeds to a boil in a large stainless steel pot or enameled Dutch Oven. Add drained vegetables, and return to a boil. Reduce heat, and simmer, uncovered for 10 minutes.
- Put your water bath canner on your stove. Add your canning rack to your water bath canner. Add your 1/2 pint jars to the water bath canner. They will warm as you heat the water. Add enough water to cover jars with at least 2-3 inches of water. Bring to a low boil to heat the jars.
- Remove your jars from the water bath canner one at a time using your jar lifter. Dump the water out of the jar into your water bath canner to ensure there is still 2-3 inches of water above your jars.
- Use a funnel and a ladle to add hot relish into a hot prepared jar. Leave 1/2 inch headspace at the top of the jar. Remove air bubbles with a de-bubbler and adjust the headspace as needed by adding more relish. Wipe the jar rim to ensure a good seal is made with the lid. Add 1/16 tsp pickle crisp to jar. Center the lid on the jar and screw the band down to fingertip tight.
- Place the jar in the canner using your jar lifter. Repeat steps 5-6 until all relish is used or all jars that fit in your canner are filled.
- Lower the water bath canner rack into the boiling water. Ensure the jars are covered completely by 2-3 inches of water.
- If your water is not boiling start your processing time when the water is boiling. Process 1/2 pint jars for 10 minutes. (Make sure to adjust the time for your altitude) Set a timer, it makes it much easier to make sure you process for the correct time. When your timer goes off turn off the heat and remove the canner lid. Leave the jars in the water for 5 minutes.
- Lift your canning rack out of the water. Using your jar lifer carefully move the jars onto a wire rack or kitchen towel to allow them to cool. When moving the jars try not to tilt them to the side as this could affect the seal of the jars. Allow your jars to cool for 12-24 hours before handling.
- Once cool, remove the canning rings from the jars. Wash your jars off to ensure there is no food residue on the outside of the jar from processing. Label your jar with the name of the recipe and date. This will help you remember what recipe you used to can and the date will allow you to use the oldest canned goods first.

Join My Preserving Guide Facebook Group
Expert tips, tested recipes, and vibrant discussions on canning, dehydrating, freezing, and all things food preservation!
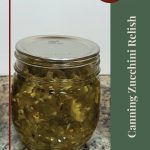
Canning Zucchini Relish
So, roll up your sleeves and give canning zucchini relish a try. Not only will you delight in its taste, but you’ll also take pride in knowing that you’ve preserved the essence of summer in each jar.
Try some other delicious relish recipes!
Interested in learning to grow your own peppers and onions for this recipe?
Recipe Card
Water Bath Canning Zucchini Relish
Equipment
- Food Processor with grater attachment or grater
- Large stainless steel bowl or large glass bowl
- Large stainless steel pot or enameled Dutch oven
Ingredients
- 3 cups Grated Zucchini About 4 small zucchini's
- 1 and 1/2 cups 1/4 inch diced red, orange, and yellow bell peppers
- 1/2 cup Grated Onion
- 2 tbsp Pickling Salt
- 1 and 1/2 cups Sugar
- 1 cup White Vinegar 5% Acidity
- 2 tsp celery seeds
- 1 tsp mustard seeds
- Ball pickle crisp Optional
Want to Save this Recipe?
Instructions
- Clean jars and lids with warm soapy water. Ensure the jars do not have any chips or bubbles in the glass.
- Combine the grated zucchini, diced peppers, and grated onion in a large stainless steel or glass bowl. Sprinkle with pickling salt. Cover vegetables with cold water. Let stand for 2 hours. Drain, Rinse, and drain again pressing slightly to remove excess water.3 cups Grated Zucchini, 1 and 1/2 cups 1/4 inch diced red, orange, and yellow bell peppers, 1/2 cup Grated Onion, 2 tbsp Pickling Salt
- Bring sugar, vinegar, celery seeds, and mustard seeds to a boil in a large stainless steel pot or enameled Dutch Oven. Add drained vegetables, and return to a boil. Reduce heat, and simmer, uncovered for 10 minutes.1 and 1/2 cups Sugar, 1 cup White Vinegar, 2 tsp celery seeds, 1 tsp mustard seeds
- Put your water bath canner on your stove. Add your canning rack to your water bath canner. Add your 1/2 pint jars to the water bath canner. They will warm as you heat up the water. Add enough water to cover jars with at least 2-3 inches of water. Bring to a low boil to heat the jars.
- Remove your jars from the water bath canner one at a time using your jar lifter. Dump the water out of the jar into your water bath canner to ensure there is still 2-3 inches of water above your jars.
- Use a funnel and a ladle to add hot relish into a hot prepared jar. Leave 1/2 inch headspace at the top of the jar. Remove air bubbles with a de-bubbler and adjust the headspace as needed by adding more relish. Wipe the jar rim to ensure a good seal is made with the lid. Add 1/16 tsp pickle crisp to jar. Center the lid on the jar and screw the band down to fingertip tight.Ball pickle crisp
- Place jar in canner using your jar lifter. Repeat steps 5-6 until all relish is used or all jars that fit in your canner are filled.
- Lower the water bath canner rack into the boiling water. Ensure the jars are covered completely by 2-3 inches of water.
- If your water is not boiling start your processing time when the water is boiling. Process 1/2 pint jars for 10 minutes. (Make sure to adjust the time for your altitude) Set a timer, it makes it much easier to make sure you process for the correct time. When your timer goes off turn off the heat and remove the canner lid. Leave the jars in the water for 5 minutes.
- Lift your canning rack out of the water. Using your jar lifer carefully move the jars onto a wire rack or kitchen towel to allow them to cool. When moving the jars try not to tilt them to the side as this could affect the seal of the jars. Allow your jars to cool for 12-24 hours before handling.
- Once cool, remove the canning rings from the jars. Wash your jars off to ensure there is no food residue on the outside of the jar from processing. Label your jar with the name of the recipe and date. This will help you remember what recipe you used to can and the date will allow you to use the oldest canned goods first.
Notes
Editorial Process
At Preserving Guide, I take pride in my thorough and impartial approach to recipe and product reviews. Read my editorial process for detailsRobin
Robin Phelps has been preserving food for her family for over 20 years. Today, Robin is a full-time home preservation blogger and coach. Join Robin to learn how to easily make delicious and safe homemade preserved items.






No Comment! Be the first one.