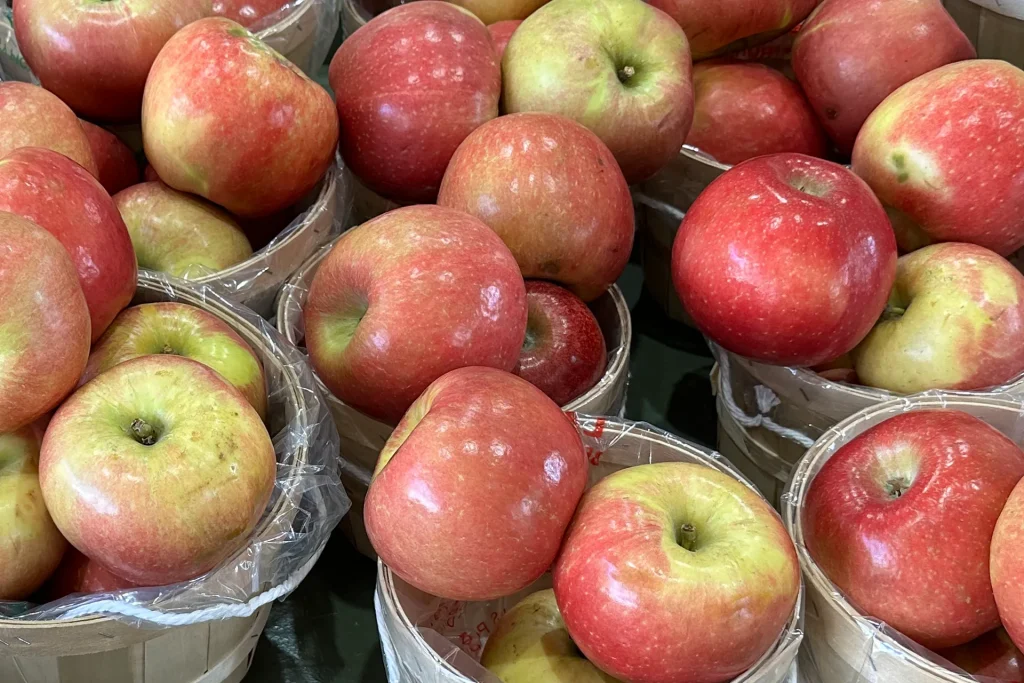
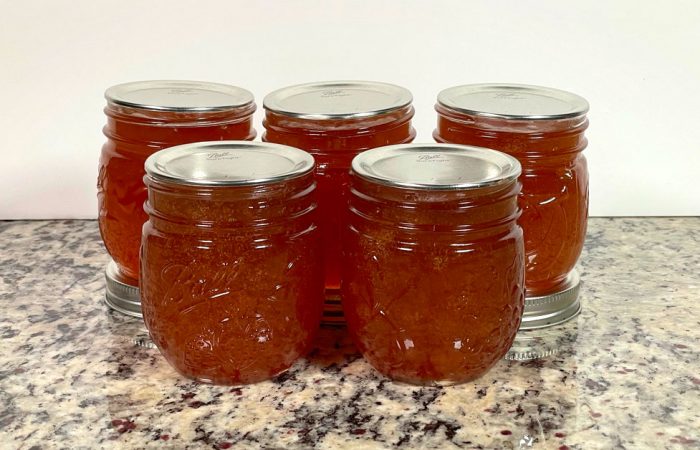
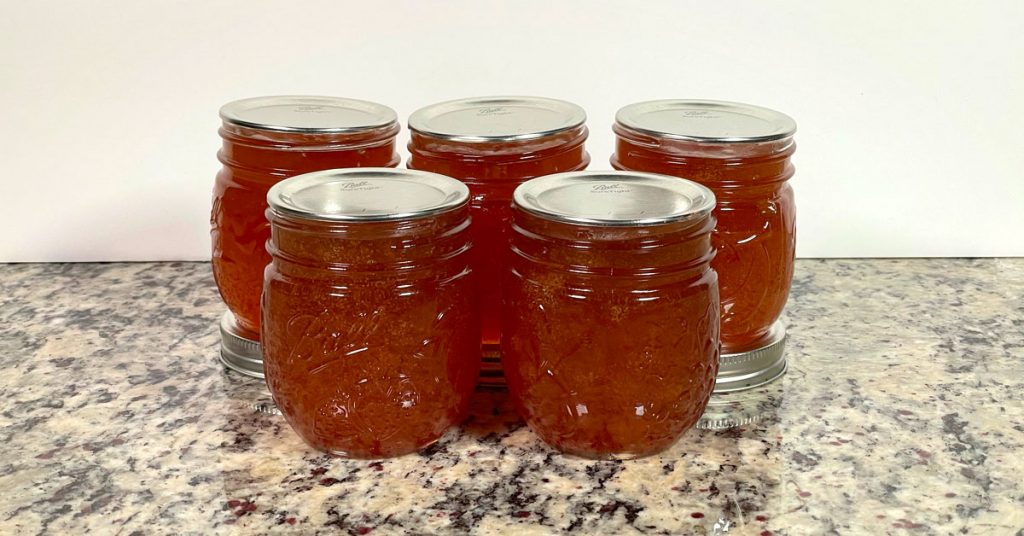
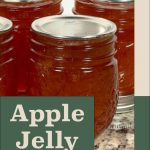
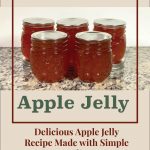
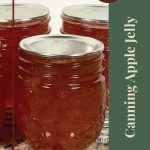
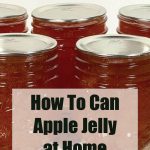
I love that you can use almost every part of an apple to make something delicious. Today I used the juice from my apples for water bath canning apple jelly. This was my first time making this jelly and let me tell you I will be making it again next year. This was a very simple apple recipe that produced delicious jelly that can be used on all kinds of things. I like to put it on toast or add it on top of a cracker with cream cheese, yum.
Ball Recipe for Apple Jelly
I found this Apple Jelly recipe for water bath canning in my Ball Canning Back to Basics book on page 86. Ball Canning also has a copy of this recipe on their website called Apple Jelly. This recipe is great because it only calls for a few simple ingredients. I used a mixture of cameo and mutsu apples to make my apple jelly. Those were the apples that I had on hand after going apple picking with my family. This recipe will make about 4 half-pint jars of jelly.
Canning Apple Jelly
Equipment
- Large stainless steel pot or Enameled Dutch Oven
- Enameled Dutch Oven or Large Stainless Steel Pot
Ingredients
- 2 1/2 lbs Apples
- 3 cups Water
- 4 tbsp regular powdered fruit pectin
- 3 1/3 cups Sugar
Instructions
- Prepare the apples: Rinse the apples under cold running water and pat dry. Stem the apples. Using your cutting board and knife cut the apples into chunks but do not core them.
- Cook apples: Combine the apples and the water in your Stainless Steel Pot or Enameled Dutch Oven. Bring the apples and water to a boil over high heat. Cover and reduce heat and simmer for 10 minutes. Once apples are soft, crush them with a potato masher. Simmer the crushed apples for 5 more minutes.
- Strain the apple juice. Line a mesh strainer with 3 layers of dampened cheesecloth and put over a large bowl. Pour the contents of the pot into the strainer. I had to do this in stages because I didn't have a large enough strainer to take everything out of the pot at once. Let the mixture drain its juice over the bowl for 2 to 4 hours or until the juice measures 3 cups. Do not squeeze or press the apple mixture in the cheesecloth, as that may cause you to have cloudy jelly.
- Prepare water bath canner: Put your water bath canner on your stove. Add your canning rack to your water bath canner. Add your half-pint jars to the water bath canner. They will warm as you heat the water. Add enough water to cover jars with at least 2-3 inches of water. Start to bring your water to a boil.
- Cook apple juice with pectin. Combine your 3 cups of apple juice with the Ball Classic Pectin in your large stainless steel pot or enameled Dutch oven. Stir to incorporate the pectin into the juice. Bring to a full roiling boil that can not be stirred down over high heat. Make sure to continuously stir so it doesn't burn.
- Add the sugar to the apple mixture. Stir to ensure all sugar dissolves in the apple juice. Return mixture to a rolling boil. Boil hard for 1 minute, stirring constantly. Remove from heat. If you have any foam on top skim it off into a different bowl.
- Filling jars with Apple Jelly. Remove your jars from the water bath canner one at a time using your jar lifter. Dump water out of the jar into your water bath canner. Ladle the hot jelly into a hot jar leaving 1/4 inch headspace (use your headspace measurer to verify the correct amount).
- Sealing jar: Wipe the rim of the jar to ensure a good seal is made with the lid. Center the lid on the jar and add the band to fingertip tight. Put the jar back into the water bath canner using your jar lifter.
- Repeat steps 7-8 for the remaining apple jelly, until the jars are filled.
- Process jars in a water bath canner. Lower the water bath canner rack into the boiling water. Ensure your jars are covered by at least 2 inches of water. If your water is not boiling start your processing time when the water is boiling. Process half-pint jars for 10 minutes. Make sure to adjust your time for altitude. Set a timer, it makes it much easier to make sure you process for the correct time. When your timer goes off turn off the heat and remove the canner lid. Leave the jars in the water for 5 minutes.
- Lift your canning rack out of the water. Using your jar lifer carefully move your jars onto a wire rack or kitchen towel to allow them to cool. When moving your jars try not to tilt them to the side as this could affect the seal of your jars. Allow your jars to cool for 12-24 hours before handling.
- Once cool, remove the canning rings from the jars. Wash your jars off to ensure there is no food residue on the outside of the jar from processing. Label your jar with the name of the recipe and date. This will help you remember what recipe you used to can and the date will allow you to use the oldest canned goods first.
Notes
Supplies Needed to Can Apple Jelly
- Cheesecloth
- Measuring cups
- Jar Lifter
- Knife
- Large Stainless Steel Pot or Enameled Dutch Oven
- Potato Masher
- 1/2 Pint Canning Ladle
- Mesh Strainer
- Large Bowl
- Water Bath Canner
- Water Bath Canning Rack
- Half Pint size canning jars
- Regular or wide-mouth canning lids (depending on what jars you are using)
- Regular or wide-mouth canning rings (depending on what jars you are using)
- Magnetic Lid Lifter
Water Bath Canning Made Easy
Preserve the flavors of your favorite fruits and vegetables with my FREE comprehensive and beginner-friendly Water Bath canning eBook.
Apple Jelly Ingredients
- 2 1/2 lbs Apples
- 3 cups Water
- 4 tbsp Regular Powdered Fruit Pectin
- 3 1/3 cups Sugar
Step-by-Step Canning Instructions
-
Prepare the apples: Rinse the apples under cold running water and pat dry. Stem the apples. Using your cutting board and knife cut the apples into chunks but do not core them.
-
Cook apples: Combine the apples and the water in your Stainless Steel Pot or Enameled Dutch Oven. Bring the apples and water to a boil over high heat. Cover and reduce heat and simmer for 10 minutes. Once apples are soft, crush them with a potato masher. Simmer the crushed apples for 5 more minutes.
-
Strain the apple juice. Line a mesh strainer with 3 layers of dampened cheesecloth and put over a large bowl. Pour the contents of the pot into the strainer. I had to do this in stages because I didn’t have a large enough strainer to take everything out of the pot at once. Let the mixture drain its juice over the bowl for 2 to 4 hours or until the juice measures 3 cups. Do not squeeze or press the apple mixture in the cheesecloth, as that may cause you to have cloudy jelly.
-
Prepare water bath canner: Put your water bath canner on your stove. Add your canning rack to your water bath canner. Add your half-pint jars to the water bath canner. They will warm as you heat the water. Add enough water to cover jars with at least 2-3 inches of water. Start to bring your water to a boil.
-
Cook apple juice with pectin. Combine your 3 cups of apple juice with the pectin in your large stainless steel pot or enameled Dutch oven. Stir to incorporate the pectin into the juice. Bring to a full roiling boil that can not be stirred down over high heat. Make sure to continuously stir so it doesn’t burn.
-
Add the sugar to the apple mixture. Stir to ensure all sugar dissolves in the apple juice. Return mixture to a rolling boil. Boil hard for 1 minute, stirring constantly. Remove from heat. If you have any foam on top skim it off into a different bowl.
-
Filling jars with Apple Jelly. Remove your jars from the water bath canner one at a time using your jar lifter. Dump water out of the jar into your water bath canner. Ladle the hot jelly into a hot jar leaving 1/4 inch headspace (use your headspace measurer to verify the correct amount).
-
Sealing jar: Wipe the rim of the jar to ensure a good seal is made with the lid. Center the lid on the jar and add the band to fingertip tight. Put the jar back into the water bath canner using your jar lifter.
-
Repeat steps 7-8 for the remaining apple jelly, until the jars are filled.
-
Process jars in a water bath canner. Lower the water bath canner rack into the boiling water. Ensure your jars are covered by at least 2 inches of water. If your water is not boiling start your processing time when the water is boiling. Process half-pint jars for 10 minutes. Make sure to adjust your time for altitude. Set a timer, it makes it much easier to make sure you process for the correct time. When your timer goes off turn off the heat and remove the canner lid. Leave the jars in the water for 5 minutes.
-
Lift your canning rack out of the water. Using your jar lifer carefully move your jars onto a wire rack or kitchen towel to allow them to cool. When moving your jars try not to tilt them to the side as this could affect the seal of your jars. Allow your jars to cool for 12-24 hours before handling.
-
Once cool, remove the canning rings from the jars. Wash your jars off to ensure there is no food residue on the outside of the jar from processing. Label your jar with the name of the recipe and date. This will help you remember what recipe you used to can and the date will allow you to use the oldest canned goods first.
Join My Preserving Guide Facebook Group
Expert tips, tested recipes, and vibrant discussions on canning, dehydrating, freezing, and all things food preservation!
Yummy Apple Jelly
My kids love to eat peanut butter and jelly sandwiches. I want to try out some new flavors of jelly for them to eat so it is not always the same sandwich every day. I am happy that I can add the Apple Jelly to the mix for them to pick from. There is also a low-sugar version of the apple jelly in the book if you would like a recipe using less sugar.
I can’t wait to try some more types of jelly out of my Ball Canning Back to Basics book there are 2 entire chapters on jams, preserves, marmalades, and jellies. The peach-rosemary jam and the habanero-apricot jelly are on my list to try. Let me know what types of jellies or jams you have made in the comments so I can give them a try.
Looking for more Apple Preserving Recipes?
Recipe Card
Canning Apple Jelly
Equipment
- Large stainless steel pot or Enameled Dutch Oven
- Enameled Dutch Oven or Large Stainless Steel Pot
Ingredients
- 2 1/2 lbs Apples
- 3 cups Water
- 4 tbsp regular powdered fruit pectin
- 3 1/3 cups Sugar
Want to Save this Recipe?
Instructions
- Prepare the apples: Rinse the apples under cold running water and pat dry. Stem the apples. Using your cutting board and knife cut the apples into chunks but do not core them.
- Cook apples: Combine the apples and the water in your Stainless Steel Pot or Enameled Dutch Oven. Bring the apples and water to a boil over high heat. Cover and reduce heat and simmer for 10 minutes. Once apples are soft, crush them with a potato masher. Simmer the crushed apples for 5 more minutes.
- Strain the apple juice. Line a mesh strainer with 3 layers of dampened cheesecloth and put over a large bowl. Pour the contents of the pot into the strainer. I had to do this in stages because I didn't have a large enough strainer to take everything out of the pot at once. Let the mixture drain its juice over the bowl for 2 to 4 hours or until the juice measures 3 cups. Do not squeeze or press the apple mixture in the cheesecloth, as that may cause you to have cloudy jelly.
- Prepare water bath canner: Put your water bath canner on your stove. Add your canning rack to your water bath canner. Add your half-pint jars to the water bath canner. They will warm as you heat the water. Add enough water to cover jars with at least 2-3 inches of water. Start to bring your water to a boil.
- Cook apple juice with pectin. Combine your 3 cups of apple juice with the Ball Classic Pectin in your large stainless steel pot or enameled Dutch oven. Stir to incorporate the pectin into the juice. Bring to a full roiling boil that can not be stirred down over high heat. Make sure to continuously stir so it doesn't burn.
- Add the sugar to the apple mixture. Stir to ensure all sugar dissolves in the apple juice. Return mixture to a rolling boil. Boil hard for 1 minute, stirring constantly. Remove from heat. If you have any foam on top skim it off into a different bowl.
- Filling jars with Apple Jelly. Remove your jars from the water bath canner one at a time using your jar lifter. Dump water out of the jar into your water bath canner. Ladle the hot jelly into a hot jar leaving 1/4 inch headspace (use your headspace measurer to verify the correct amount).
- Sealing jar: Wipe the rim of the jar to ensure a good seal is made with the lid. Center the lid on the jar and add the band to fingertip tight. Put the jar back into the water bath canner using your jar lifter.
- Repeat steps 7-8 for the remaining apple jelly, until the jars are filled.
- Process jars in a water bath canner. Lower the water bath canner rack into the boiling water. Ensure your jars are covered by at least 2 inches of water. If your water is not boiling start your processing time when the water is boiling. Process half-pint jars for 10 minutes. Make sure to adjust your time for altitude. Set a timer, it makes it much easier to make sure you process for the correct time. When your timer goes off turn off the heat and remove the canner lid. Leave the jars in the water for 5 minutes.
- Lift your canning rack out of the water. Using your jar lifer carefully move your jars onto a wire rack or kitchen towel to allow them to cool. When moving your jars try not to tilt them to the side as this could affect the seal of your jars. Allow your jars to cool for 12-24 hours before handling.
- Once cool, remove the canning rings from the jars. Wash your jars off to ensure there is no food residue on the outside of the jar from processing. Label your jar with the name of the recipe and date. This will help you remember what recipe you used to can and the date will allow you to use the oldest canned goods first.
Notes
Editorial Process
At Preserving Guide, I take pride in my thorough and impartial approach to recipe and product reviews. Read my editorial process for detailsRobin
Robin Phelps has been preserving food for her family for over 20 years. Today, Robin is a full-time home preservation blogger and coach. Join Robin to learn how to easily make delicious and safe homemade preserved items.
No Comment! Be the first one.