One of my family’s favorite things to do in the fall is go apple picking. We love to pick lots of apples, so I need to process them in some way to make them last a little longer than just fresh eating. One of my go-to ways of preserving apples is water bath canning applesauce.
My kids can demolish a jar of homemade applesauce in one sitting. So we need plenty of it to make it last until the next apple-picking season. We pick at a local apple orchard and this year we decided to plant some apple trees of our own since we enjoy the apple harvest so much. We ended up planting 8 apple trees of various species to get a wide variety of apples to use for preservation. I can’t wait until we can grow our apples to be used in this simple recipe.
Ball's Recipe for Canning Applesauce
My Ball Canning books are my favorite resources for most of my canning recipes. For this applesauce recipe, I used The All New Ball Book of Canning and Preserving. The recipe can be found on page 139 and is titled Applesauce. My family likes the taste of the applesauce when I use this recipe. This is a pretty easy recipe to make.
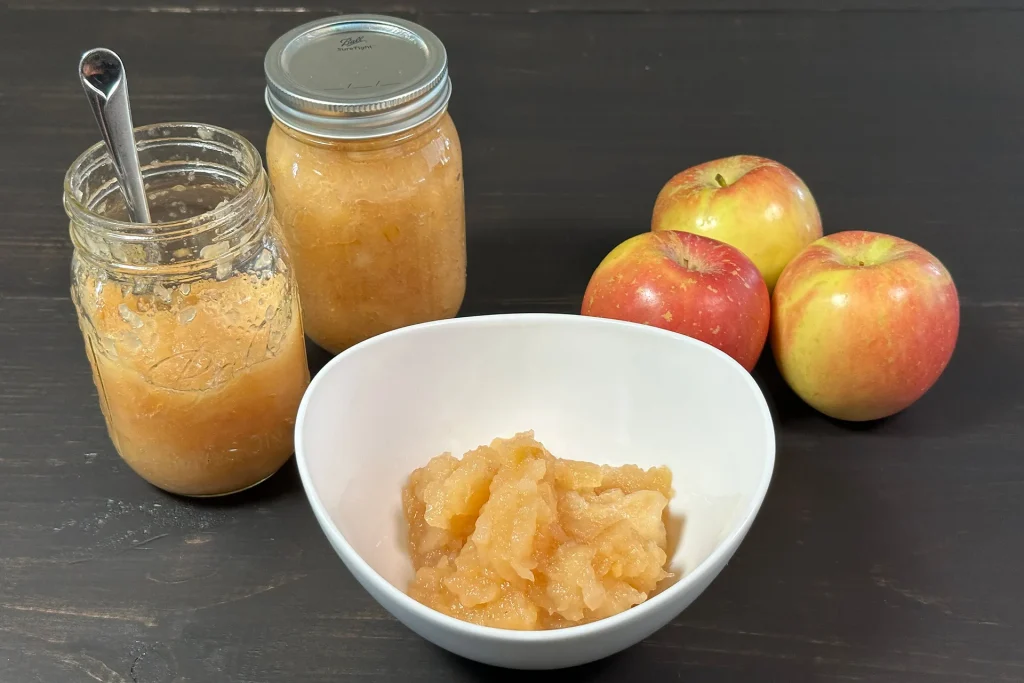
We prefer chunky applesauce so that is how I made this recipe. You could also puree until you have a smooth applesauce if that is your preference. According to this recipe, it will make about 4 pint jars but I have found that it was making about 5 pint jars for me, even though I measured the exact weight of the apples. After making the recipe, don’t throw away your apple scraps they can be used to make other delicious items for your family.
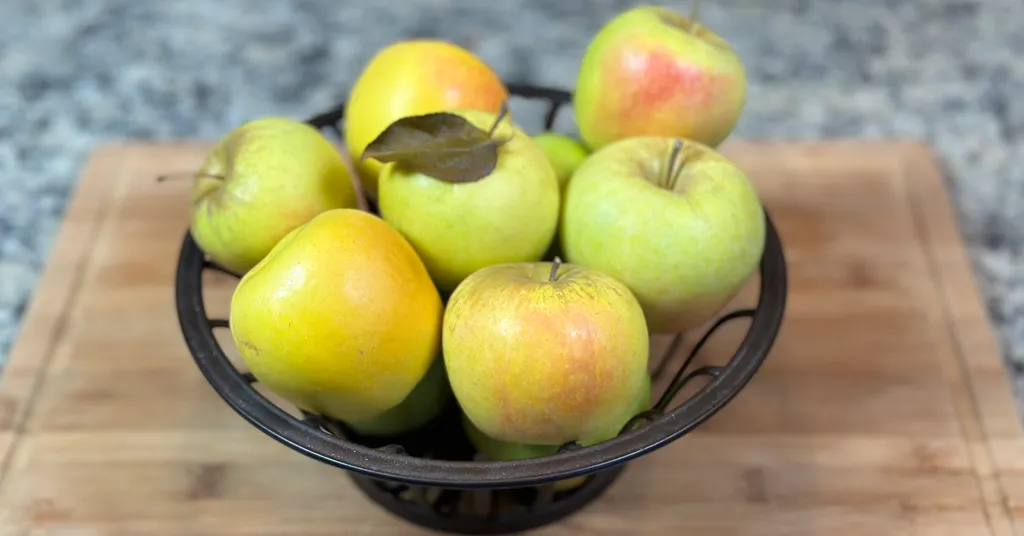
Choosing the Best Apple for Homemade Applesauce
The type of apples you choose plays a crucial role in the flavor, texture, and overall quality of your homemade applesauce. Different apple varieties offer unique characteristics that can enhance or balance the taste of your final product. Here are some popular apple varieties and what makes them ideal for applesauce:
- Gala Apples: The flavor is sweet and mildly tart. Their texture is tender and smooth. Gala apples are excellent for sweet and delicate applesauce. They break down easily during cooking, resulting in a silky-smooth texture.
- McIntosh Apples: The flavor is sweet with a hit of tartness. Their texture is soft and juicy. McIntosh apples cook down quickly and have a soft texture, making them perfect for a chunky applesauce with a slightly tart taste.
- Jonagold Apples: The flavor is a balanced sweet-tart flavor. Their texture is firm and crisp. Jonagold apples provide a well-balanced flavor and maintain a bit of firmness after cooking. Ideal for those who prefer a chunkier applesauce with a touch of sweetness.
- Honeycrisp Apples: The flavor is sweet with a hint of honey. Their texture is crisp and juicy. While Honeycrisp apples are prized for their fresh eating quality, their sweet and juicy nature adds a delightful sweetness to homemade applesauce.
- Gravenstein Apples: The flavor is tart and slightly sweet. Their texture is firm yet tender. Gravensteins bring a lively tartness to applesauce. They are well-suited for blending with sweeter varieties to create a balanced and flavorful sauce.
- Fuji Apples: The flavor is sweet and crisp. Their texture is firm and dense. Fuji apples offer a sweet and aromatic flavor to applesauce. They hold their shape well when cooked, resulting in a chunky applesauce with a touch of sweetness.
My Go-To Equipment for Homemade Applesauce
I’m always looking for ways to make my canning process more efficient. Aside from my Water Bath Canning supplies, I found these tools super helpful when canning this recipe:
- Cuisinart Food Processor – I linked to the specific model I’m currently using
- Johnny Apple Peeler, Slicer, Corer – this helped to speed up my apple prep time
- Supa Ant Canning Ladle – A 1/2 pint ladle! This has quickly become one of my favorite canning tools
You can find the whole list (and links) of tools I used when canning this recipe in the Recipe Card Section below. While I prefer the above items, I included some alternatives as well.
Water Bath Canning Made Easy
Preserve the flavors of your favorite fruits and vegetables with my FREE comprehensive and beginner-friendly Water Bath canning eBook.
Canning Applesauce: Step-by-Step Instructions
Let’s get canning! Here are the steps I followed in Ball’s The All New Ball Book of Canning and Preserving Applesauce recipe. Be sure to use the exact ingredients the recipe calls for, as it has been tested by Ball to be safe for canning & storing.
1. Ingredients
Be sure to use the exact measurements as the recipe has been proven to be Safe and Tested by Ball.
- 6 lbs Apples Peeled, cored and quartered
- 2/3 cup Sugar
- 1/2 cup Water
- 1/2 cup Bottled Lemon Juice
2. Prep the Jars & Lids
I always start out by prepping my jars and lids by washing them with warm soapy water. Also, look over the jars to make sure there are no chips or bubbles in the glass.
3. Prep the Apples
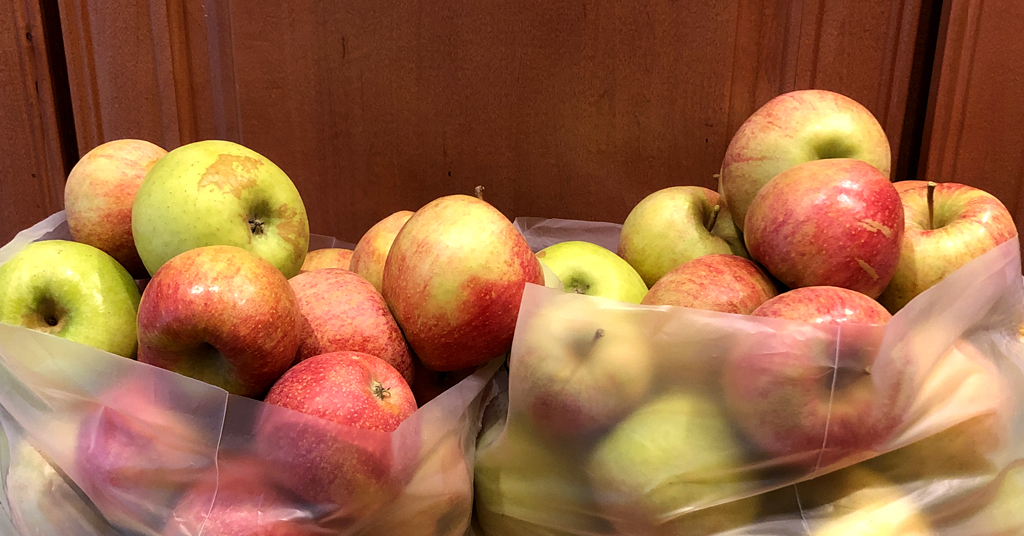
Wash your apples under cold water. Then peel, core, and quarter your apples.
For this part, I used my handy Apple Peeler, Slicer, and Corer. I absolutely love this little tool as it makes the entire process of peeling, coring, and slicing my apples really quick and efficient.
You certainly don’t need it. You can use a regular vegetable peeler, an apple corer, and a knife and cutting board if that is what you have on hand. But boy does it save me a lot of time in this part of the process.
4. Heat Water and the Jars
Put your water bath canner on your stove. Add your canning rack to your water bath canner. Then add your pint jars to the water bath canner. They will warm as you heat up the water.
Add enough water to cover the jars with at least 2-3 inches of water. Start to bring your water to a boil.
5. Cook the Ingredients
Now it’s time to combine the ingredients for the applesauce.
Combine your apples, sugar, water, and lemon juice in your stainless steel pot or enameled Dutch oven. Be sure to use the exact measurements for these ingredients. It’s very important to avoid any substitutions in order to ensure we’re sticking to Ball’s safe and tested recipe.
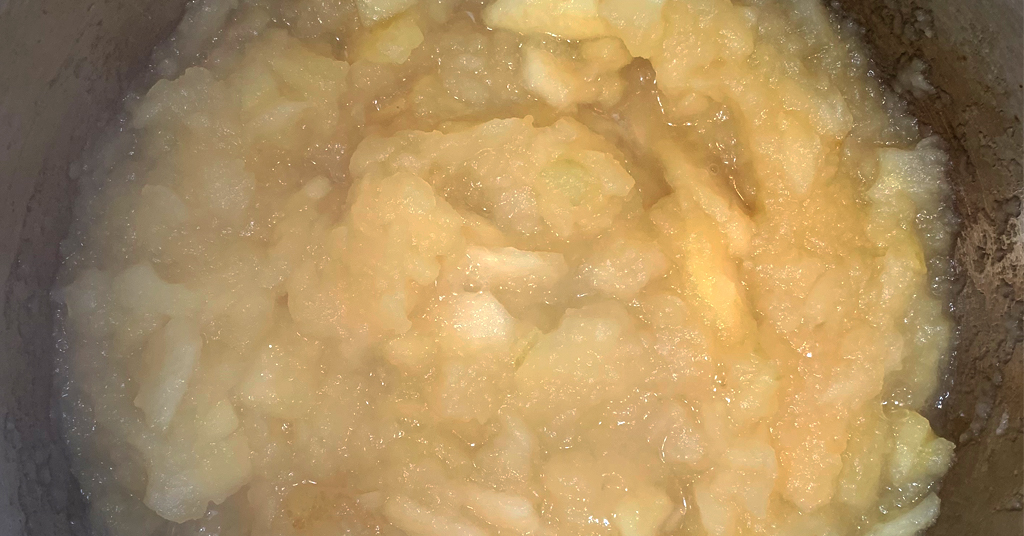
Cook for 25 minutes over low-medium heat, stirring occasionally, until the apples are very tender.
Now it’s time to decide if you would like chunky applesauce or smooth applesauce.
Chunky Applesauce
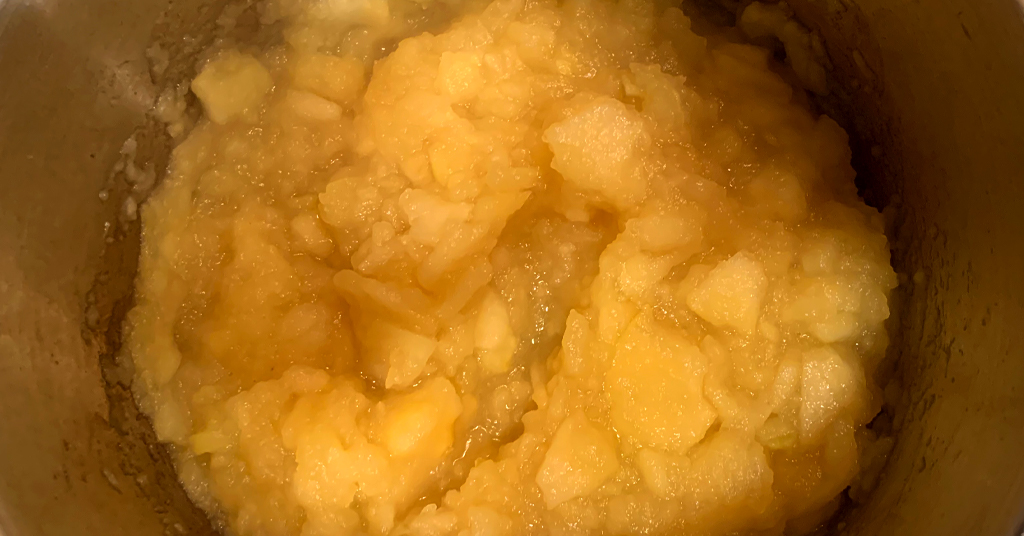
My family enjoys chunky applesauce. I also like that it takes less processing time to make.
To get chunky applesauce, all you need to do is mash the apple mixture with a potato masher to the desired consistency. I like to do just a little bit of mashing to keep larger chunks of apples in the sauce.
Smooth Applesauce
Smooth Applesauce requires more time.
To get smooth applesauce, you’ll need to cool your apple mixture slightly. Once cool, you’ll need to process the mixture in batches using your food processor until it achieves a smooth consistency to your liking.
Return the processed smooth applesauce to your pot or Dutch oven, and bring the mixture back to a boil before filling jars.
Join My Preserving Guide Facebook Group
Expert tips, tested recipes, and vibrant discussions on canning, dehydrating, freezing, and all things food preservation!
6. Fill the Jars
Remove your jars from the water bath canner one at a time using your jar lifter. Dump the water out of the jar back into your water bath canner.
Ladle hot applesauce mixture into the hot jars. Be sure to leave 1/2 inch headspace (use your headspace measurer to verify the correct amount of space.)
Remove all the air bubbles from the filled jar using your de-bubbler. Applesauce has a thicker consistency so air bubbles may be hiding in the middle of the mixture. I do this a few times to remove as many air bubbles as possible.
You can adjust the headspace, if necessary, by adding additional hot applesauce.
Now wipe the rim of the jar to make a good seal with the lid. Center the lid on the jar, add the band, and tighten just to a fingertip tightness. Don’t over-tighten.
Put the jar back into the water bath canner using your jar lifter, and repeat for your remaining jars and applesauce mixture.
7. Process the Jars in the Water Bath
Lower the water bath canner rack into the boiling water.
Make sure the jars are covered by at least 2 inches of water. If your water is not boiling, don’t start your processing timer until the water reaches a rolling boil.
Set a timer and have the jars process in the boiling water for 20 minutes. If you live at a higher altitude, be sure to adjust your time for altitude.
When your timer goes off turn off the heat and remove the canner lid.
Leave the jars resting in the water for 5 minutes.
8. Remove and Cool
Lift your canning rack out of the water.
Using your jar lifer, carefully move your jars onto a wire cooling rack, or kitchen towel on a trivet, and allow them to cool completely.
Take care when moving your jars. Try not to tilt them to the side as this could affect the seal of your jars.
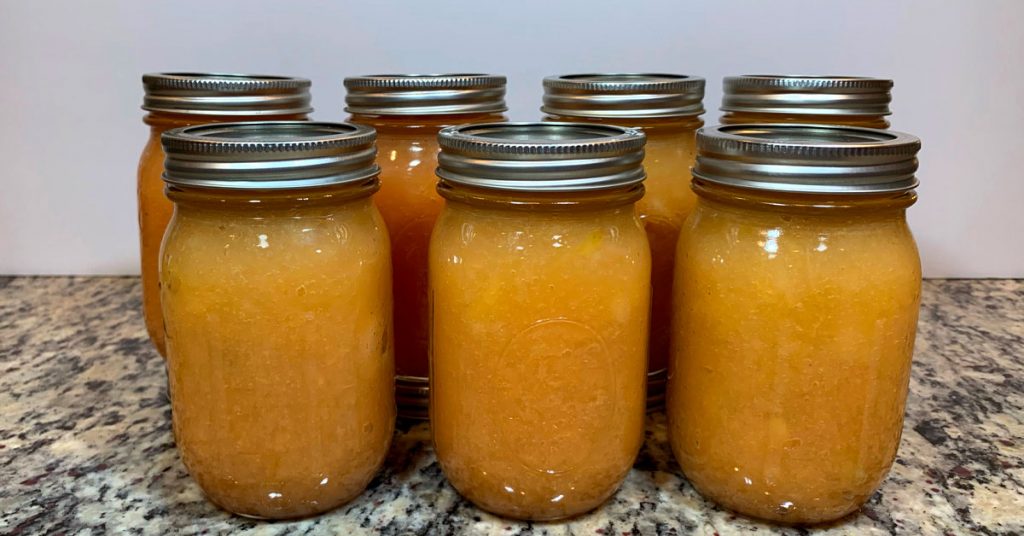
Allow your jars to cool for 12-24 hours before handling. As they cool, you’ll be serenaded by that sweet ‘pinging’ sound all canners come to enjoy hearing.
9. Wash, Label, and Enjoy!
Once cool, remove the canning rings from the jars. Wash your jars off to ensure there is no food residue on the outside of the jar from processing.
Label your jar with the name of the recipe and date. This will help you remember what recipe you used to can and the date will allow you to use the oldest canned goods first.
Delicious Applesauce
I hope you enjoy this applesauce as much as my family does. This is a staple in our pantry and I make this every year. This recipe is made with simple and delicious ingredients, which I love. I don’t need to worry about my kids wanting to eat this all the time! We love to have applesauce with our Thanksgiving dinner or if we are cooking up a delicious meal with pork chops. I hope you find some time in your busy schedule to make this easy applesauce recipe for your family. I love it when my whole house smells like apples.
Additional Apple Preserving Recipes:
Recipe Card
Water Bath Canning Applesauce Recipe
Equipment
- Large Stainless Steel Pot or Enameled Dutch Oven
- Large Stainless Steel Pot or Enameled Dutch Oven
- Potato Masher or Food Processor
Ingredients
- 6 lbs Apples Peeled, cored, and quartered
- 2/3 cup Sugar
- 1/2 cup Water
- 1/2 cup Bottled Lemon Juice
Want to Save this Recipe?
Instructions
- Clean jars and lids with warm soapy water. Ensure the jars do not have any chips or bubbles in the glass.
- Wash your apples under cold water. Then peel, core, and quarter your apples. For this part, I used my handy Apple Peeler, Slicer, and Corer which makes the entire process of peeling, coring, and slicing your apples quick and efficient. You can also use a regular vegetable peeler an apple corer and a knife and cutting board if that is what you have on hand.
- Put your water bath canner on your stove. Add your canning rack to your water bath canner. Add your pint jars to the water bath canner. They will warm as you heat the water. Add enough water to cover jars with at least 2-3 inches of water. Bring to a boil and allow the jars to boil for 10 minutes.
- Combine your apples, sugar, water, and lemon juice in your stainless steel pot or enameled Dutch oven. Cook for 25 minutes over low-medium heat, stirring occasionally, until apples are very tender.
- Decide if you would like chunky applesauce or smooth applesauce. If you would like chunky applesauce mash apples with a potato masher to desired consistency. If you would like a smooth applesauce cool your apples slightly and process in batches in your food processor until smooth. Return smooth applesauce to your pot or Dutch oven and bring applesauce to a boil before filling jars.
- Remove your jars from the water bath canner one at a time using your jar lifter. Dump water out of the jar into your water bath canner. Ladle hot applesauce into hot jars, leaving 1/2 inch headspace (use your headspace measurer to verify the correct amount).
- Using your de-bubbler make sure to remove all air bubbles. Applesauce has a thinker consistency so air bubbles may be hiding so ensure you do this a few times to remove as many air bubbles as possible. Adjust headspace, if necessary, by adding additional hot applesauce.
- Wipe the rim of the jar to ensure a good seal is made with the lid. Center the lid on the jar and add the band to fingertip tight. Put the jar back into the water bath canner using your jar lifter.
- Repeat steps 6-8 for the remaining applesauce, until the jars are filled.
- Lower the water bath canner rack into the boiling water. Ensure your jars are covered by at least 2 inches of water. If your water is not boiling start your processing time when the water is boiling. Process pint jars for 20 minutes. Make sure to adjust your time for altitude. Set a timer, it makes it much easier to make sure you process for the correct time. When your timer goes off turn off the heat and remove the canner lid. Leave the jars in the water for 5 minutes.
- Lift your canning rack out of the water. Using your jar lifer carefully move your jars onto a wire rack or kitchen towel to allow them to cool. When moving your jars try not to tilt them to the side as this could affect the seal of your jars. Allow your jars to cool for 12-24 hours before handling.
- Once cool, remove the canning rings from the jars. Wash your jars off to ensure there is no food residue on the outside of the jar from processing. Label your jar with the name of the recipe and date. This will help you remember what recipe you used to can and the date will allow you to use the oldest canned goods first.
Notes
Editorial Process
At Preserving Guide, I take pride in my thorough and impartial approach to recipe and product reviews. Read my editorial process for detailsRobin
Robin Phelps has been preserving food for her family for over 20 years. Today, Robin is a full-time home preservation blogger and coach. Join Robin to learn how to easily make delicious and safe homemade preserved items.


No Comment! Be the first one.