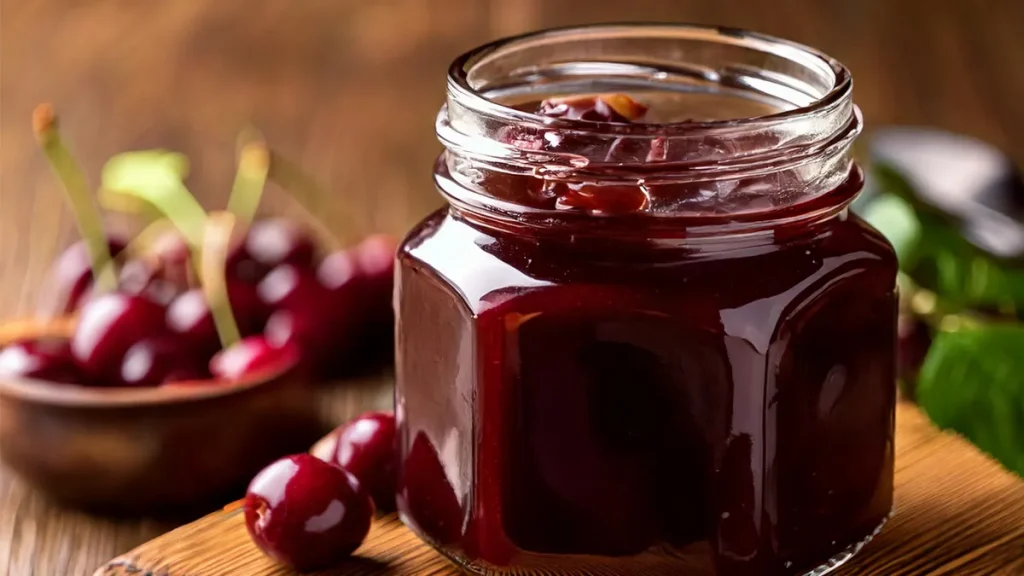
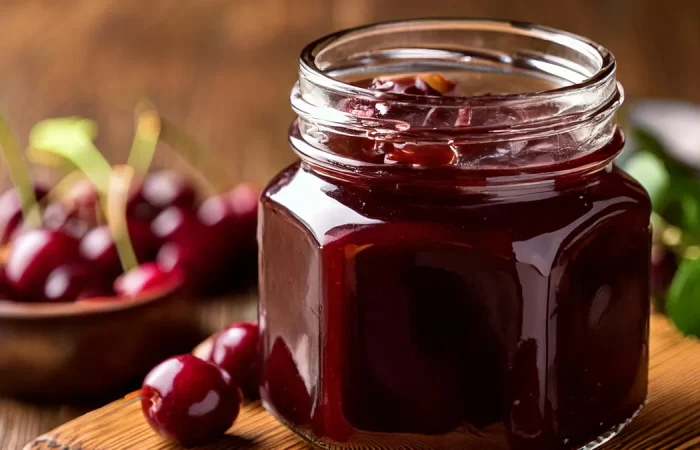
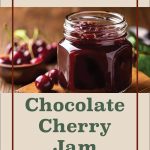
Chocolate Cherry Jam is the perfect blend of rich chocolate and sweet cherries, making it a must-try for Valentine’s Day or any special occasion. This unique recipe stands out as a gourmet treat that’s ideal for gifting or serving on a cozy night. Homemade treats like this add a personal touch that can’t be matched.
Why Chocolate Cherry Jam?
Chocolate Cherry Jam brings together two iconic flavors in a way that feels utterly indulgent. The sweetness of the cherries pairs perfectly with the smooth richness of chocolate, creating a spread that’s more than just jam, it’s a treat you’ll look forward to enjoying. Every spoonful feels like a little celebration, making it an excellent choice for Valentine’s Day or any special moment where love and food collide.
A Twist on Tradition
Preserving cherries is nothing new, but adding chocolate into the mix takes this classic fruit to a whole new level. Think about how chocolate-covered cherries have been a beloved gift for decades, they’ve set the bar for combining chocolate and fruit. This jam captures that same magic while offering a more versatile way to enjoy it. Spread it on a warm croissant, use it to top vanilla ice cream, or even pair it with a cheese board for a unique sweet-and-savory twist.
Perfect for Gift Giving
There’s something incredibly thoughtful about giving a homemade treat, especially when it’s as unique as Chocolate Cherry Jam. While store-bought chocolates are nice, a jar of this homemade spread feels truly personal. The deep red of the cherries and the rich tones of the chocolate create a visually appealing gift that says, “I made this for you.” It’s ideal for Valentine’s Day, anniversaries, or even as a delightful surprise for a friend.
Versatile and Easy to Make
This jam isn’t just about looking impressive, it’s versatile enough to fit into a variety of dishes, making it a staple for your pantry. Want to elevate your breakfast toast? Done. Need a quick dessert topping? It’s ready. The ingredients are straightforward, and the process is manageable for first-time canners and seasoned preservers alike.
For those who love experimenting with chocolate in preserves, this Easy Chocolate Raspberry Sauce Recipe is another option worth exploring. It’s a great way to explore more flavor pairings with chocolate.
Ingredients You’ll Need for Chocolate Cherry Jam
When it comes to making Chocolate Cherry Jam, a few carefully chosen ingredients can transform a simple recipe into something truly extraordinary. Every component plays a vital role, from the sweetness of the cherries to the depth of the cocoa. Here’s everything you need to know before you get started.
Choosing the Best Cherries
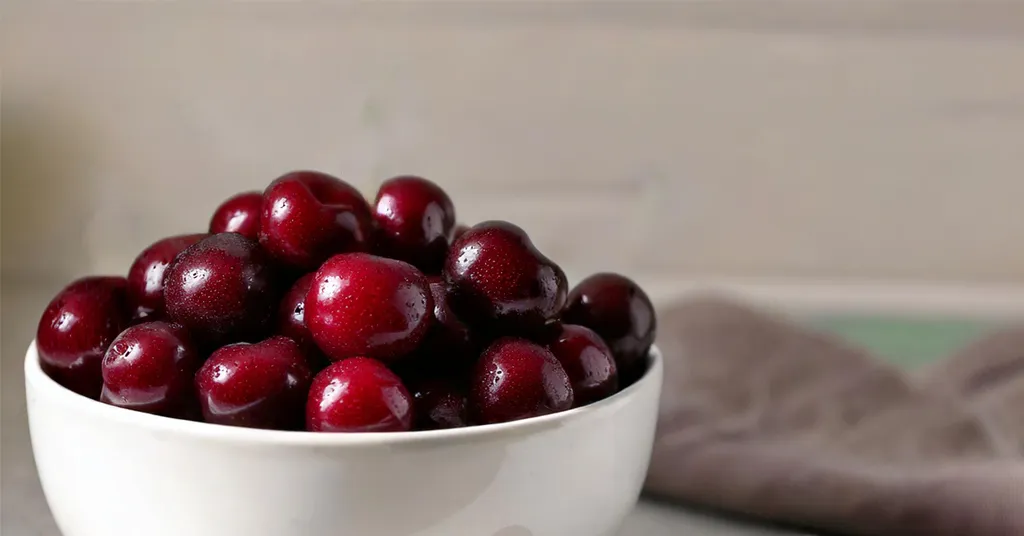
Picking the right cherries is essential for the flavor and texture of your jam. Sweet varieties like Bing and Rainier cherries work beautifully for this recipe, thanks to their natural juiciness and vibrant taste. Bing cherries bring a deep, sweet flavor, while Rainier cherries can add a touch of floral sweetness and a lighter color.
When selecting cherries, look for:
- Plump and firm fruit: Avoid cherries that are soft or wrinkled.
- Deep color: Richly colored cherries are often riper and sweeter.
- Shiny skin: A glossy appearance is usually a good sign of freshness.
If fresh cherries aren’t in season, frozen cherries can work as a substitute. Just make sure they are unsweetened, as you’ll want to control the sugar levels in your recipe from the start.
The Role of Cocoa in the Recipe
The chocolate flavor in this jam comes from none other than cocoa powder. Why not chocolate chips? While chips are delicious, they contain fats and stabilizers that might interfere with the jam’s consistency. Cocoa powder ensures that the result is rich, smooth, and perfectly spreadable.
For the best results, choose a high-quality, unsweetened cocoa powder. Dutch-process cocoa is a favorite for its deeper, less bitter flavor, but natural cocoa powder also works if you prefer a brighter chocolate note.
Here’s why cocoa powder is a game-changer:
- Smoother texture: It blends seamlessly with the fruit, creating a velvety jam.
- Rich flavor: Cocoa intensifies the chocolate taste without overpowering the cherries.
Using the Right Pectin
Pectin is the magic ingredient that gives jam its spreadable consistency, and choosing the right one makes a big difference. For Chocolate Cherry Jam, regular pectin works best, as it allows you to control the sweetness without compromising the texture.
Here’s why pectin is vital:
- Sets the jam: It thickens the mixture as it cools, giving it the perfect jammy texture.
- Speeds up cooking time: With pectin, you don’t need to cook the jam for as long, helping to lock in the fresh flavor of the cherries.
Full Ingredient List for Chocolate Cherry Jam
This recipe comes from the All New Ball Book of Canning and Preserving. It will yield about 6 1/2 pint jars of chocolate cherry jam. Here are the ingredients you will need for this chocolate cherry jam recipe:
- 6 Cups fresh or frozen sweet cherries, coarsely chopped
- 6 Tbsp Regular Powdered Fruit Pectin
- 1/4 cup Bottled Lemon Juice
- 6 cups Sugar
- 2/3 cup unsweetened cocoa powder
Essential Canning Equipment
Preserving Chocolate Cherry Jam at home is a satisfying way to enjoy its decadent flavors while ensuring it lasts far beyond the cherry season. However, ensuring the jam is safe and tastes perfect requires using the right canning equipment and methods.
- Knife
- Cutting Board
- Liquid Measuring Cups
- Measuring Cups
- Measuring Spoons
- Whisk
- Large Stainless Steel Pot or Enameled Dutch Oven
- 1/2 Pint Canning Ladle
- Funnel
- Water Bath Canner or Steam Canner
- Half Pint Size Canning Jars
- Lids
- Bands
- Jar Lifter
- Headspace Measurer/De-bubbler
Step-by-Step Recipe Instructions
Here’s a step-by-step guide for making Chocolate Cherry Jam to ensure every jar turns out perfectly.
Preparing Your Canning Jars
Properly preparing your jars is the first step to ensuring your homemade treat stays fresh and free of harmful bacteria. Wash your jars and lids in warm soapy water. Make sure there are no chips or bubbles in your jars.
For tested and reliable guidance on canning methods, you can check out these safe and tested canning resources to ensure success.
Preparing the Cherries
Getting the cherries ready is the foundational step to making a jam as luscious as this. Proper preparation ensures that the final product has a smooth texture and consistent flavor. Here’s how to prep your cherries:
- Wash the cherries: Rinse them thoroughly in cold water. This helps remove dirt, pesticides, or any residue.
- Pit the cherries: Use a cherry pitter if you have one—it saves time and reduces mess. No pitter? A sturdy straw or chopstick works in a pinch.
- Chop them up: Coarsely chop the cherries.
Once you’ve prepped the cherries, they’re ready for the next phase. For a deeper look into other similar techniques, explore this guide: Jam vs Jelly vs Preserves: What’s the Difference?.
Preparing Your Canner
Using Water Bath Canner:
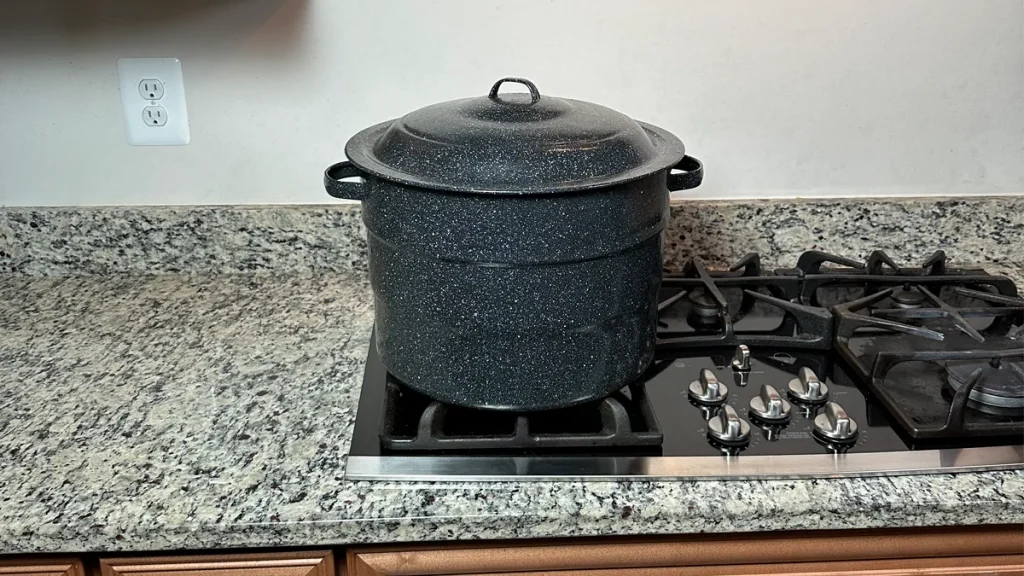
Put your water bath canner on your stove. Add your canning rack to the water bath canner. Add enough water to cover jars with at least 2-3 inches of water. Start to bring your water to a boil.
Using a Steam Canner:
Put your steam canner on your stove. Add the steam canner rack to the bottom of the steam canner. Add the recommended amount of water to the steam canner according to the manufacturer. Put the lid on your steam canner and start your stove.
Cooking the Jam
In a large stainless steel pot or enameled Dutch Oven, combine cherries, pectin, and bottled lemon juice. Bring to a full rolling boil that cannot be stirred down, over high heat, stirring constantly.
In a bowl, stir together the sugar and cocoa powder until blended. Add all at once to the boiling cherry mixture.
Return mixture to a full rolling boil. Boil hard for 1 minute, stirring constantly.
Remove from heat. Skim the foam from the top of the jam, if necessary.
Filling and Processing the Jars
Once you have hot jars and hot jam.
Water Bath Canner:
Remove the water bath canner lid. Remove your jars from the boiling water one at a time using your jar lifter. Dump the water out of the jar into your water bath canner to ensure there is still 2-3 inches of water above your jars.
Steam Canner:
Remove the steam canner lid. Remove your jars from the steam canner one at a time using your jar lifter.
Ladle hot jam into hot jars, leaving 1/4 inch (.5 cm) headspace (Check with headspace measurer). Remove air bubbles with a de-bubbler and adjust the headspace by adding more hot jam if necessary.
Wipe the rim to ensure a good seal is made with the lid. Center the lid on the jar and screw the band down to fingertip tight.
Place jars back in the canner with your jar lifter. Repeat until all the jam is used.
Water Bath Canner:
Lower the water bath canner rack into the boiling water. Ensure your jars are covered by at least 2 inches of water.
If your water is not boiling, start your processing time when the water is boiling. Process 1/2 pint jars for 10 minutes. Make sure to adjust your time for altitude.
Set a timer, it makes it much easier to make sure you process for the correct time. When your timer goes off, turn off the heat and remove the canner lid.
Leave the jars in the water for 5 minutes.
Steam Canner:
Put the lid on the steam canner. Turn your stove on high until your steam canner water comes to a vigorous boil. Continue heating so the indicator is in the correct “Zone” per your altitude.
Start your processing time when the needle reaches the maximum point you have tested your steam canner to reach in your “Zone”.
Adjust the burner so that it maintains an even rolling boil throughout the entire processing time. Usually, this will be much lower than where it was set for the vigorous boil. If the top lid is lifting and/or spitting water from the edges, this is an indication that you have the heat turned up too high. Slowly reduce the heat until this stops. Watch the indicator to ensure the temperature does not decrease.
The processing times for steam canning are the same as for water bath canning. Process 1/2 pint jars for 10 minutes.
Make sure to adjust your time for altitude. Set a timer, it makes it much easier to make sure you process for the correct time.
When your timer goes off, turn off the heat and let the canner stand for 5 minutes with the lid on before removing the jars. The lid MUST remain ON the canner during this time. This cool-down period is necessary to ensure the jar contents are properly processed.
Carefully remove the lid by tilting it away from you to avoid steam burns.
Cool and Store
Using your jar lifter, carefully move the jars onto a wire rack or kitchen towel to allow them to cool. When moving the jars, try not to tilt them to the side, as this could affect the seal of the jars. Allow your jars to cool for 12-24 hours before handling.
Once cool, remove the canning rings from the jars. Wash your jars off to ensure no food residue is on the outside of the jars from processing. Label your jar with the name of the recipe and date. This will help you remember what recipe you used to can, and the date will allow you to use the oldest canned goods first.
By following these steps, you’re sure to create Chocolate Cherry Jam that’s not only delicious but also safely preserved for all your special occasions.
Serving Suggestions for Chocolate Cherry Jam
Chocolate Cherry Jam isn’t just for spreading on toast, this delectable jam can elevate breakfast classics and add a gourmet touch to your favorite desserts.
Pairing with Breakfast Favorites
Some ways to enjoy it:
- Pancakes and Waffles: Skip the syrup and slather a generous spoonful of jam onto fluffy pancakes or crispy waffles.
- Croissants and Pastries: Transform an everyday croissant into a bakery-worthy treat by adding a dollop of this luxurious jam. Warm the croissant slightly, and let the jam melt in for a gooey, satisfying bite.
- Bagels and Cream Cheese: Add a sweet-and-tangy twist to your morning bagel by spreading cream cheese first, then topping it with Chocolate Cherry Jam.
Breakfast is prime time to enjoy this jam, and it’s a great way to brighten your morning routine while celebrating seasonal preserves.
Incorporating Into Desserts
Chocolate Cherry Jam’s rich flavor works as a secret ingredient that adds depth and sweetness to a variety of sweet treats.
Here’s how to use it:
- Cake Fillings: Spread the jam between layers of chocolate or vanilla cake for an indulgent twist. The cherries add a fruity zing, while the chocolate enhances the dessert’s richness.
- Ice Cream Topping: Drizzle warm Chocolate Cherry Jam over vanilla or chocolate ice cream for an easy yet elevated dessert.
- Tarts and Pastries: Use this jam as a quick filling for mini tarts or pastry pockets. A simple puff pastry filled with jam and baked turns into a showstopping snack or dessert.
- Cheesecake Swirl: Create a stunning ripple effect by swirling the jam into a plain cheesecake batter before baking.
Frequently Asked Questions
When making Chocolate Cherry Jam, a few common concerns often pop up. Let’s address them so you can confidently enjoy your jam-making adventure.
Can I Use Frozen Cherries?
Fresh cherries are a popular choice for this recipe, but what if they’re not in season? Frozen cherries are a fantastic alternative and can deliver delicious results. They’re picked and frozen at peak ripeness, which means they retain their juicy goodness. Here’s what you need to know:
- Texture Matters: Fresh cherries have a firmer texture compared to frozen ones. If you use frozen cherries, your jam might end up slightly softer or more liquid-like. To counter this, cook the mixture a bit longer to help it thicken.
- Defrost Before Using: Always thaw your frozen cherries completely before starting. Drain any excess liquid to prevent your jam from becoming too runny.
If you’re inspired to explore more preserving ideas, don’t stop here. Check out some fantastic jam and jelly recipes for preserving to keep your creativity flowing.
Recipe Card
Chocolate Cherry Jam Recipe
Equipment
- Large stainless steel pot or Enameled Dutch Oven
- Enameled Dutch Oven or Large stainless steel pot
- Water Bath Canner or Steam Canner
- Steam Canner or Water Bath Canner
Ingredients
- 6 cups fresh or frozen pitted dark sweet cherries coarsely chopped
- 6 Tbsp regular powdered fruit pectin
- 1/4 cup Bottled Lemon Juice
- 6 cups Granulated Sugar
- 2/3 cup Sifted Unsweetened Cocoa Powder
Want to Save this Recipe?
Instructions
- Wash your jars and lids in warm soapy water. Make sure there are no chips or bubbles in your jars.
- Pit your cherries if necessary. Using your knife and cutting board coarsely chop your cherries.
- Prepare your cannerUsing Water Bath Canner: Put your water bath canner on your stove. Add your canning rack to the water bath canner. Add enough water to cover jars with at least 2-3 inches of water. Start to bring your water to a boil. Using a Steam Canner: Put your steam canner on your stove. Add the steam canner rack to the bottom of the steam canner. Add the recommended amount of water to the steam canner according to the manufacturer. Put the lid on your steam canner and start your stove.
- In a large stainless steel pot or enameled Dutch Oven, combine cherries, pectin, and bottled lemon juice. Bring to a full rolling boil that cannot be stirred down, over high heat, stirring constantly.
- In a bowl, stir together the sugar and cocoa powder until blended. Add all at once to the boiling cherry mixture.
- Return mixture to a full rolling boil. Boil hard for 1 minute, stirring constantly.
- Remove from heat. Skim the foam from the top of the jam, if necessary.
- Once you have hot jars and hot jam.Water Bath Canner:Remove the water bath canner lid. Remove your jars from the boiling water one at a time using your jar lifter. Dump the water out of the jar into your water bath canner to ensure there is still 2-3 inches of water above your jars.Steam Canner:Remove the steam canner lid. Remove your jars from the steam canner one at a time using your jar lifter.
- Ladle hot jam into hot jars, leaving 1/4 inch (.5 cm) headspace (Check with headspace measurer). Remove air bubbles with a de-bubbler and adjust the headspace by adding more hot jam if necessary.
- Wipe the rim to ensure a good seal is made with the lid. Center the lid on the jar and screw the band down to fingertip tight.
- Place jars back in the canner with your jar lifter. Repeat until all jam is used.
- Water Bath Canner:Lower the water bath canner rack into the boiling water. Ensure your jars are covered by at least 2 inches of water.If your water is not boiling start your processing time when the water is boiling. Process 1/2 pint jars for 10 minutes. Make sure to adjust your time for altitude.Set a timer, it makes it much easier to make sure you process for the correct time. When your timer goes off turn off the heat and remove the canner lid.Leave the jars in the water for 5 minutes.Steam Canner:Put the lid on the steam canner. Turn your stove on high until your steam canner water comes to a vigorous boil. Continue heating so the indicator is in the correct "Zone" per your altitude. Start your processing time when the needle reaches the maximum point you have tested your steam canner to reach in your "Zone".Adjust the burner so that it maintains an even rolling boil throughout the entire processing time. Usually, this will be much lower than where it was set for the vigorous boil. If the top lid is lifting and/or spitting water from the edges this is an indication that you have the heat turned up too high. Slowly reduce the heat until this stops. Watch the indicator to ensure the temperature does not decrease.The processing times for steam canning are the same as for water bath canning. Process 1/2 pint jars for 10 minutes.Make sure to adjust your time for altitude. Set a timer, it makes it much easier to make sure you process for the correct time.When your timer goes off turn off the heat and let the canner stand for 5 minutes with the lid on before removing the jars. The lid MUST remain ON the canner during this time. This cool-down period is necessary to ensure the jar contents are properly processed.Carefully remove the lid by tilting it away from you to avoid steam burns.
- Using your jar lifer carefully move the jars onto a wire rack or kitchen towel to allow them to cool. When moving the jars try not to tilt them to the side as this could affect the seal of the jars. Allow your jars to cool for 12-24 hours before handling.
- Once cool, remove the canning rings from the jars. Wash your jars off to ensure no food residue on the outside of the jar from processing. Label your jar with the name of the recipe and date. This will help you remember what recipe you used to can and the date will allow you to use the oldest canned goods first.







No Comment! Be the first one.