Preserving food at home has seen a resurgence in popularity, as people look for ways to save money, reduce food waste, and enjoy the satisfaction of self-sufficiency. One of the most accessible methods for home food preservation is water bath canning. But how does this method work to keep your food safe? Let’s look into the science and steps behind water bath canning.
The Science of Water Bath Canning
Water bath canning works by creating an environment that effectively eliminates harmful microorganisms and preserves your food. The process centers around three key safety principles:
- High-Temperature Sterilization: Water bath canning involves submerging jars filled with high-acid foods in boiling water (212°F or 100°C at sea level) for a specified amount of time. High temperatures kill off bacteria, molds, and yeasts that can spoil food or cause foodborne illness.
- Acidic Environment: This method is specifically designed for foods with a high acid content, such as fruits, pickles, jams, and tomatoes (with added acid). The acidity inhibits the growth of Clostridium botulinum, the bacteria responsible for botulism, a rare but dangerous foodborne illness. Botulinum spores cannot grow in environments with a pH of 4.6 or lower, making acidic foods perfect candidates for water bath canning.
- Vacuum-Sealed Storage: The canning process creates a vacuum seal as the jars cool. This airtight seal prevents recontamination of the food by bacteria or mold. Proper sealing ensures your canned goods remain safe and shelf-stable for months or even years.
The Steps of Water Bath Canning
Understanding the step-by-step process is crucial to ensuring safety and success:
1. Choose the Right Foods
Water bath canning is suitable for high-acid foods. Examples include:
- Fruits and fruit juices
- Jams, jellies, and fruit preserves
- Pickled vegetables
- Tomato products (with added acid or vinegar)
Foods with low acidity, such as meats, vegetables, and soups, must be processed in a pressure canner to ensure safety.
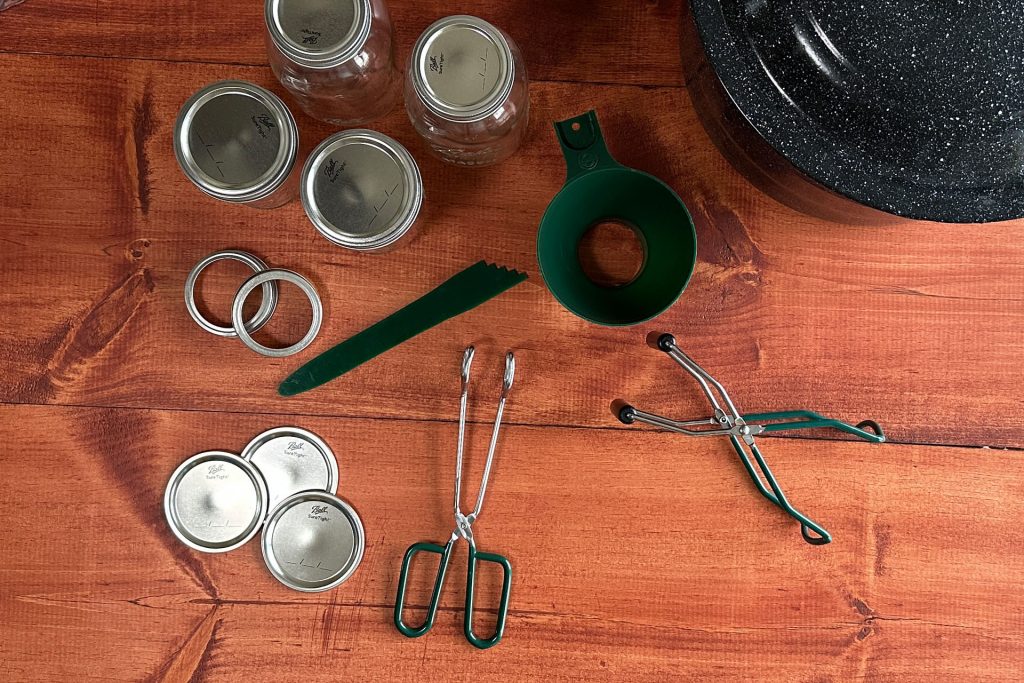
2. Prepare Your Jars and Lids
Clean jars and lids by washing them with hot, soapy water. If your tested recipe has a processing time of 5 minutes or less you must sterilize your jars by boiling them in water for 10 minutes.
Here are the essential water bath canning supplies you need to get started.
3. Prepare Your Food
Follow a trusted recipe that has been tested for safety, such as those from the USDA or the National Center for Home Food Preservation, or any of the approved Ball Canning books. These recipes specify the correct acidity levels, processing times, and jar sizes.
4. Fill the Jars
Ladle your prepared food into jars, leaving the recommended amount of headspace that is called for in your tested recipe. Wipe the jar rims clean to ensure a good seal, then place the lids and screw bands on until fingertip-tight.
5. Process in a Boiling Water Bath
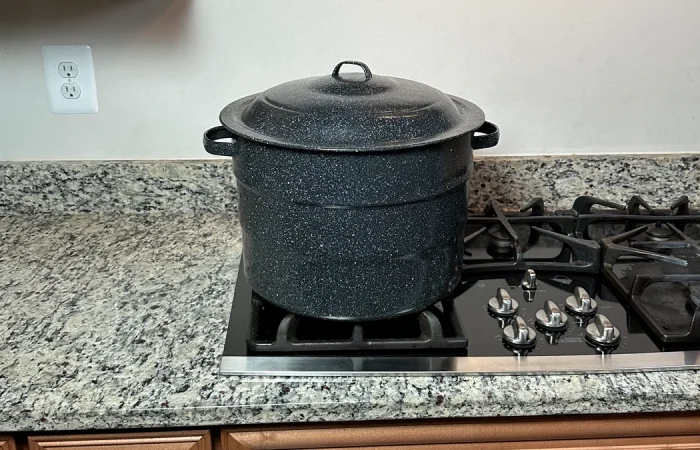
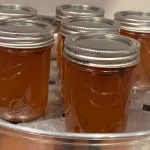
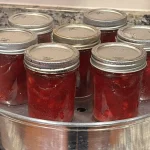
Place the filled jars into a water bath canner or a large pot with a rack at the bottom. Add enough water to cover the jars by at least 2 inches. Bring the water to a boil, and maintain a rolling boil for the entire processing time specified in your recipe.
6. Cool and Check Seals
After processing, remove the jars and let them cool for 12-24 hours. Check the seals by pressing on the lids; they should not flex. If the lids flex, refrigerate the food and use it quickly.
Need a Step-by-Step Guide? Download my Free Water Bath Canning Made Easy Ebook
I go over all the information for water bath canning in this free water bath canning ebook.
Why Is Water Bath Canning So Effective?
The effectiveness of water bath canning comes from its ability to address the two main safety concerns in home food preservation: microorganisms and spoilage. By combining heat, acidity, and a vacuum seal, this method creates an environment hostile to bacteria and molds while maintaining the food’s quality and flavor.
When done correctly, water bath canning preserves nutrients and ensures your canned goods retain their vibrant color and taste.
Tips for Safe Water Bath Canning
- Use Tested Recipes: Avoid experimenting with ingredients or processing times. Stick to reliable sources to ensure the correct acidity and processing requirements.
- Inspect Equipment: Regularly check jars, lids, and the canning pot for any damage or wear. Want to learn more about canning lids? Here is useful information on is it safe to reuse canning lids.
- Adjust for Altitude: At higher elevations, water boils at lower temperatures. Adjust processing times based on your altitude using trusted canning charts.
- Label and Store Properly: Label jars with the contents and date, and store them in a cool, dark, and dry place.
Common Mistakes to Avoid When Water Bath Canning
Inadequate Processing Time
Under-processing can lead to spoilage or harmful bacteria. Always follow recommended processing times for your specific foods to ensure safety.
Improper Jar Sealing
Incomplete seals can introduce air and contaminants. Make sure to check seals carefully and discard any jars that haven’t sealed properly.
Ignoring Safety Guidelines
Following instructions is crucial. Neglecting guidelines can compromise food safety, so always refer to trusted resources like the USDA’s canning guidelines.
Water bath canning is a time-tested method for preserving the bounty of your garden or grocery store. By understanding the science behind it and following proper techniques, you can enjoy delicious and safe homemade foods year-round. Whether you’re a beginner or an experienced canner, water bath canning is an excellent way to embrace the joy of food preservation while ensuring safety for you and your family.

No Comment! Be the first one.