Pressure canning beets is a fantastic way to preserve their freshness and nutritional value while extending their shelf life. Whether you’re a seasoned canner or just starting, this comprehensive guide will walk you through the process, providing expert insights and tips to ensure successful canning every time.
Pressure Canning Beets
Pressure canning is a method of preserving food in mason jars at high temperatures. This process destroys harmful bacteria, ensuring the safety of your canned goods. Beets, with their rich flavor and vibrant color, are excellent candidates for pressure canning. Beets are low in acid, so they require pressure canning.
This recipe comes from The USDA Complete Guide to Home Canning in guide 4 page 9.
You can pressure can beets whole, cubed, or sliced. Pressure Canning Beets involves a few key steps:
Selecting Fresh Beets
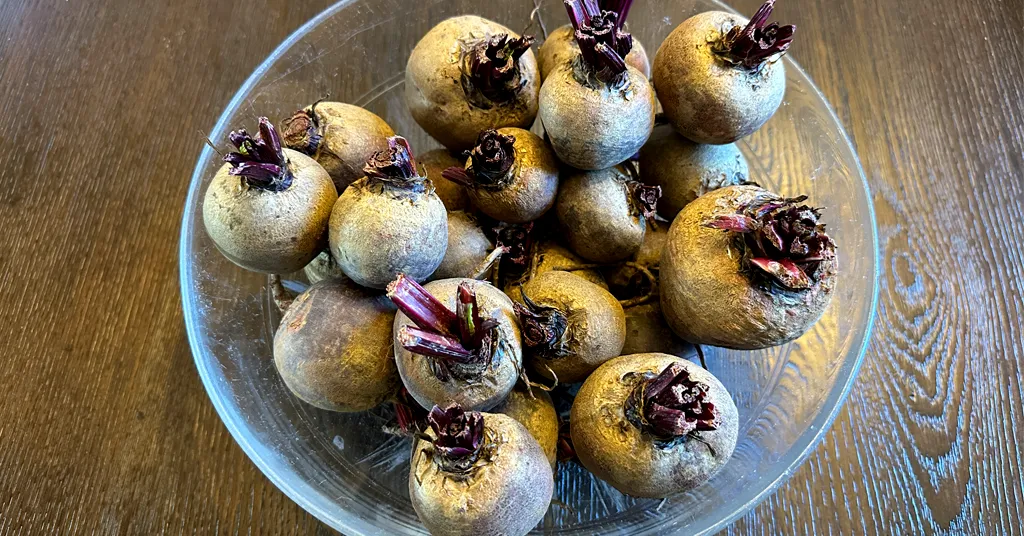
Before starting the canning process, it’s crucial to start with fresh, high-quality beets. Look for firm, unblemished beets with vibrant greens attached. Avoid any signs of rot or damage. I went to a local pick-your-own farm and picked my beets to use in this recipe.
You will need about 21 pounds of beets (without tops) per canner load of 7 quarts. An average of 14 pounds of beets (without tops) is needed per canner load of 9 pints. A bushel of beets (without tops) weighs 52 pounds and yields 15 to 20 quarts – an average of around 3 pounds per quart jar.
Beets with a diameter of 1 to 2 inches (2.5 to 5 cm) are preferred for whole packs. Beets larger than 3 inches (7.5 cm) in diameter are often fibrous.
Cleaning and Preparing Beets
Once you’ve selected your beets, thoroughly wash them under cold running water to remove any dirt or debris. Use a vegetable scrub brush to remove any difficult-to-remove dirt. Trim off the greens, leaving about an inch (2.5 cm) of stem attached. This will prevent bleeding during cooking.
How to Remove Beet Skins
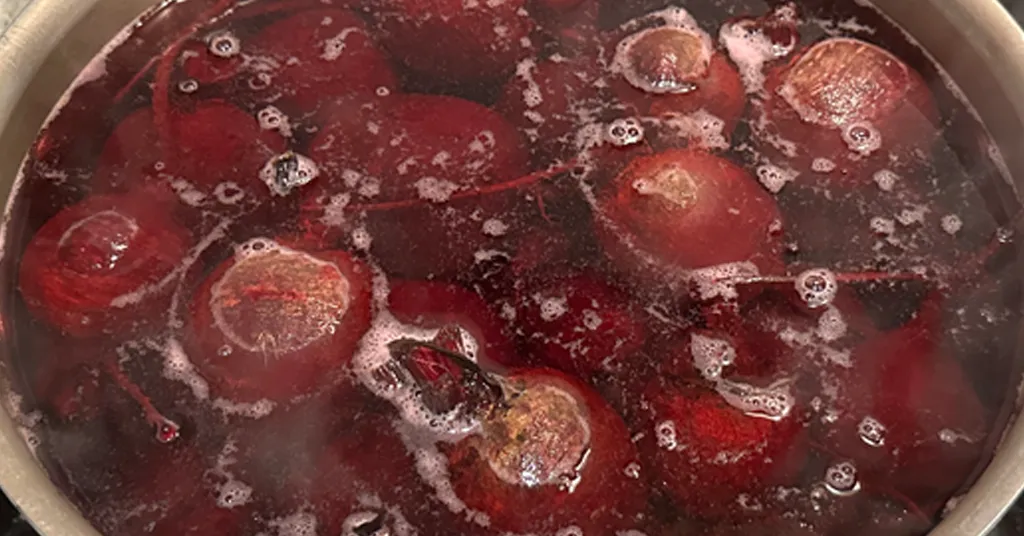
Pressure canning requires precooking the beets to remove their skins. Here are step-by-step instructions to easily remove the beet skins.
- Add beets to a large stainless steel pot. Cover with boiling water.
- Boil the beets until skins slip off easily; about 15 to 25 minutes depending on size.
- Cool beets, remove the skins, and trim off stems and roots.
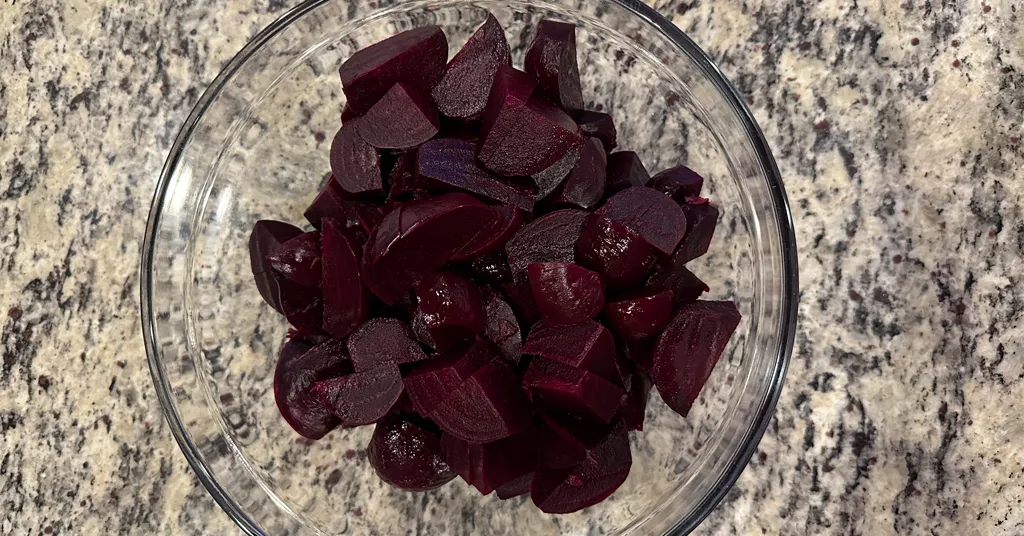
- Leave baby beets whole. Cut medium or large beets into 1/2-inch cubes or slices. Halve or quarter the very large slices.
Preparing Jars and Equipment
To prevent contamination, it is essential to clean your jars, lids, and equipment before canning.
Prepare your Pressure Canner according to Manufacturer instructions.
Clean jars and lids with warm soapy water. Ensure the jars do not have any chips or bubbles in the glass. Heat the jars in hot water.
Preparing Fresh Water for Canning Beets
Bring additional water to a boil in an electric water kettle or a large pot on your stove. Reduce to a simmer, keeping your water hot.
Packing Beets into Jars
Once your beets are peeled and cut and your jars are sterilized, it’s time to pack the beets into the jars.
Add 1/2 tsp salt per pint jar or 1 tsp salt per quart jar.
Hot-pack beets in hot jars leaving a generous 1-inch (2.5 cm) headspace.
Ladle or pour fresh hot water over beets leaving 1 inch (2.5 cm) of headspace.
Remove air bubbles from the jars using your de-bubbler. Adjust headspace as needed by adding more hot water.
Sealing Jars
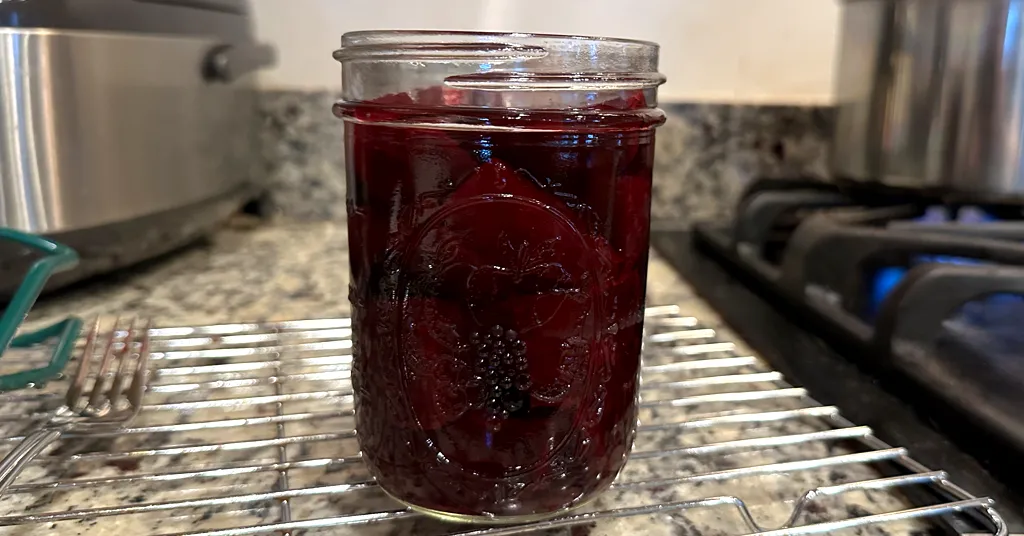
Clean your jar rim with a damp paper towel. Place the lid and the band on your jar. Adjust to fingertip tight. Using your jar lifter place your jar into your prepared hot pressure canner. Repeat until all beets are used.
Pressure Canning Jars of Beets
Adjust the water level if needed in the canner, lock the pressure canner lid, and bring it to a boil over medium-high heat. Vent steam for 10 minutes, then close the vent. Continue heating your pressure canner to achieve 10 lbs (69 kPa) of pressure (Make sure to adjust for your altitude) and maintain that pressure for the entire cooking time.
Process Pint Jars (500 mL) for 30 minutes and Quart Jars (1 L) for 35 minutes. Set a timer so it is much easier to remember how long you need to pressure can for.
Turn off the heat when the timer is complete. Let pressure return to zero naturally. Wait 2 minutes after the pressure gauge reads 0, then open your vent. Remove your canner lid (making sure to lift it away from you so you don’t get burned by the steam).
Leave jars in the pressure canner for 10 minutes after you remove the lid.
Cool, Label, and Store Jars
Using your jar lifer carefully move the jars onto a wire rack or kitchen towel to allow them to cool. When moving the jars try not to tilt them to the side as this could affect the seal of the jars. Allow your jars to cool for 12-24 hours before handling.
Once cool, remove the canning rings from the jars. Wash your jars off to ensure no food residue on the outside of the jar from processing. Label your jar with the name of the recipe and date. This will help you remember what recipe you used to can and the date will allow you to use the oldest canned goods first.
Pressure Canning Beets: Tips for Success
Achieving perfect pressure-canned beets requires attention to detail and following best practices. Here are some additional tips to ensure success:
Use Proper Equipment
Invest in a quality pressure canner and follow the manufacturer’s instructions for safe operation. Check the gauge regularly to ensure accurate pressure levels.
Follow Recommended Processing Times
Different foods require different processing times and pressures. Always refer to reliable sources, such as the USDA guidelines, for accurate processing recommendations.
This recipe is safety tested and from The USDA Complete Guide to Home Canning in guide 4 page 9.
Label and Date Your Jars
Properly labeling your jars with the contents and date of canning helps you keep track of freshness and ensures you’re using your oldest canned goods first.
Inspect Jars Before Use
Before consuming pressure-canned beets, always inspect the jars for any signs of spoilage, such as bulging lids, unusual odors, or discoloration.
FAQs (Frequently Asked Questions)
How long can pressure-canned beets last?
Pressure-canned beets can last for several years when stored in a cool, dark place away from direct sunlight.
Can I reuse jars and lids for pressure canning?
While jars can be reused as long as they’re in good condition, lids should always be replaced with new ones to ensure a proper seal and safe canning.
How do I know if my pressure-canned beets are safe to eat?
Follow a safe and tested recipe for Pressure Canning Beets. Always inspect the jars for signs of spoilage before consuming. If in doubt, it’s best to discard the contents.
Can I freeze beets instead of pressure canning them?
While freezing is an option, pressure canning provides a longer shelf life and preserves the flavor and texture of the beets more effectively.
Pressure canning beets is a rewarding and practical way to enjoy the flavors of summer all year round. By following proper techniques and safety guidelines, you can confidently stock your pantry with delicious, nutritious beets that are ready to enjoy whenever you crave them.
Additional Pressure Canning Recipes
Recipe Card
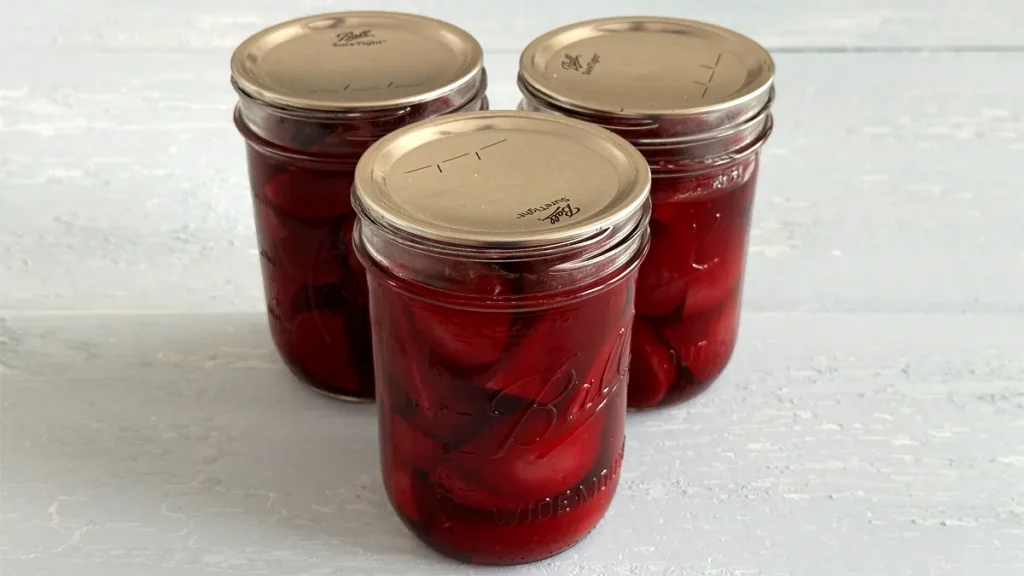
Pressure Canning Beets – Whole, Cubed, or Sliced
Equipment
- Pint Size Canning Jars or Quart Size Canning Jars
- Quart size canning jars or Pint Size Canning Jars
- Water kettle or pot of hot water
Ingredients
- 21 lbs Beets You will need about 21 pounds of beets (without tops) per canner load of 7 quarts; an average of 14 pounds of beets (without tops) is needed per canner load of 9 pints. A bushel of beets (without tops) weighs 52 pounds and yields 15 to 20 quarts – an average of around 3 pounds per quart jar.
- Salt Optional
- Hot Water
Want to Save this Recipe?
Instructions
- Beets with a diameter of 1 to 2 inches (2.5 to 5 cm) are preferred for whole packs. Beets larger than 3 inches (7.5 cm) in diameter are often fibrous.
- Trim off beet tops, leaving an inch (2.5 cm) of stem and roots to reduce bleeding of color. Scrub beets well.
- Add beets to a large stainless steel pot. Cover with boiling water.
- Boil the beets until skins slip off easily; about 15 to 25 minutes depending on size.
- Cool beets, remove skins, and trim off stems and roots.
- Leave baby beets whole. Cut medium or large beets into 1/2 inch cubes or slices. Halve or quarter very large slices.
- Prepare your Pressure Canner according to Manufacturer instructions.
- Clean jars and lids with warm soapy water. Ensure the jars do not have any chips or bubbles in the glass. Heat jars in hot water.
- Bring additional water to a boil in an electric water kettle or a large pot on your stove. Reduce to a simmer, keeping your water hot.
- Add 1/2 tsp salt per pint jar or 1 tsp salt per quart jar.
- Hot-pack beets in hot jars leaving a generous 1-inch (2.5 cm) headspace.
- Ladle or pour fresh hot water over beets leaving 1 inch (2.5 cm) of headspace.
- Remove air bubbles from the jars using your de-bubbler. Adjust headspace as needed by adding more hot water.
- Clean your jar rim with a damp paper towel.
- Place the lid and the band on your jar. Adjust to fingertip tight.
- Using your jar lifter place your jar into your prepared hot pressure canner.
- Repeat until all beets are used.
- Adjust the water level if needed in the canner, lock the pressure canner lid, and bring it to a boil over medium-high heat. Vent steam for 10 minutes, then close the vent. Continue heating your pressure canner to achieve 10 lbs (69 kPa) of pressure (Make sure to adjust for your altitude) and maintain that pressure for the entire cooking time.
- Process Pint Jars (500 mL) for 30 minutes and Quart Jars (1 L) for 35 minutes. Set a timer so it is much easier to remember how long you need to pressure can for.
- Turn off the heat when the timer is complete. Let pressure return to zero naturally. Wait 2 minutes after the pressure gauge reads 0, then open your vent. Remove your canner lid (making sure to lift it away from you so you don't get burned by the steam).
- Leave jars in the pressure canner for 10 minutes after you remove the lid. Using your jar lifer carefully move the jars onto a wire rack or kitchen towel to allow them to cool. When moving the jars try not to tilt them to the side as this could affect the seal of the jars. Allow your jars to cool for 12-24 hours before handling.
- Once cool, remove the canning rings from the jars. Wash your jars off to ensure no food residue on the outside of the jar from processing. Label your jar with the name of the recipe and date. This will help you remember what recipe you used to can and the date will allow you to use the oldest canned goods first.

No Comment! Be the first one.