Bruschetta is an Italian classic, known for its fresh tomato and garlic topping, usually served on grilled bread. It’s loved for its bright flavors and simple ingredients. Making bruschetta at home means you can enjoy that fresh taste any time, even when tomatoes aren’t in season. That’s why this Bruschetta Recipe for Canning is a great way to keep a bit of summer in your pantry.
This Easy Bruschetta Recipe follows a tested recipe from Ball Canning, so you can feel confident about both taste and safety. Having jars ready to go means you can whip up appetizers or add a burst of flavor to meals without extra fuss.
Why Bruschetta Is Perfect for Canning
Bruschetta’s roots go back to Italy, where it was created to highlight ripe tomatoes and good olive oil. Canning this topping locks in those garden flavors. It’s more than a bread topping. It’s a base for pasta, salads, and even pizza. Home food preservers love it because it uses up a big tomato harvest and makes meal prep easy all year.
The recipe I am using for water bath canning Bruschetta comes from the Ball Complete Book of Home Preserving called Bruschetta in a Jar.
Bruschetta Ingredient Notes
Tomatoes: The best bruschetta starts with ripe, firm plum tomatoes. They hold their shape and don’t release too much water. Roma and San Marzano are top choices. If you use globe tomatoes, chop them, then let them drain in a colander for 30 minutes before canning. This step keeps your mixture from getting soupy. Since you are adding additional acid to this recipe draining the tomatoes is a safe variation.
Garlic: Fresh garlic gives that classic punch. Finely chop for even flavor.
Vinegar: White wine vinegar is used for its mild taste and reliable acidity, which is important for canning safety. Dry white wine adds depth. Balsamic vinegar brings a touch of sweetness and color. Stick to bottled white wine vinegar for acidity. Don’t swap in homemade vinegars, as their acidity can vary and may not be safe.
Herbs: Dried basil and oregano deliver Italian flavor all year. Don’t swap in fresh herbs as the recipe is tested only with dried herbs. You can add more or less dried herbs depending on the flavoring you like.
Sugar: A little sugar balances the acidity and highlights the tomato flavor. Don’t leave it out or cut it back, as it helps with taste and texture.
Full Ingredient List
Be sure to use the exact measurements as the recipe has been proven to be safe and tested by Ball Canning.
-
- 9 cups Chopped, Cored, Plum Tomatoes Chopped, cored (1-inch pieces)
- 5 cloves of Garlic Finely Chopped
- 1 cup Dry White Wine. This ingredient is missing from Ball’s website but is included in their book
- 1 cup White Wine Vinegar
- 1/2 cup Water
- 2 tbsp Sugar
- 2 tbsp Dried Basil
- 2 tbsp Dried Oregano
- 2 tbsp Balsamic Vinegar
My Equipment for Canning Homemade Bruschetta
This recipe is safe to be canned via Water Bath or Steam canning. If you need additional information on the equipment needed for canning please take a look at my article on Canning Supplies. Here is the equipment I used for this recipe.
Water Bath Canning Made Easy
Preserve the flavors of your favorite fruits and vegetables with my FREE comprehensive and beginner-friendly Water Bath canning eBook.
Canning Homemade Bruschetta: Step-by-Step Guide
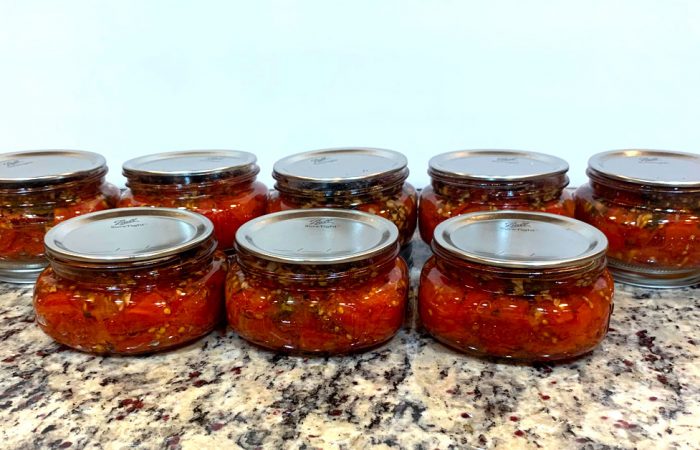
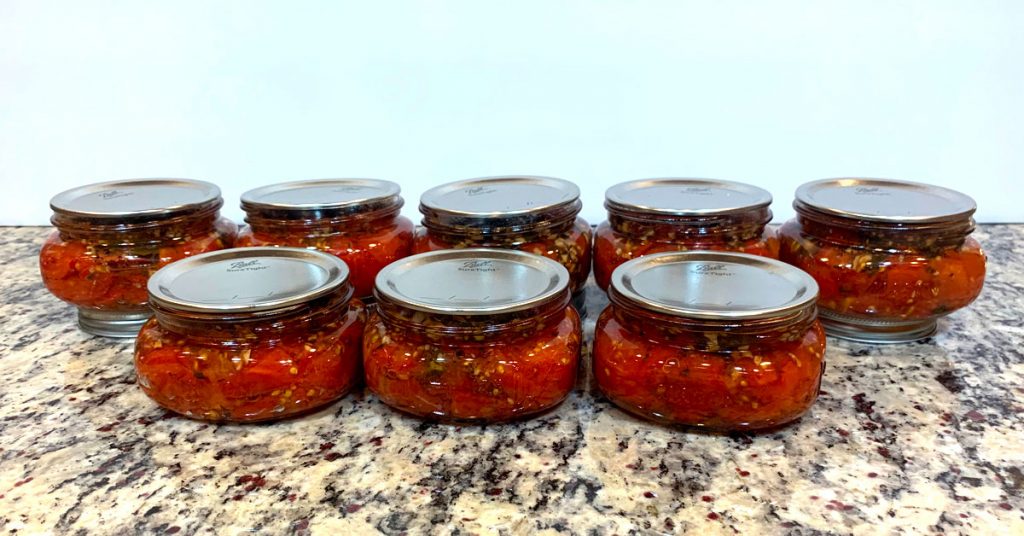
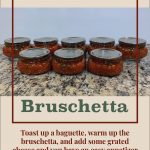
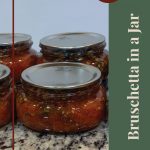
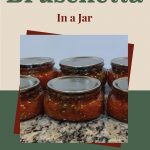
I have included step-by-step instructions for water bath canning or steam canning this Easy Italian Bruschetta Recipe. This recipe comes from Ball’s “Complete Book of Home Preserving” recipe “Bruschetta in a Jar”. This recipe will yield 7 half-pint jars of Bruschetta.
Clean Jars and Lids
Clean jars and lids with warm soapy water. Ensure the jars do not have any chips or bubbles in the glass.
Prepare Your Canner
- Using a Water Bath Canner:
- Put your water bath canner on your stove. Add your canning rack to the water bath canner. Add your 1/2 pint jars to the water bath canner. They will warm as you heat the water. Add enough water to cover jars with at least 2-3 inches of water. Start to bring your water to a boil.
- Using a Steam Canner:
-
- Put your steam canner on your stove. Add the steam canner rack to the bottom of the steam canner. Add the recommended amount of water to the steam canner according to the manufacturer. Add your 1/2 pint jars to the steam canner. Put the lid on your steam canner and start your stove. The jars will warm as you heat your steam canner.
Prepare the Garlic and Tomatoes
Prepping the ingredients for this recipe is a lot easier than others.
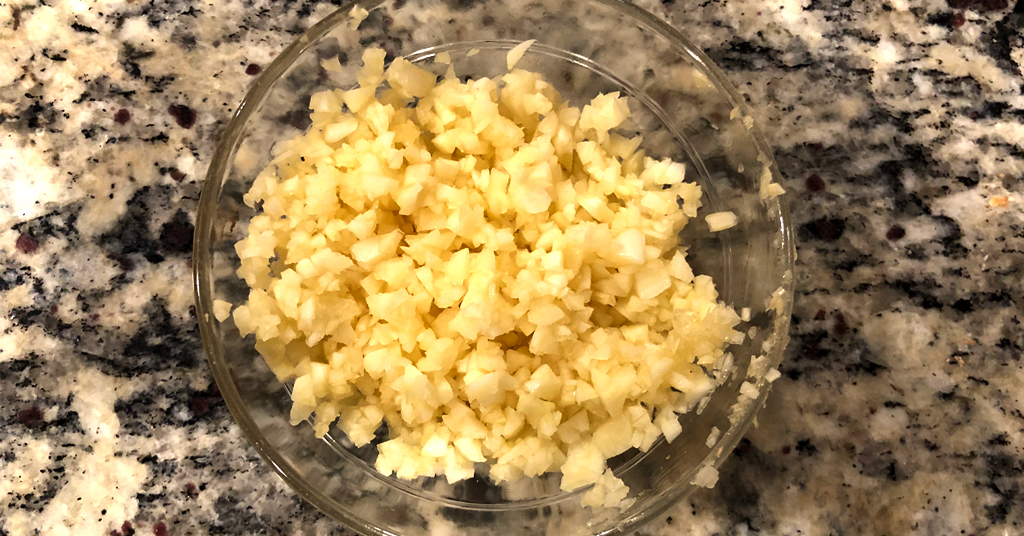
Peel your garlic and remove the end of the garlic that was connected to the bulb. Finely chop your garlic and place it in a bowl.
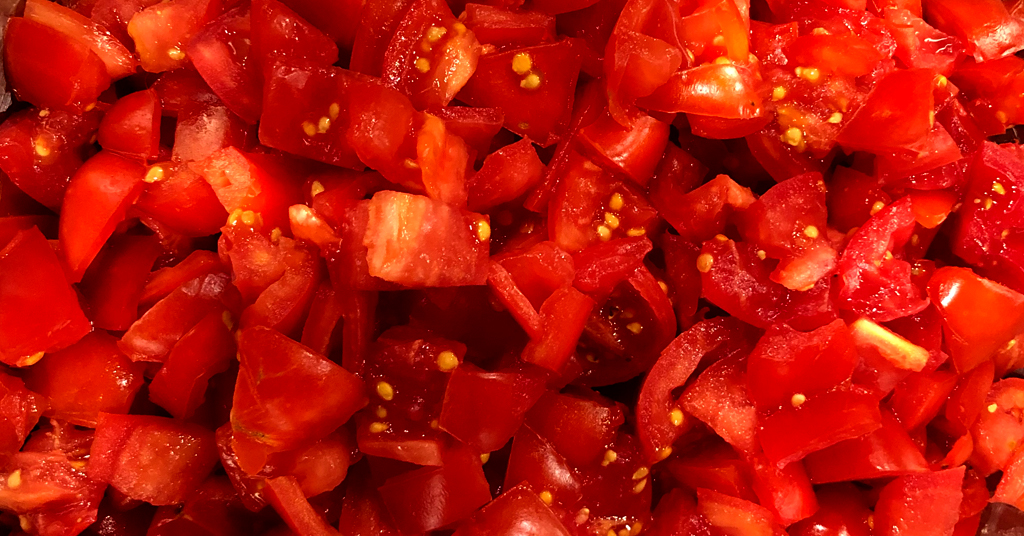
In this recipe, you do NOT need to peel your tomatoes. Core and chop your plum tomatoes into 1-inch pieces and place in a bowl.
What Kind of Tomatoes Should Be Used?
I used Ball’s suggestion of using Plum tomatoes. Plum tomatoes contain less liquid than Globe tomatoes.
But don’t worry. If you only have Globe tomatoes, you can certainly use them. All you have to do is place them in a colander after chopping and let them sit for 30 minutes. This will allow the excess liquid to drain. It is safe to drain the liquid from your tomatoes in this recipe because you are adding additional acid to the recipe.
Prepare the Vinegar Mixture
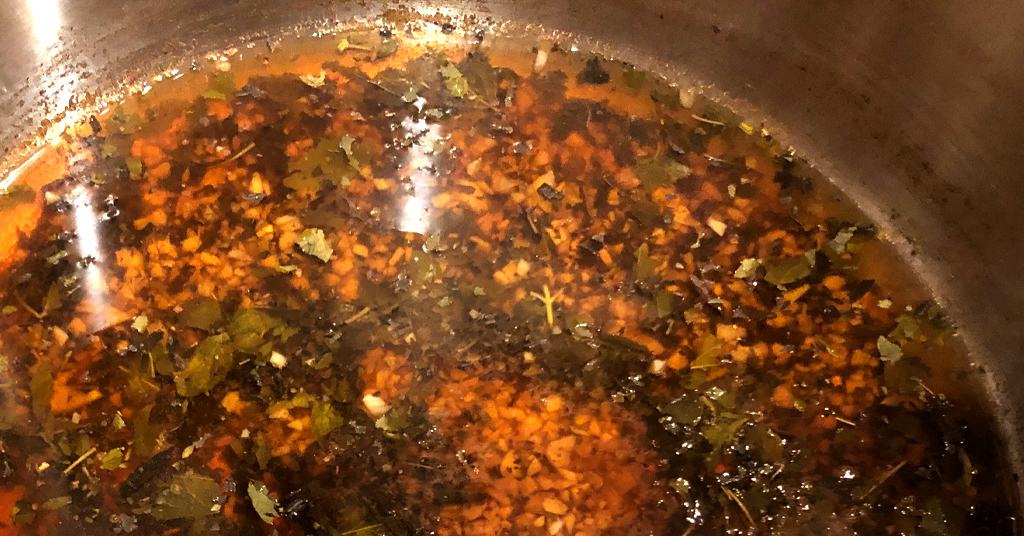
In a large stainless steel pot, combine the garlic, wine, wine vinegar, water, sugar, basil, oregano, and balsamic vinegar.
Bring the vinegar mixture to a full rolling boil over high heat, stirring occasionally. Reduce the heat and cover with a lid. Boil the vinegar mixture for 5 minutes, until the garlic is heated through. Remove from heat.
Fill The Jars
Once you have hot jars and Bruschetta Vinegar Mixture.
- Water Bath Canner:
- Remove your jars from the water bath canner one at a time using your jar lifter. Dump the water out of the jar into your water bath canner to ensure there is still 2-3 inches of water above your jars.
- Steam Canner:
- Remove the steam canner lid and remove your jars one at a time using your jar lifter.
Pack tomatoes into the hot jar, leaving a generous 1/2 inch headspace. Ladle the hot vinegar mixture over the tomatoes, leaving 1/2 inch headspace.
Using your de-bubbler, make sure to remove all air bubbles. If your level in the jar goes below the 1/2-inch line, just add some more vinegar mixture and fill up to the 1/2-inch headspace.
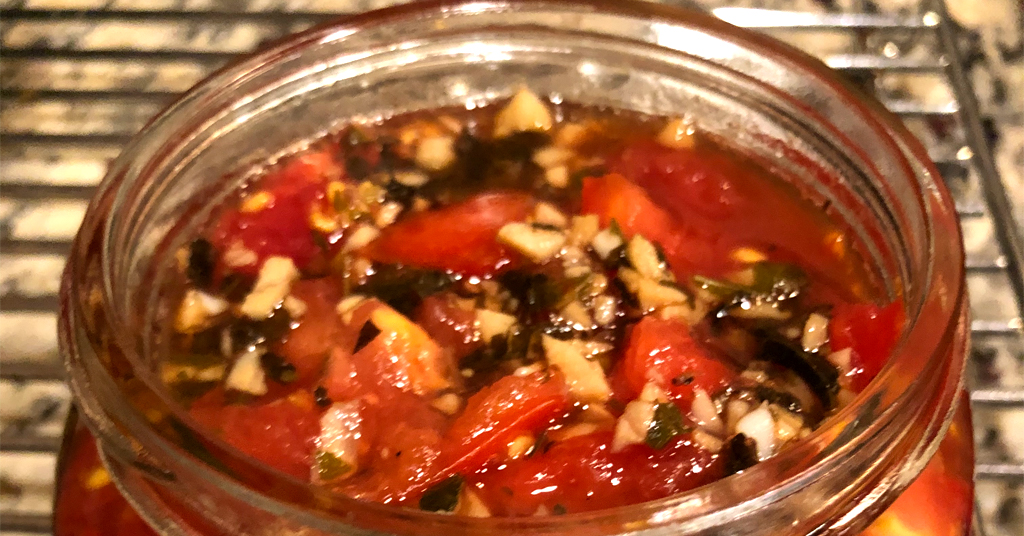
Wipe the rim of the jar to make a good seal with the lid. Center the lid on the jar, add the band, and tighten just to a fingertip tightness. Don’t over-tighten.
Put the jar back into the canner using your jar lifter, and repeat this step for your remaining jars and tomatoes.
Process the Bruschetta Jars
- Water Bath Canner:
- Lower the water bath canner rack into the boiling water. Ensure your jars are covered by at least 2 inches of water.
- If your water is not boiling, start your processing time when the water is boiling. Process 1/2 pint jars for 20 minutes. Make sure to adjust your time for altitude.
- Set a timer, it makes it much easier to make sure you process for the correct time. When your timer goes off, turn off the heat and remove the canner lid.
- Leave the jars in the water for 5 minutes.
- Steam Canner:
- Put the lid on the steam canner. Turn your stove on high until your steam canner water comes to a vigorous boil. Continue heating so the indicator is in the correct “Zone” per your altitude.
- Start your processing time when the needle reaches the maximum point you have tested your steam canner to reach in your “Zone”.
- Adjust the burner so that it maintains an even rolling boil throughout the entire processing time. Usually, this will be much lower than where it was set for the vigorous boil. If the top lid is lifting and/or spitting water from the edges, this is an indication that you have the heat turned up too high. Slowly reduce the heat until this stops. Watch the indicator to ensure the temperature does not decrease.
- The processing times for steam canning are the same as for water bath canning. Process 1/2 pint jars for 20 minutes.
- Make sure to adjust your time for altitude. Set a timer, it makes it much easier to make sure you process for the correct time.
- When your timer goes off, turn off the heat and let the canner stand for 5 minutes with the lid on before removing the jars. The lid MUST remain ON the canner during this time. This cool-down period is necessary to ensure the jar contents are properly processed.
- Carefully remove the lid by tilting it away from you to avoid steam burns.
Remove Jars and Cool
Using your jar lifer, carefully move your jars onto a wire cooling rack, or kitchen towel on a trivet, and allow them to cool completely.
Take care when moving your jars. Try not to tilt them to the side as this could affect the seal of your jars.
Allow your jars to cool for 12-24 hours before handling.
Storage
Once cool, remove the canning rings from the jars. Wash your jars off to ensure there is no brine residue on the outside of the jar from processing.
Label your jar with the name of the recipe and date. This will help you remember what recipe you used to can and the date will allow you to use the oldest canned goods first.
Join My Preserving Guide Facebook Group
Expert tips, tested recipes, and vibrant discussions on canning, dehydrating, freezing, and all things food preservation!
Serving Suggestions
This Italian Bruschetta Recipe is more than a bread topping! Try these ideas:
- Spoon over hot pasta or toss with cooked grains.
- Top grilled chicken, steak, or fish for a fresh twist.
- Use as a pizza sauce or dollop onto flatbreads.
- Mix into salads for extra flavor.
- Drizzle with olive oil and a splash of balsamic vinegar before serving.
Frequently Asked Questions
Can I use yellow tomatoes? Yes, yellow tomatoes are fine as long as they are meaty and not too watery. For very juicy varieties, drain extra moisture before measuring.
Is it safe to reduce the sugar? A small reduction is okay for taste, but don’t eliminate it. Sugar helps with texture and flavor. Always keep vinegar and wine amounts the same for canning safety.
Can I add onions? Stick to the approved recipe for canning. If you want to add an onion for flavor, add it after you open your jar of bruschetta. Chop your onion finely and use a small amount.
What if a jar doesn’t seal? Any jar that doesn’t seal can be refrigerated and eaten within a week, or reprocessed with a new lid within 24 hours.
How do I store my canned bruschetta? Keep jars in a cool, dark place. Once opened, store in the fridge and enjoy within a week.
Delicious Bruschetta
This Bruschetta Recipe brings summer freshness to your table any time. Canning bruschetta is a simple way to use your harvest and always have a quick appetizer or meal starter on hand. If you try this Easy Italian Bruschetta Recipe, share your results or questions in the comments! Your kitchen could be the next to inspire others—happy canning!
Interested in Growing The Ingredients for this Recipe?
Other Great Tomato Canning Recipes
Recipe Card
Tomato Bruschetta Recipe for Canning
Equipment
- Water Bath Canner or Steam Canner
- Steam Canner or Water Bath Canner
Ingredients
- 9 cups Chopped, Cored, Plum Tomatoes Chopped, cored (1 inch pieces)
- 5 cloves Garlic Finely Chopped
- 1 cup Dry White Wine This is the ingredient missing from Ball's website but is included in their book
- 1 cup White Wine Vinegar
- 1/2 cup Water
- 2 tbsp Sugar
- 2 tbsp Dried Basil
- 2 tbsp Dried Oregano
- 2 tbsp Balsamic Vinegar
Want to Save this Recipe?
Instructions
- Clean jars and lids with warm soapy water. Ensure the jars do not have any chips or bubbles in the glass.
- Prepare your cannerUsing Water Bath Canner: Put your water bath canner on your stove. Add your canning rack to the water bath canner. Add your 1/2 pint jars to the water bath canner. They will warm as you heat the water. Add enough water to cover jars with at least 2-3 inches of water. Start to bring your water to a boil.Using a Steam Canner: Put your steam canner on your stove. Add the steam canner rack to the bottom of the steam canner. Add the recommended amount of water to the steam canner according to the manufacturer. Add your 1/2 pint jars to the steam canner. Put the lid on your steam canner and start your stove. The jars will warm as you heat your steam canner.
- Prepare GarlicPeel garlic and remove the end that was connected to the bulb. Finely chop your garlic and place it in a bowl.
- Prepare TomatoesIn this recipe, you do NOT need to peel your tomatoes. Core and chop your plum tomatoes into 1-inch pieces and place in a bowl. Plum tomatoes contain less liquid than globe tomatoes. If you only have globe tomatoes, those can be used as well, but you should place them in a colander for 30 minutes to allow the excess liquid to drain.
- Prepare Bruschetta Vinegar MixtureIn a large pot combine garlic, wine, wine vinegar, water, sugar, basil, oregano, and balsamic vinegar. Bring the vinegar mixture to a full rolling boil over high heat, stirring occasionally. Reduce the heat and cover with a lid. Boil vinegar mixture for 5 minutes, until garlic is heated through. Remove from heat.
- Once you have hot jars and Bruschetta Vinegar Mixture.Water Bath Canner:Remove your jars from the water bath canner one at a time using your jar lifter. Dump the water out of the jar into your water bath canner to ensure there is still 2-3 inches of water above your jars.Steam Canner:Remove the steam canner lid and remove your jars one at a time using your jar lifter.
- Packing Tomatoes in JarsPack tomatoes into the hot jar, leaving a generous 1/2 inch headspace. Ladle the hot vinegar mixture over the tomatoes, leaving 1/2 inch headspace.
- De-bubbling Your BruschettaUsing your de-bubbler make sure to remove all air bubbles. Add some more vinegar mixture if the level goes down below 1/2 inch headspace.
- Sealing JarWipe the rim of the jar to ensure a good seal is made with the lid. Center the lid on the jar and add the band to fingertip tight. Using your jar lifter, put the jar back into the canner.
- Repeat Steps for Remaining JarsRepeat filling jars until all tomatoes are used.
- Process JarsWater Bath Canner:Lower the water bath canner rack into the boiling water. Ensure your jars are covered by at least 2 inches of water.If your water is not boiling, start your processing time when the water is boiling. Process 1/2 pint jars for 20 minutes. Make sure to adjust your time for altitude.Set a timer, it makes it much easier to make sure you process for the correct time. When your timer goes off, turn off the heat and remove the canner lid.Leave the jars in the water for 5 minutes.Steam Canner:Put the lid on the steam canner. Turn your stove on high until your steam canner water comes to a vigorous boil. Continue heating so the indicator is in the correct "Zone" per your altitude. Start your processing time when the needle reaches the maximum point you have tested your steam canner to reach in your "Zone".Adjust the burner so that it maintains an even rolling boil throughout the entire processing time. Usually, this will be much lower than where it was set for the vigorous boil. If the top lid is lifting and/or spitting water from the edges, this is an indication that you have the heat turned up too high. Slowly reduce the heat until this stops. Watch the indicator to ensure the temperature does not decrease.The processing times for steam canning are the same as for water bath canning. Process 1/2 pint jars for 20 minutes.Make sure to adjust your time for altitude. Set a timer, it makes it much easier to make sure you process for the correct time.When your timer goes off, turn off the heat and let the canner stand for 5 minutes with the lid on before removing the jars. The lid MUST remain ON the canner during this time. This cool-down period is necessary to ensure the jar contents are properly processed.Carefully remove the lid by tilting it away from you to avoid steam burns.
- Remove Jars and CoolUsing your jar lifer carefully move the jars onto a wire rack or kitchen towel to allow them to cool. When moving the jars try not to tilt them to the side as this could affect the seal of the jars. Allow your jars to cool for 12-24 hours before handling.
- StorageOnce cool, remove the canning rings from the jars. Wash your jars off to ensure there is no food residue on the outside of the jar from processing. Label your jar with the name of the recipe and the date. This will help you remember what recipe you used to can and the date will allow you to use the oldest canned goods first.
Notes
Editorial Process
At Preserving Guide, I take pride in my thorough and impartial approach to recipe and product reviews. Read my editorial process for detailsRobin
Robin Phelps has been preserving food for her family for over 20 years. Today, Robin is a full-time home preservation blogger and coach. Join Robin to learn how to easily make delicious and safe homemade preserved items.




I am wondering if San Marzano tomatoes would work for this
Yes I have used San Marzano tomatoes in this recipe before. They would work well.
Can you use fresh basil instead of dried basil?
In this recipe you need to use dried basil. You can dry your fresh basil first and then use it for this recipe.
What is a debubbler?
A debubbler or bubble remover is a item used in canning to remove air bubbles that may be trapped in or around your produce when filling your jars. It can be any non metallic item that can be slid down the inside of your jars to help the air bubbles to rise to the surface before putting your jars into your canner. I personally use a Norpro Canning Bubble Popper/Headspace Measurer when I am performing this step.
How long will these last on the shelf ? Also, do you need to remove the rings ?
For the best quality, use home-canned foods within 1 year. After 1 year, natural chemical changes can occur that can diminish the eating quality, flavor, color, texture, or nutritional value of the product. Foods stored for longer than 1 year are not bad, but their quality may be reduced. The sole purpose of the ring is to hold the lid securely in place during heat processing. It is recommended to remove your rings when storing home-canned foods. This allows you to easily detect some types of spoilage and prevents false seals. Check the lids of your home-canned foods often to make sure the lids are still securely fastened to the jar.
I hope I haven’t already asked this question. Can this be safely canned in pint jars? I know it is not recommended to do this across the board, but am hoping this individual recipe can be adapted for pints.
Hi linda,
Unfortunately this recipe is only safety tested for half-pint jars (8oz) or smaller jars. It has not been safety tested for pint jars.