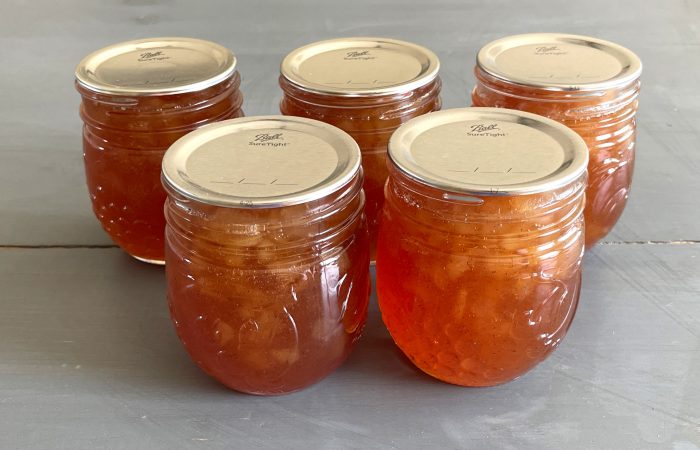
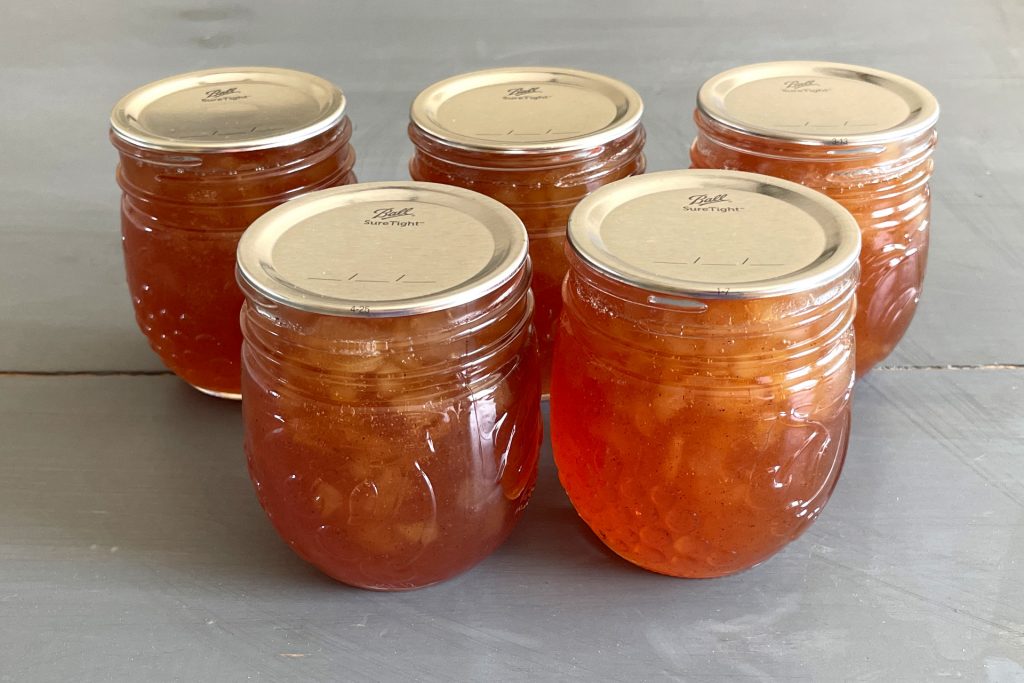
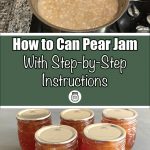
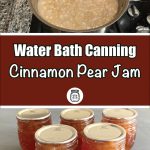
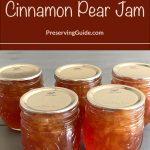
As the seasons shift and the air gets crisper, there’s nothing quite like the satisfaction of turning fresh produce into homemade treasures. Let’s explore the simple pleasure of Water Bath Canning Pear Jam. This delightful spread perfectly balances the sweetness of pears with the comforting spice of cinnamon.
The Flavor Combo: Pears and Cinnamon
Think of juicy pears meeting the warmth of cinnamon—that’s the essence of this jam. Whether slathered on a slice of freshly baked bread or elegantly adorning a cheese platter, this jam bridges the gap between rustic charm and gourmet elegance. I love adding it to my bagel and cream cheese in the morning. The sweetness of the pear jam works so well with the cream cheese.
I like this recipe because it is easy to prep the pears. I take forever to cut up ingredients and this felt like it went fast for the delicious results I made.
This recipe comes from the Ball Complete Book of Home Preserving on page 42. This recipe will make about 6 half-pint jars of jam.
Canning Equipment for Pear Jam
Here are the specific items I used when canning pear jam. These are some of my go-to items to make the water bath canning process more accessible. I have an entire post on Water Bath Canning Supplies if you want to get started.
- Ball Complete Book of Home Preserving
- Granite Ware Enamel Water Bath Canner (21.5 qt)
- Granite Ware Canner Rack
- Supa Ant 1/2 Pint Canning Ladle
- Jarden Home Brands’ Ball Secure-Grip Jar Lifter
- NORPRO Canning Bubble Popper/Measurer
- Ball Canning 1/2 Pint Jars
- Large stainless steel pot
- Knife
- Regular or wide-mouth canning lids (depending on what jars you are using)
- Regular or wide-mouth canning rings (depending on what jars you are using)
- Funnel
Water Bath Canning Made Easy
Preserve the flavors of your favorite fruits and vegetables with my FREE comprehensive and beginner-friendly Water Bath canning eBook.
Ingredients for Pear Jam
- 4 Cups Chopped, cored, peeled fully ripe pears (Bartlett Pears work well)
- 1/3 Cup Bottled Lemon Juice
- 7 1/2 Cups Granulated Sugar
- 1 tsp Cinnamon
- 1 pouch Liquid Pectin
Step-by-Step Instructions
-
Clean jars and lids with warm soapy water. Ensure the jars do not have any chips or bubbles in the glass.
-
Put your water bath canner on your stove. Add your canning rack to your water bath canner. Add your half-pint jars to the water bath canner. They will warm as you heat the water. Add enough water to cover jars with at least 2-3 inches of water. Turn on the stove to medium heat.
-
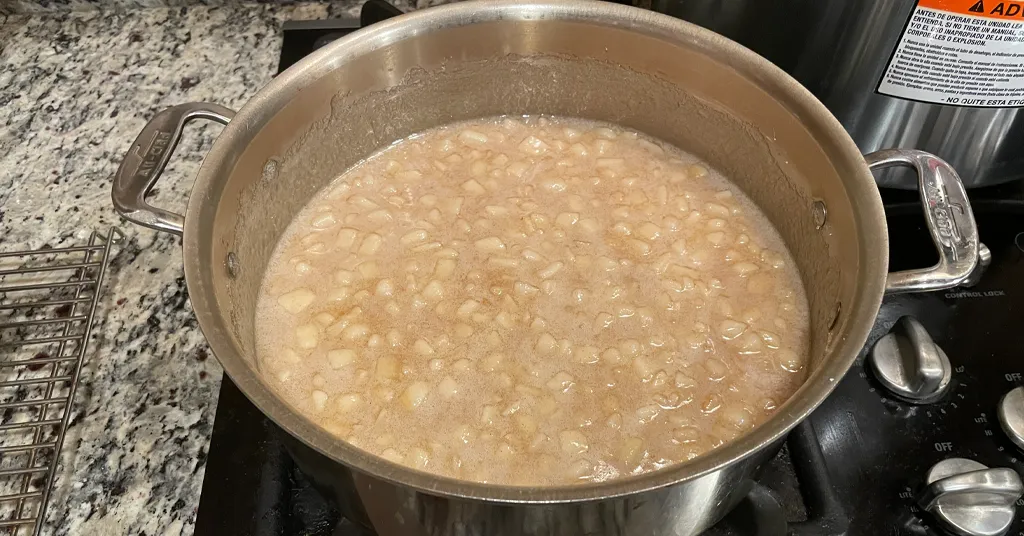
Add lemon juice to a stainless steel pot. As you are chopping your pears add them to the lemon juice in the stainless steel pot to prevent the pear pieces from darkening. Add all pears
-
Move the stainless steel pot to the stove. Add Sugar and Cinnamon to the pot.
-
Over high heat, stirring constantly, bring the contents to a full rolling boil that can’t be stirred down.
-
Stir in pectin. Boil hard, stirring constantly, for 1 minute.
-
Remove from heat and skim off foam from the top of the jam.
-
Remove 1 jar at a time from the water bath canner with your jar lifter.
-
Ladle hot jam into hot jars, leaving 1/4 inch headspace (Check with headspace measurer). Remove air bubbles with a de-bubbler and adjust the headspace by adding more hot jam if necessary.
-
Wipe the rim to ensure a good seal is made with the lid. Center the lid on the jar and screw the band down to fingertip tight.
-
Place the jar in the canner using your jar lifter. Repeat steps 9-10 until all jam is used. Make sure the jars are completely covered by 2-3 inches of water.
-
If your water is not boiling start your processing time when the water is boiling. Process half-pint jars for 10 minutes (make sure to adjust for your altitude). Set a timer, it makes it much easier to make sure you process for the correct time. When your timer goes off turn off the heat and remove the canner lid. Leave the jars in the water for 5 minutes.
-
Lift your canning rack out of the water. Using your jar lifer carefully move the jars onto a wire rack or kitchen towel to allow them to cool. When moving the jars try not to tilt them to the side as this could affect the seal of the jars. Allow your jars to cool for 12-24 hours before handling.
-
Once cool, remove the canning rings from the jars. Wash your jars off to ensure there is no food residue on the outside of the jar from processing. Label your jar with the name of the recipe and date. This will help you remember what recipe you used to can and the date will allow you to use the oldest canned goods first.
Join My Preserving Guide Facebook Group
Expert tips, tested recipes, and vibrant discussions on canning, dehydrating, freezing, and all things food preservation!
Fruit Jellies, Jams, and Sauces
Remember that the world of homemade preserves is a vast and delicious one. If you’ve enjoyed crafting this Pear Jam, I invite you to explore my collection of other delightful jelly and sauce recipes that await your culinary creativity. From zesty fruit jams to savory sauces that elevate your dishes, there’s something for every palate. Keep the preserving spirit alive and dive into my flavorful world of homemade delights. Happy canning and savoring!
Recipe Card
Pear Jam
Equipment
Ingredients
- 4 Cups Chopped, cored, peeled fully ripe pears Bartlett Pears work well
- 1/3 Cup Bottled Lemon Juice
- 7 1/2 Cups Granulated Sugar
- 1 tsp Cinnamon
- 1 pouch Liquid Pectin
Want to Save this Recipe?
Instructions
- Clean jars and lids with warm soapy water. Ensure the jars do not have any chips or bubbles in the glass.
- Put your water bath canner on your stove. Add your canning rack to your water bath canner. Add your half-pint jars to the water bath canner. They will warm as you heat the water. Add enough water to cover jars with at least 2-3 inches of water. Turn on the stove to medium heat.
- Add lemon juice to a stainless steel pot. As you are chopping your pears add them to the lemon juice in the stainless steel pot to prevent the pear pieces from darkening. Add all pears
- Move the stainless steel pot to the stove. Add Sugar and Cinnamon to the pot.
- Over high heat, stirring constantly, bring the contents to a full rolling boil that can't be stirred down.
- Stir in pectin. Boil hard, stirring constantly, for 1 minute.
- Remove from heat and skim off foam from the top of the jam.
- Remove 1 jar at a time from the water bath canner with your jar lifter.
- Ladle hot jam into hot jars, leaving 1/4 inch headspace (Check with headspace measurer). Remove air bubbles with a de-bubbler and adjust the headspace by adding more hot jam if necessary.
- Wipe the rim to ensure a good seal is made with the lid. Center the lid on the jar and screw the band down to fingertip tight.
- Place the jar in the canner using your jar lifter. Repeat steps 9-10 until all jam is used. Make sure the jars are completely covered by 2-3 inches of water.
- If your water is not boiling start your processing time when the water is boiling. Process half-pint jars for 10 minutes (make sure to adjust for your altitude). Set a timer, it makes it much easier to make sure you process for the correct time. When your timer goes off turn off the heat and remove the canner lid. Leave the jars in the water for 5 minutes.
- Lift your canning rack out of the water. Using your jar lifer carefully move the jars onto a wire rack or kitchen towel to allow them to cool. When moving the jars try not to tilt them to the side as this could affect the seal of the jars. Allow your jars to cool for 12-24 hours before handling.
- Once cool, remove the canning rings from the jars. Wash your jars off to ensure no food residue on the outside of the jar from processing. Label your jar with the name of the recipe and date. This will help you remember what recipe you used to can and the date will allow you to use the oldest canned goods first.
Notes
Editorial Process
At Preserving Guide, I take pride in my thorough and impartial approach to recipe and product reviews. Read my editorial process for detailsRobin
Robin Phelps has been preserving food for her family for over 20 years. Today, Robin is a full-time home preservation blogger and coach. Join Robin to learn how to easily make delicious and safe homemade preserved items.

No Comment! Be the first one.